How to Install a Tailgate Hinge Kit: A Complete DIY Guide
Learning how to install a tailgate hinge kit is a practical skill for many pickup truck owners in the United States. A worn hinge can make a tailgate feel loose, uneven, or difficult to use. Replacing the hinge kit can bring back proper movement and improve daily truck use.
From years of working with vehicle repairs, one key lesson stands out: careful alignment matters more than speed. A tailgate is heavy, so supporting it correctly and checking each step helps prevent damage. This guide explains how to install a tailgate hinge kit with simple steps that most DIY owners can follow.

What Is a Tailgate Hinge Kit and Why Does It Need Replacement?
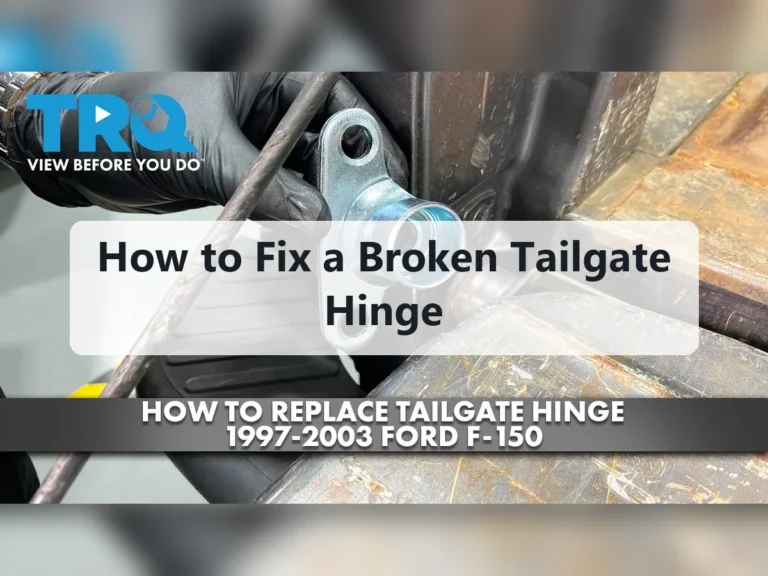
A tailgate hinge kit contains the parts that connect your truck tailgate to the bed. These parts allow the tailgate to rotate smoothly when opening and closing. Over time, hinges can wear because of weight, weather, rust, and regular use.
Before learning how to install a tailgate hinge kit, inspect the current hardware. Loose movement, squeaking, uneven gaps, or a tailgate that does not sit correctly may point to worn hinge components.
- ✦ Common signs of damage
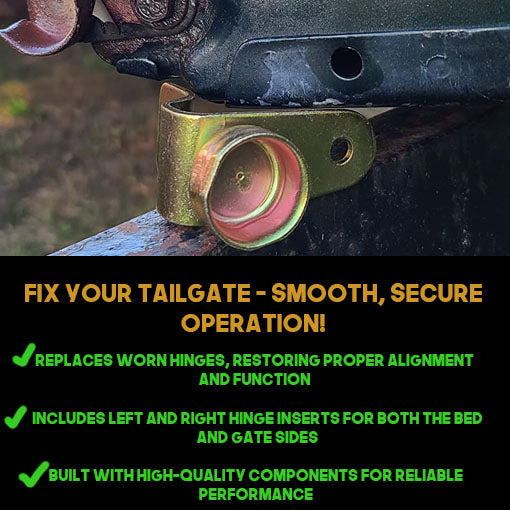
Look for excessive play, damaged bushings, rusted bolts, or a tailgate that hangs lower on one side.
- ✦ Benefits of replacement
A new hinge kit can improve stability, make operation smoother, and protect other tailgate parts from stress.
Understanding Hinge Components
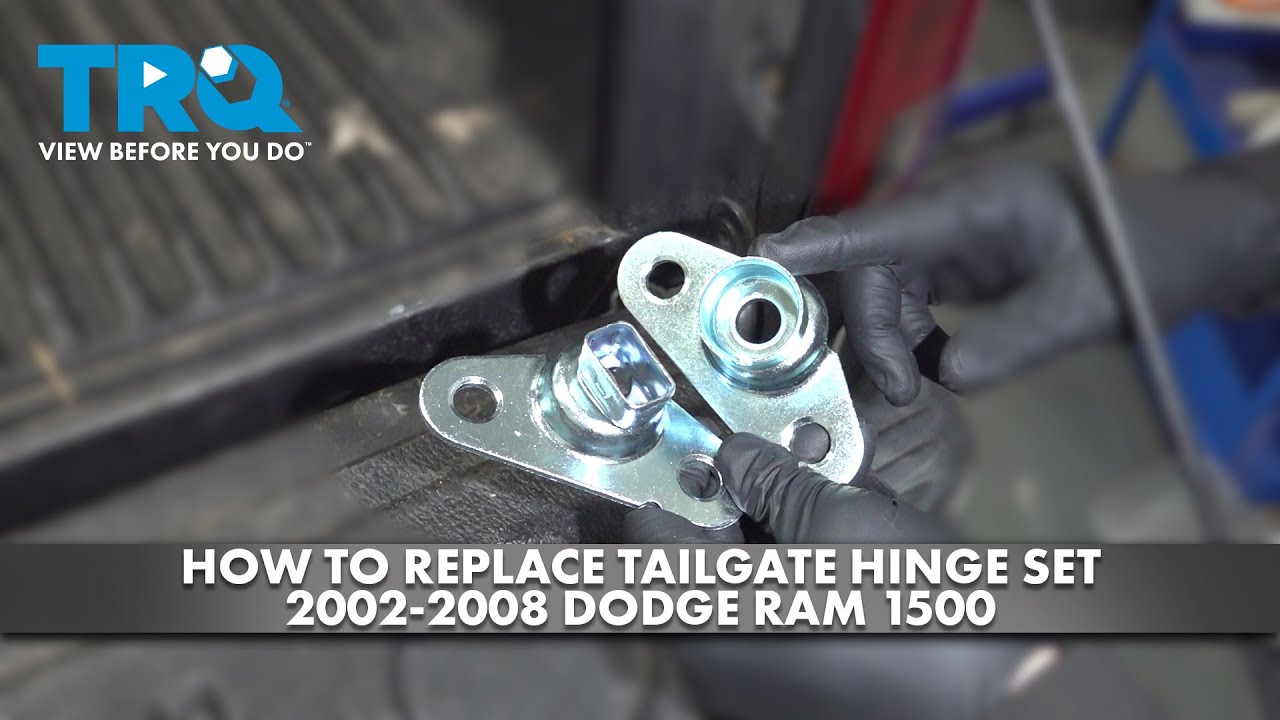
Most kits include hinge brackets, pins, bushings, or mounting hardware. The exact parts depend on your truck model and hinge design.
- ✦ Check vehicle compatibility
Always match the kit with your truck year, make, and model before installation.
Tools and Supplies Needed Before Installation
Preparing your tools before starting makes the job easier. Most tailgate hinge repairs do not require advanced equipment, but having the right tools prevents delays.
When learning how to install a tailgate hinge kit, many beginners focus only on removing old parts. A better approach is to prepare for removal, installation, and final adjustment.

- ✦ Basic hand tools
Gather sockets, wrenches, screwdrivers, pliers, and a torque wrench if recommended by the manufacturer.
- ✦ Safety supplies
Use gloves and safety glasses, and have a helper available because tailgates can be heavy.
Vehicle Preparation
Park on a flat surface, set the parking brake, and keep the work area clear. Clean around the hinge area so dirt does not enter new parts.
Step-by-Step Guide: How to Install a Tailgate Hinge Kit
The main process for how to install a tailgate hinge kit starts with removing the old hardware and safely supporting the tailgate. Do not let the full weight of the tailgate hang from one remaining hinge.
After removal, compare the old parts with the new kit. Install each component in the same location and tighten hardware gradually while checking alignment.

- ✦ Step 1: Support the tailgate
Use a helper or stable support to hold the tailgate before removing hinge bolts.
- ✦ Step 2: Remove old hinges
Take out worn hardware carefully and keep track of bolts or clips that may be reused.
- ✦ Step 3: Install new hinges
Attach the new hinge kit, align the tailgate, and tighten fasteners according to the kit instructions.
Checking Tailgate Alignment
After installing the new parts, open and close the tailgate several times. Adjust the position if the gaps look uneven or the movement feels restricted.
- ✦ Final inspection
Confirm that all bolts are secure and the tailgate locks correctly.
Common Mistakes to Avoid During Tailgate Hinge Installation
Knowing how to install a tailgate hinge kit also means knowing what problems to avoid. Small mistakes can create alignment issues or shorten the life of new parts.
Many DIY repairs fail because installers rush the adjustment stage. Taking extra time to check fitment usually creates a better result.

- ✦ Skipping compatibility checks
A hinge kit made for another truck model may not fit correctly.
- ✦ Overtightening bolts
Too much force can damage threads or distort mounting areas.
Why Proper Alignment Matters
Correct alignment helps the tailgate close evenly and reduces stress on the hinge system. It also prevents unnecessary wear on related components.
Tips for Maintaining New Tailgate Hinges
After you finish how to install a tailgate hinge kit, regular care helps protect your investment. Simple maintenance can keep hinges moving smoothly for years.
Truck owners who use their vehicles for work, towing, or outdoor activities should inspect hinge areas more often because heavy use can increase wear.

- ✦ Clean regularly
Remove dirt and debris around hinge points to reduce friction.
- ✦ Inspect hardware
Check bolts and mounting points during routine vehicle maintenance.
When Should You Replace a Tailgate Hinge Kit Instead of Repairing It?
Some hinge problems can be fixed with lubrication or small adjustments. However, damaged metal parts, broken pins, or worn bushings often require replacement.
Understanding how to install a tailgate hinge kit helps you decide whether a full replacement is the right solution. If the hinge mounting area is damaged, professional repair may be needed.
- ✦ Replace damaged parts
Choose replacement when components are cracked, bent, or heavily worn.
- ✦ Seek professional help
Get expert assistance for structural damage or difficult repairs.