How to Fix a Broken Tailgate Hinge Safely at Home Yourself Now
A broken tailgate hinge can turn a simple lift into a sagging, twisted, or unexpectedly heavy panel. The tailgate may still latch, but forcing it open or driving with it poorly supported can bend the other hinge, damage the latch, or let the panel fall. The good news is that many bolt-on hinges can be replaced by a careful beginner with ordinary hand tools and a solid way to support the tailgate.
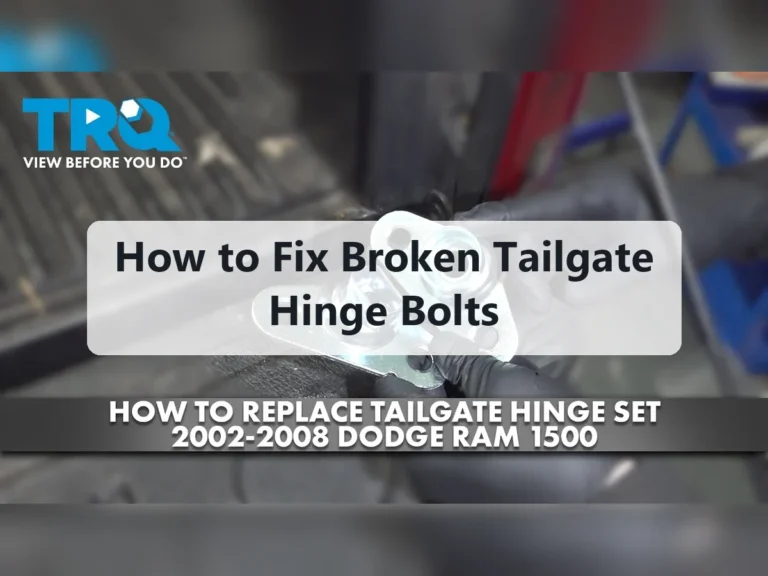
In most cases, the dependable fix is replacement rather than trying to straighten a cracked or badly bent hinge. This guide explains how to fix a broken tailgate hinge by identifying the failure, supporting the tailgate, removing the damaged hardware, installing a compatible hinge, and aligning the panel before you trust it again.
You will also learn when the job is not a sensible driveway repair. A hinge welded to the body, torn mounting metal, a powered tailgate, or a panel too heavy to control safely calls for a qualified repair shop. The goal is not merely to make the tailgate move; it is to restore smooth movement, even gaps, and a latch that closes without force.
At a glance
- Support the tailgate before loosening either hinge or its support hardware.
- Replace a cracked or distorted hinge instead of heating or hammering it straight.
- Verify alignment, latch engagement, and controlled opening before returning the vehicle to normal use.
How to fix a broken tailgate hinge without damaging the panel
This method is intended for a conventional tailgate with accessible, bolt-on hinges. It covers replacing one hinge and realigning the panel; if both hinges are damaged, repeat the inspection and replacement process one side at a time so the tailgate never loses all of its support.
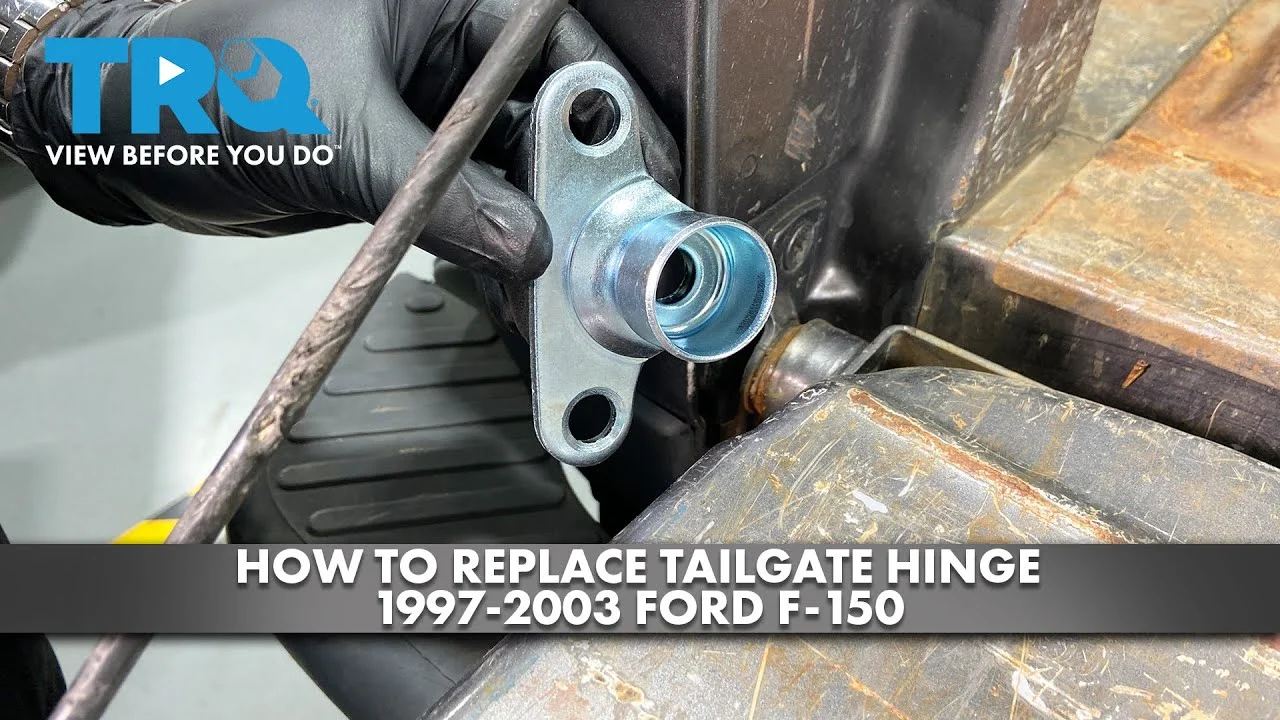
Before starting, compare the replacement hinge with the original. The bolt pattern, hinge shape, mounting surface, and movement should match the vehicle, because a hinge that is merely similar can place the tailgate at the wrong height or prevent the latch from lining up.
Tools you will need
- Replacement hinge matched to the vehicle’s year, model, body style, and tailgate configuration
- Socket set and ratchet sized for the hinge and latch fasteners
- Combination wrenches for holding nuts or hinge studs while loosening bolts
- Torque wrench, if the vehicle service information specifies hinge fastener torque
- Penetrating oil for corroded fasteners
- Stable support or padded stand to carry the tailgate’s weight
- Marker or masking tape for recording the original hinge position
- Optional: a second person to steady and lift the tailgate
Step 1 Confirm the hinge is the actual source of the problem
Park on level ground, set the parking brake, and switch off the vehicle. Open the tailgate only as far as you can control it, then examine both hinges, the latch, the support cables or straps, and the metal around each mounting point.
Look for a cracked hinge leaf, a missing or sheared bolt, a hinge pin that has pulled out, or a hinge that is visibly twisted. Also inspect the body-side and tailgate-side metal for elongated bolt holes, torn seams, or buckling. A loose latch can imitate a hinge problem, while a damaged mounting panel can make a new hinge fail quickly.
Compare the left and right sides. If the tailgate sits low on one side and the hinge on that side is split or bent, the hinge is a strong suspect. If the gaps are even but the latch will not catch, diagnose the latch and striker before replacing a hinge.
Important
Do not work under an unsupported tailgate. Tailgates are awkward and can be heavy enough to injure hands, feet, or your back. If the panel cannot be held securely with a stand or a helper, stop and have the repair done professionally.
Step 2 Check whether the hinge is bolt-on or welded
Follow the hinge from the tailgate to the vehicle body and identify how it is attached. A bolt-on hinge has visible bolts, nuts, or studs that can be removed with hand tools. A welded hinge has continuous weld beads or spot welds joining it to the body or tailgate structure.
This distinction determines whether the repair is suitable for a beginner. A bolt-on hinge can usually be replaced after the panel is supported and aligned. A welded hinge requires removing welds, protecting nearby paint, controlling heat, and restoring structural attachment; that is generally body-shop work rather than a simple hardware replacement.
Some vehicles use a bolt-on hinge attached to a reinforced bracket that is itself welded into the body. In that case, replace only the removable hinge if the bracket is sound. If the bracket or surrounding metal has separated, do not rely on replacement bolts to hold it.
Step 3 Support the tailgate and disconnect its load-bearing supports
Place a stable, padded support under the tailgate near its center or use a second person to hold it while you position the support. The support should carry the panel without pressing on painted edges, the latch, wiring, or the backup camera housing.
With the tailgate supported, disconnect the support cables, straps, gas struts, or other limiters if they attach near the hinge and prevent removal. Many cable ends use a retaining clip or small bolt; do not pry against painted sheet metal. Keep each fastener and clip together so it can return to its original location.
For an electrically powered tailgate, do not operate the motor while the hinge is damaged or disconnected. Follow the vehicle’s service procedure for disabling the power lift system. Unplugging a connector without knowing the system may set a fault or leave the panel able to move unexpectedly.
Test the support before loosening the hinge: gently release a small amount of pressure from the helper or lift the panel a fraction of an inch. The stand should remain stable and the tailgate should not swing, slide, or drop.
Step 4 Mark the original hinge position and remove the damaged hardware
Use a marker or short strips of masking tape to outline the hinge’s position on the body and tailgate. These marks are only a starting reference, but they make initial alignment much easier. If the hinge has shifted badly, also measure or photograph the gap between the tailgate and the adjacent body panels.
Apply penetrating oil to rusty fasteners and allow it to work according to the product directions. Use the correct socket and hold the nut with a wrench when necessary. Turn steadily rather than using sudden force that could strip the head or disturb the supported panel.
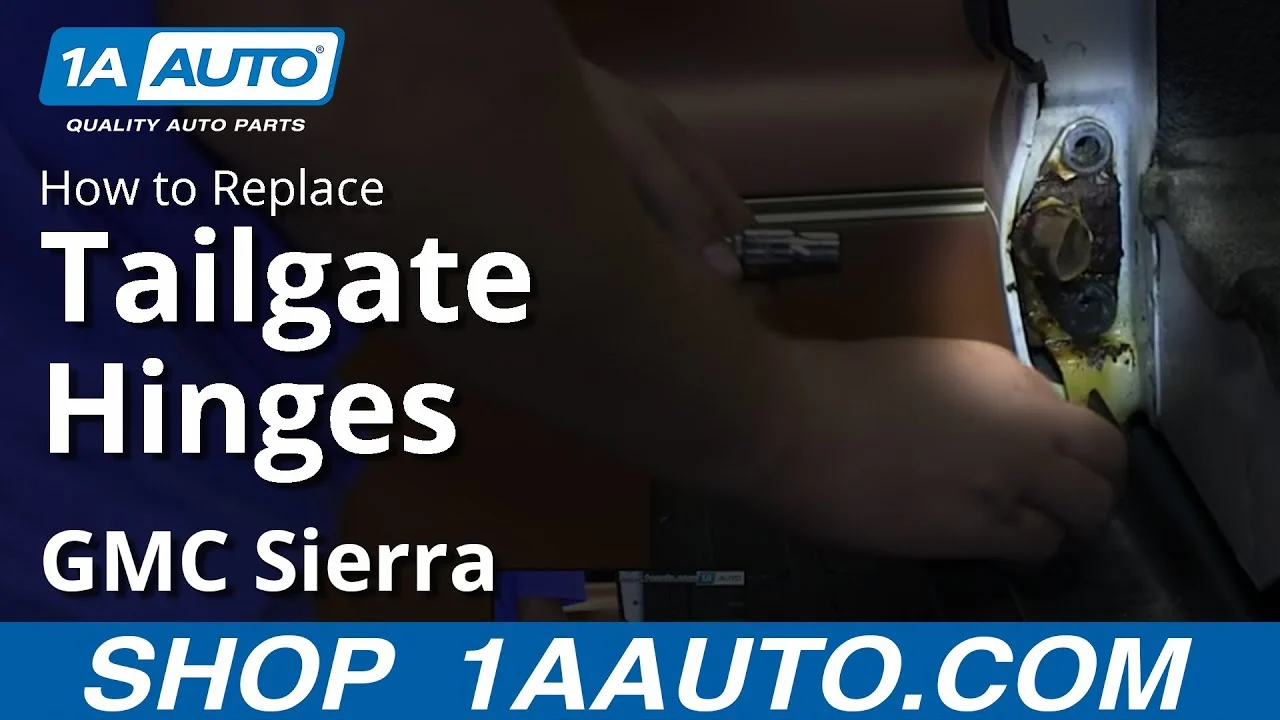
Remove the hinge fasteners while the support carries the tailgate. Keep track of bolt lengths and any spacers or washers. If one fastener is broken, do not keep twisting until the surrounding metal tears; a seized or snapped fastener may need extraction by a repair professional.
Once the damaged hinge is free, lift it away and set it beside the replacement. Check that the new part has the same mounting holes, hinge orientation, pin location, and range of motion. Never install a hinge that must be forced into place or whose bolt holes only line up when the panel is twisted.
Step 5 Inspect the mounting surfaces before installing the replacement
Clean dirt and loose rust from the mounting surfaces with a brush or rag. Examine the bolt holes closely. They should be round and firmly surrounded by metal, not stretched into slots or pulled away from the panel.
Check the hinge reinforcement inside the tailgate if it is visible, and inspect the body-side bracket for cracks. Also look at the opposite hinge: a broken hinge often leaves the other side carrying extra load, which can bend it or loosen its fasteners.
Small surface rust can be cleaned and protected, but structural damage is a stopping point. If the mounting metal is torn, crushed, or separating from the body, the problem is larger than a hinge replacement. A body shop can restore the reinforcement and verify the panel’s structure before a new hinge is installed.
A useful way to approach how to fix a broken tailgate hinge is to check your progress after each stage.
Step 6 Install the replacement hinge loosely at the original position
Position the replacement hinge in the same orientation as the old one and start every fastener by hand. Leave the bolts slightly loose so the hinge can move for alignment. Starting all fasteners before tightening prevents cross-threading and shows whether the replacement actually matches.
Do not reuse a visibly stretched, damaged, or badly corroded fastener. Use the correct replacement grade and length specified for the vehicle; a bolt that is too long can interfere with the hinge mechanism or nearby wiring, while a bolt that is too short may not clamp the joint securely.
Keep the tailgate supported as you install the hinge. Do not let the panel hang from a partly tightened hinge while you search for a tool or reconnect a support. If the hinge will not sit flat against its mounting surface, remove it and find the obstruction rather than pulling it flat with the bolts.
Step 7 Align the tailgate before tightening the hinge
Close the tailgate slowly while the support remains available, watching the gaps on both sides and the relationship between the latch and striker. The tailgate should approach the opening evenly without rubbing, binding, or needing to be lifted into place by force.
Adjust the hinge position in small movements. The usual target is an even gap with the outer surface of the tailgate sitting flush with the adjacent body panels. Use the original marks as a reference, but trust the actual fit more than the marks if the old hinge was bent or the panel had already shifted.
Once the position looks correct, tighten the hinge fasteners gradually, alternating between them so the hinge does not walk out of alignment. If the manufacturer provides a torque specification, use it. Do not guess at a high torque value on thin sheet metal, because overtightening can crush the mounting surface or strip a captive nut.
Open the tailgate again and inspect the hinge from both sides. The hinge should move smoothly through its range, with no visible side loading, scraping, or sudden change in resistance. Reconnect the support cables, straps, or struts only after the hinge is secure and the panel remains in position.
Step 8 Reconnect the supports and test the latch in stages
Reattach every support component exactly as it was installed. Confirm that clips are fully seated and that cables are not twisted. If the vehicle has wiring through the hinge area, route it away from the moving joint and check that it is not pinched.
Test the tailgate first with the latch in the open position, moving it only a short distance. Then close it gently until the latch engages. It should latch without slamming, lifting one side, or forcing the handle.
Pull lightly on the tailgate to confirm that it is held, then release it with the normal handle.
Open and close the tailgate several times while observing the hinge, body gaps, latch, and support points. A successful repair has smooth movement, consistent gaps, a fully engaged latch, and no new creaking, popping, or metal movement.
Check your result
Before driving, verify that the tailgate remains closed when gently pulled, the latch indicator or dashboard warning is clear if equipped, and no tool, stand, loose bolt, or disconnected cable remains in the cargo area.
What makes a tailgate hinge repair safe and compatible
A hinge is more than a simple pivot. It controls the tailgate’s position relative to the body, transfers the panel’s weight into reinforced mounting points, and helps the latch meet the striker at the correct angle. A hinge that fits the bolt pattern but has the wrong offset can still create a dangerous or frustrating misalignment.
Why replacing is usually better than straightening
A bent hinge has already been overloaded, and heating or hammering it can weaken the metal, change the hinge-pin fit, or damage the paint and nearby body structure. Straightening may also hide a stretched mounting hole. Replacement is more predictable when the correct part is available.
How to identify the correct replacement
Use the vehicle identification number, exact model and body style, tailgate type, and side of the vehicle when ordering. Some trucks and SUVs use different hinges for standard, split, step, soft-opening, or powered tailgates. Compare the old and new parts before removing the original if possible.
Pay attention to hinge orientation. Left and right hinges may look almost identical but have different bends or bolt spacing. The hinge pin should sit in the same relationship to the tailgate and body as the original, and the replacement should not contact the panel through its full movement.
When a simple hinge is not the whole problem
If the tailgate has dropped after an impact, inspect the latch striker, inner reinforcement, body-side bracket, and opposite hinge. A cracked tailgate skin or distorted inner frame can keep the panel from aligning even after a new hinge is installed.
For a powered tailgate, the drive arms, motor, control module, and pinch-protection system add another layer of risk. Keep the power system inactive until the mechanical hinge and supports are secure, then use the manufacturer’s initialization procedure if the system requires one.
Troubleshoot poor fit, noise, or a latch that will not close
Most problems after a hinge replacement come from incomplete support, incorrect hinge orientation, damaged mounting metal, or tightening the bolts before the panel was aligned. Do not compensate for a structural problem by repeatedly moving the latch; the latch should be adjusted only after the hinge and tailgate position are correct.
| What you observe | Likely cause and next check |
|---|---|
| One side remains low | The hinge is not seated, the mounting holes are damaged, or the opposite hinge is bent. Recheck the hinge position and inspect both sides. |
| Tailgate rubs the body | The panel is shifted or the replacement hinge has the wrong offset. Loosen slightly and realign; replace an incompatible part. |
| Latch will not catch | The tailgate is too high, low, or far to one side, or the striker moved. Correct hinge alignment before considering latch adjustment. |
| Creaking or popping | A loose fastener, dry or damaged hinge, twisted support cable, or torn mounting area may be moving under load. Stop using the tailgate until found. |
| Hinge binds during opening | The hinge is reversed, over-tightened, obstructed, or being side-loaded by misalignment. Remove the load and compare it with the original part. |
If you are wondering how to fix a broken tailgate hinge when the new hinge is installed but the gap still looks wrong, first loosen the hinge fasteners just enough to allow controlled movement. Support the panel, shift it in very small increments, and retighten gradually. If the gap changes dramatically with little movement, look for bent reinforcement or elongated holes instead of continuing to adjust.
Helpful tip
Take a photo of the aligned tailgate from straight behind and from each corner. It gives you a useful reference if you need to reopen the hinge or compare the panel after a short test drive.
Beginner questions about tailgate hinge repair
A few details determine whether this is a manageable replacement or a repair that should move to a shop. These answers address the most common beginner decisions without replacing the vehicle-specific service instructions.
Can I drive with a broken tailgate hinge?
Only if the tailgate is fully supported, securely latched, and the vehicle manufacturer’s design permits it, which is not a safe assumption for a visibly broken hinge. A sagging or loose tailgate can open in traffic, damage the latch, or fall when opened, so repair it before normal driving whenever possible.
Do I need to remove the entire tailgate?
Often you can replace one bolt-on hinge with the tailgate supported in place. Full removal may be necessary when the hinge bolts are inaccessible, both hinges are damaged, or the panel cannot be safely supported during the repair.
Should I lubricate a new tailgate hinge?
Follow the vehicle or hinge manufacturer’s recommendation. If lubrication is specified, apply a small amount to the hinge pivot without coating the latch or surrounding paint. Lubricant will not repair a bent hinge, loose fastener, or damaged mounting point.
What if the hinge bolts spin instead of loosening?
The nut may be a captive nut that has broken loose inside the panel, or the bolt head may need to be held from the other side. Stop before the fastener damages the panel. Access may require interior trim removal, and a spinning captive nut often needs professional extraction and repair.
Can I weld a cracked tailgate hinge myself?
Welding can be appropriate for a qualified technician when the hinge and surrounding structure are designed for it, but it is not a dependable beginner repair. The panel must be positioned accurately, nearby wiring and paint must be protected, and the weld must restore the required strength.
Finish with a controlled tailgate check
Learning how to fix a broken tailgate hinge is mainly an exercise in support, compatibility, and careful alignment. Replace a damaged bolt-on hinge with a matching part, inspect the mounting metal, tighten the hardware correctly, and confirm that the latch and body gaps behave normally before driving.
If the hinge is welded, the mounting structure is torn, or the tailgate cannot be controlled safely, stop at the inspection stage and use a qualified body repair shop. A repair is complete only when the tailgate opens smoothly, stays supported, latches without force, and remains secure through repeated checks.