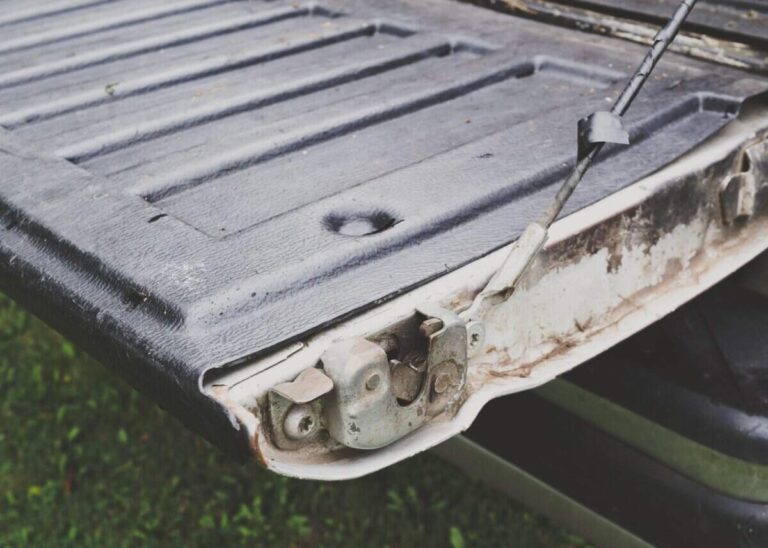
How to Install a Tailgate Handle Relocator Kit: Complete Guide
Learning how to install a tailgate handle relocator kit can help truck owners create a cleaner look or make room for custom tailgate designs. Many pickup owners in the United States choose this upgrade when building custom trucks, adding aftermarket panels, or changing the appearance of the rear end.
From working through truck modification projects, one lesson stands out: careful planning matters more than speed. A good installation starts with understanding your truck model, reading the kit instructions, and checking every connection before closing the tailgate.

What Is a Tailgate Handle Relocator Kit?
A tailgate handle relocator kit is an aftermarket system that moves the factory tailgate handle from its original location. It usually includes brackets, cables, rods, or linkage parts that allow the latch to work from the new position.
Many truck owners use these kits for custom builds, shaved tailgates, camper setups, or cleaner exterior designs. Before learning how to install a tailgate handle relocator kit, it helps to understand that every truck model may require slightly different parts.
- ✦ Improved appearance
Relocating the handle can create a smoother and more customized tailgate design.
- ✦ Better customization options
The kit can make space for aftermarket panels, graphics, or other truck upgrades.
- ✦ Maintained tailgate function
A properly installed kit keeps the latch system working like the original design.
Common Trucks That Use Relocator Kits
Tailgate handle relocator kits are popular on pickup trucks such as Ford F-150 models and other custom builds. Always confirm compatibility before buying because mounting points and latch designs vary.
- ✦ Check vehicle compatibility
Match the kit with your truck year, model, and tailgate style before installation.
Tools and Supplies Needed Before Installation
Preparing your tools before starting makes the process easier and reduces mistakes. Most installations require common garage tools instead of specialized equipment.
When researching how to install a tailgate handle relocator kit, many beginners focus only on the kit itself. However, having the right tools and a clean workspace can make a major difference.

- ✦ Basic hand tools
Gather screwdrivers, sockets, wrenches, pliers, and trim removal tools.
- ✦ Safety equipment
Use gloves and eye protection when removing panels or working around metal edges.
- ✦ Testing supplies
Keep a flashlight and lubricant nearby for checking latch movement.
Prepare the Truck Before Starting
Park the truck on a flat surface and make sure the tailgate is stable. Disconnecting the battery may also be helpful on trucks with electronic components near the handle area.
- ✦ Clean the work area
Remove dirt and debris so small parts do not get lost during installation.
Step-by-Step Guide on How to Install a Tailgate Handle Relocator Kit
The exact steps depend on your truck and kit design, but most installations follow the same basic process. Take photos before removing factory parts so you can reference the original setup later.
Learning how to install a tailgate handle relocator kit becomes much easier when you work slowly and check each step before moving forward.

- ✦ Remove the factory handle
Remove the interior tailgate panel and disconnect the original handle mechanism carefully.
- ✦ Install the relocation bracket
Mount the new bracket or adapter in the location provided by the kit instructions.
- ✦ Connect the linkage system
Attach cables, rods, or other hardware and confirm that the latch moves smoothly.
- ✦ Test before final assembly
Open and close the tailgate several times before reinstalling covers and panels.
Remove and Label Factory Parts
Keep removed screws and clips organized. Labeling parts helps prevent confusion when reinstalling panels or returning the truck to its original setup.
- ✦ Take reference photos
Pictures of the original latch setup make reconnecting parts easier.
How to Adjust and Test the Relocated Tailgate Handle
After installation, adjustment is one of the most important steps. A handle that sits too tight or too loose can affect how the tailgate opens and closes.
A quality installation should feel smooth and natural. If the latch does not release properly, inspect the linkage alignment before driving the truck.

- ✦ Check handle movement
The handle should move freely without sticking or requiring extra force.
- ✦ Inspect latch engagement
Make sure both sides of the tailgate latch release correctly.
- ✦ Secure all hardware
Tighten bolts and fasteners after final adjustments.
Common Adjustment Problems
Some common issues include loose cables, incorrect bracket placement, or limited handle movement. Small adjustments often solve these problems.
- ✦ Uneven release
Check both latch sides and adjust the linkage if one side releases slower.
Common Mistakes to Avoid During Installation
Even simple truck modifications can fail when installers rush. Avoiding common mistakes helps protect the tailgate and prevents repeated adjustments.
Many problems with how to install a tailgate handle relocator kit come from skipping measurements or failing to test the mechanism before finishing.

- ✦ Skipping compatibility checks
Using the wrong kit can create alignment and installation problems.
- ✦ Ignoring instructions
Manufacturer instructions often include vehicle-specific details.
- ✦ Closing the tailgate too early
Always test the latch while access to the mechanism is available.
When Professional Help Makes Sense
A DIY installation is possible for many truck owners, but professional help may be useful if welding, body modification, or electrical changes are required.
- ✦ Complex custom builds
Major body changes may require specialized fabrication skills.