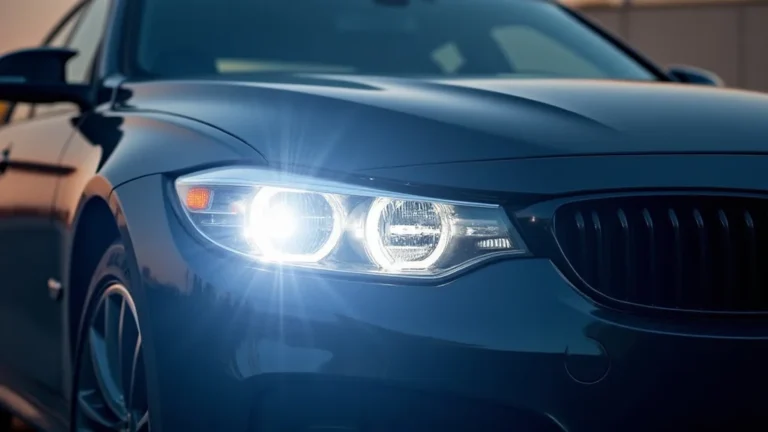
Fog Lights Malfunctioning One-Sided: A Simple Repair Guide
Having fog lights not working on one side can be a common frustration, especially if you’re new to car maintenance. It can seem like a complex problem, but often, the solution is straightforward. Don’t worry, many drivers experience this, and it’s usually something you can fix yourself! This guide will provide you with a step-by-step approach to diagnosing and resolving the issue, making the process easy to follow and enabling you to get your lights working again. Let’s get started!
Checking the Basics: Power and Bulbs
Before exploring more complex possibilities, the initial steps involve verifying the simplest elements: the power supply to the fog lights and the condition of the bulbs themselves. A malfunctioning light can frequently be attributed to a blown fuse, a broken wire, or a burned-out bulb. Start with these fundamental checks; they can often provide a quick and easy solution. It’s better to begin with the most accessible elements before moving to more advanced troubleshooting. This saves time and minimizes any unnecessary effort.
Examining the Fuses
Fuses are safety devices designed to protect the electrical circuits in your car. If the current gets too high, the fuse blows, cutting off the power. The fog light circuit has its dedicated fuse. Locating the fuse box is the first step. Generally, it’s inside the car, under the dashboard, or in the engine compartment. Check your car’s owner’s manual for its exact location and the fuse layout. Next, visually inspect the fog light fuse. You can often see if it’s blown by looking at the small metal wire inside. If you’re unsure, you can use a fuse tester, a simple tool that lights up if the fuse is working.
- Locate the Fuse Box: Find the fuse box in your vehicle. Check your owner’s manual for its location.
- Identify the Fog Light Fuse: Use the fuse box diagram to pinpoint the fuse controlling your fog lights.
- Inspect the Fuse: Visually check the fuse for a broken wire. A fuse tester can confirm if it’s blown.
-
- Test the Lights: Turn on your fog lights to see if the replacement fuse has fixed the issue.
Checking the fuse is a fundamental step. The fuse protects the wiring and the lights themselves. If the fuse is blown, it stops the flow of electricity to the fog lights. Replacing a blown fuse is often a simple fix, and the entire process takes just a few minutes. However, be aware that if the fuse blows again immediately, there’s likely a more serious electrical problem that requires further investigation.
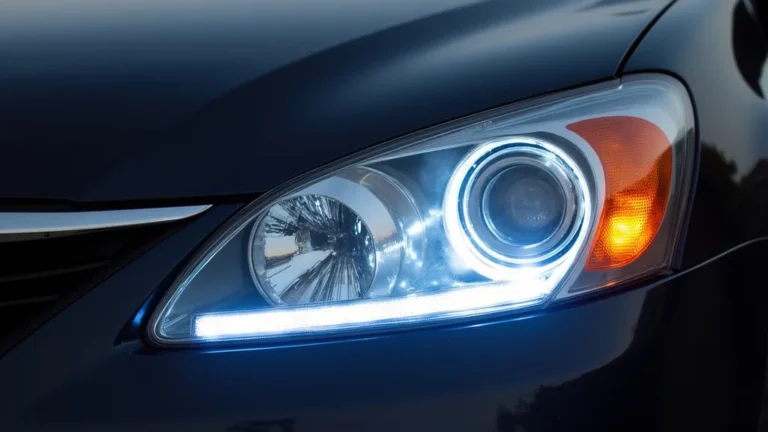
Inspecting the Light Bulbs
The light bulb itself is another common reason for non-functioning fog lights. Light bulbs have a limited lifespan and can burn out. To inspect the bulbs, you’ll need to access them. The process for accessing the bulbs differs among car models. Typically, you’ll need to open the hood and locate the fog lights. You might need to remove a panel or other components to reach the bulbs. Once you can access the bulbs, carefully remove the old bulbs and look for any signs of damage like a broken filament or a darkened glass. If the bulb appears damaged,
- Access the Fog Light Bulbs: Open the hood and locate the fog light housings.
- Remove the Bulbs: Carefully detach the bulbs from the housing.
- Inspect the Bulbs: Look for broken filaments or darkened glass.
-
- Test the Lights: Turn on the fog lights to see if the new bulbs work.
This is a quick and easy check. Burnt-out bulbs are a frequent cause for lights not working.
Troubleshooting the Wiring and Connections
If the fuses and bulbs are not the issue, the next step involves examining the wiring and connections of your fog lights. The wiring system of your car can be affected by weather, age, and wear. Problems with wiring, such as loose connections or damaged wires, can disrupt the flow of electricity to your fog lights, causing them to fail. By thoroughly inspecting the wiring harness, you can often find and fix the problem. Additionally, cleaning corroded terminals and ensuring all connections are firmly in place can restore the fog lights. This step is about systematically following the wiring and electrical circuits to find the root cause of the problem.
Checking for Loose Connections
Loose connections are a common cause of electrical issues in vehicles. Over time, the vibrations from driving can loosen the connections in the wiring harness. This can interrupt the electrical flow needed for the fog lights to operate. Start by visually inspecting all the connections associated with the fog lights, from the bulb sockets to the switch and fuse box. Check that the connectors are secure and properly seated. You might need to gently tug on the wires to confirm they are firmly connected. A good connection provides a consistent electrical path and ensures your lights receive the power they need to work. Loose connections can be easily fixed by ensuring the wires are correctly seated and making proper contact.
- Locate All Connections: Identify all the connections in the fog light circuit.
- Visually Inspect: Examine connectors for any signs of looseness or damage.
- Check for Secure Fit: Ensure all connectors are firmly seated.
- Test the Connections: Gently tug on wires to check for any looseness.
- Reconnect if Necessary: If any connections are loose, reconnect them firmly.
Loose connections are a frequent source of electrical problems and can be readily addressed. Regular inspections can help prevent issues. By taking the time to check the connectors, you can eliminate the chance that a simple connection is the problem. Making sure the connections are secure ensures a constant flow of electricity. It’s often the simplest of fixes, but it is a step that frequently solves the issue with the fog lights not working on one side. Keep an eye out for any corrosion or damage to the connectors.
Inspecting the Wiring for Damage
Wires can get damaged because of various factors, like wear and tear, or external elements such as heat and moisture. Damaged wires, including cuts, fraying, or exposed conductors, can cause shorts or prevent electricity from reaching the fog lights. The inspection starts by tracing the wiring from the fog lights back to the power source. Look for any visible damage along the wiring route. This might require you to remove protective covers or panels. If you find any damaged wires, you have a couple of options: You can repair the damaged section by using electrical tape or wire connectors to patch the damaged areas, or, in more severe cases, replace the damaged wires entirely. Properly repairing damaged wires ensures the electrical system functions safely and reliably. A thorough inspection of the wiring is critical because even small amounts of damage can lead to electrical failure.
- Trace the Wiring: Follow the wiring from the fog lights back to the power source.
- Look for Damage: Check for cuts, fraying, or exposed wires.
- Repair Damaged Wires: Use electrical tape or wire connectors to repair.
- Replace Severely Damaged Wires: If the damage is extensive, replace the wires.
- Test the Lights: After repair, test to ensure the fog lights now function correctly.
Damage to the wiring is a frequent cause of electrical malfunctions. This can be caused by various environmental and mechanical issues. By carefully examining the wiring for any signs of damage, you can identify and repair any issues that are stopping your lights from working. Repairing or replacing damaged wires is crucial for the lights to function correctly and for safety reasons. It’s essential to conduct this inspection thoroughly to prevent future problems.
Examining the Switch and Relay
The switch and relay are key elements in the operation of your fog lights. The switch is what you use to turn the lights on and off, and the relay acts as an electrical switch that controls the power flow to the lights. If either the switch or the relay malfunctions, your fog lights might not work. Checking the switch and relay helps to determine if a malfunction is affecting the operation of your fog lights. By following a structured process, you can find the root cause of the problem and possibly fix it.
Testing the Fog Light Switch
The fog light switch is a common point of failure. Over time, it can wear out, and its internal components can fail. A malfunctioning switch can interrupt the electrical signal needed to activate the fog lights. To check the switch, first, make sure the power is on. Use a multimeter to test the switch for continuity when the lights are turned on. If the switch does not show continuity when turned on, it is defective and needs replacing. You can also try bypassing the switch to see if the fog lights work. If bypassing the switch restores the function, it confirms the switch as the problem. Replacing the switch generally requires removing it from the dashboard, disconnecting the wires, and installing a new one. Replacing the switch ensures that the electrical signal is properly sent to the fog lights, allowing them to operate.
- Locate the Switch: Find the fog light switch in your vehicle.
- Test for Continuity: Use a multimeter to test continuity when the switch is on.
- Bypass the Switch: If you suspect a switch issue, bypass it to see if lights work.
- Replace the Switch: If the switch is defective, remove it and install a new one.
- Test the Lights: After replacing the switch, test the fog lights.
Problems with the fog light switch are relatively common, often due to wear and tear. Testing the switch is an easy process and can quickly rule out any issues. If the switch is the problem, replacing it often restores functionality. Ensure that you have the right replacement for the make and model of your vehicle. You can easily test the switch using basic tools. This diagnostic step quickly helps determine if the switch is the reason your fog lights not working on one side.
Inspecting the Fog Light Relay
The relay is a critical element in the electrical system of fog lights. It functions as a remotely operated switch. It allows a small amount of current to control a larger amount. The relay is often located in the fuse box or under the hood. Relays can fail over time. To test the relay, use a multimeter. Check for continuity when the relay is activated. If the relay does not show continuity when activated, it needs to be
- Locate the Relay: Find the fog light relay, often in the fuse box.
- Test the Relay: Use a multimeter to check for continuity.
- Swap the Relay:
- Replace the Relay: Replace the relay if it is defective.
- Test the Lights: Turn on the fog lights and verify.
Relay problems are a typical reason for electrical malfunctions. The relay’s job is to control power. Testing and swapping the relay is a practical way to check if it’s the problem. By correctly testing and replacing the relay, you can often fix the issue and get your lights working again. It’s a quick and efficient step, so it is often one of the first things to look for when dealing with fog lights not working on one side. Ensure the replacement matches your original.
Possible Issues and Solutions
Here are some of the typical problems that can arise when you have fog lights not working on one side. In this section, we will delve into a few common situations and the solutions you can use. Understanding these situations will help you diagnose the issues faster. Remember to carefully examine each component. Having the correct tools and a structured approach will allow you to diagnose and fix the lights.
Scenario: One Fog Light is Dim or Flickering
If one of the fog lights is dim or flickering, the issue might be related to a bad connection, an issue with the bulb, or corrosion. For instance, the bulb socket might have corrosion, which can reduce the flow of electricity. A loose wire can also cause flickering. Start by checking the bulb’s condition and ensuring that it is properly seated in its socket. Clean any corrosion with a wire brush or contact cleaner, if found. Ensure all connections are secure and that the wires are firmly connected. Test the bulb with a multimeter to ensure it is receiving the right voltage. Often, simply replacing the bulb or cleaning the connections solves the problem. Thoroughly checking for loose connections and any corrosion can resolve these issues.
- Bulb Check: Inspect the bulb for damage and ensure it is properly seated.
- Corrosion: Check for corrosion on contacts. Clean with contact cleaner.
- Wire Inspection: Check for loose or damaged wires; ensure they are securely connected.
- Voltage Test: Use a multimeter to ensure the bulb is receiving the correct voltage.
- Replacement: Replace the bulb if it appears damaged.
Flickering or dim lights can be due to poor electrical contact. Cleaning the connections and replacing a faulty bulb typically resolves the issue. It’s a fundamental troubleshooting step, and usually an easy fix. Dimming or flickering lights reduce visibility and may affect driving safety. Addressing these issues immediately is important. This helps prevent further damage.
Scenario: Both Fog Lights Suddenly Stop Working
If both fog lights stop working unexpectedly, the problem is often related to a blown fuse, a malfunctioning switch, or a break in the main power supply. Check the fog light fuse first.
- Fuse Inspection: Check the fog light fuse in the fuse box and replace it if blown.
- Switch Testing: Test the fog light switch with a multimeter and replace if it is not working.
- Relay Inspection: Check the fog light relay; replace if it is faulty.
- Wire Check: Ensure the main power connections are secure and free of damage.
- Professional Check: If issues continue, seek expert help.
Both lights failing together often suggests a more widespread problem. Fuses and switches are often the root cause. This condition often stems from a shared electrical component or a simple failure. Systematic troubleshooting often quickly resolves the issue.
Frequently Asked Questions
Question: What should I do if the fuse keeps blowing?
Answer: If the fuse blows repeatedly, there is likely a short circuit or a serious electrical issue in the wiring. Stop and seek professional help from a qualified mechanic. Do not keep replacing the fuse, as it could damage other electrical components or cause a fire.
Question: Can I use a higher amperage fuse?
Answer: Never use a fuse with a higher amperage than specified for your fog lights. This can cause the wires to overheat and potentially cause a fire. Always use the correct amperage fuse listed in your car’s manual.
Question: How do I find the correct replacement bulbs?
Answer: The type of bulb your fog lights use will be listed in your car’s owner’s manual. You can also find the bulb type printed on the bulb itself or the fog light housing. The correct bulb type is essential for proper operation.
Question: What tools do I need to fix my fog lights?
Answer: You will typically need a screwdriver, pliers, a multimeter, and possibly electrical tape or wire connectors. A fuse tester can also be helpful. Always have the owner’s manual at hand to get the specifications for your car.
Question: When should I take my car to a mechanic?
Answer: If you’ve tried all the troubleshooting steps and the lights still aren’t working, or if you’re uncomfortable working with electrical systems, it’s best to take your car to a trusted mechanic. They have the experience and tools to diagnose and resolve more complex issues.
Final Thoughts
Having fog lights not working on one side can be a source of frustration, but many times, the solution is not as complicated as it seems. From simple checks, like replacing a bulb, to a more involved process of inspecting wires, you can often fix the issue yourself. By carefully following the steps detailed in this guide, you can pinpoint the source of the problem and get your fog lights functioning again. Remember to start with the easy things, like checking fuses and bulbs, and then explore the wiring, switch, and relay. With a bit of patience and some basic tools, you can resolve these issues, improving your car’s safety. Should your issue persist, seeking professional help is the best option to get your lights back in working order.