How to Adjust Fog Lights: A Simple Guide for Optimal Visibility
Getting your car’s lights right can feel tricky, especially when you’re first learning about car maintenance. One area where people often have questions is on how to adjust fog lights. The good news is, it’s usually simpler than you might think. This guide will walk you through the process step-by-step, helping you get your fog lights aimed perfectly. We’ll show you everything you need to know, making it easy to see better in foggy conditions. Let’s begin!
What Are Fog Lights and Why Adjust Them?
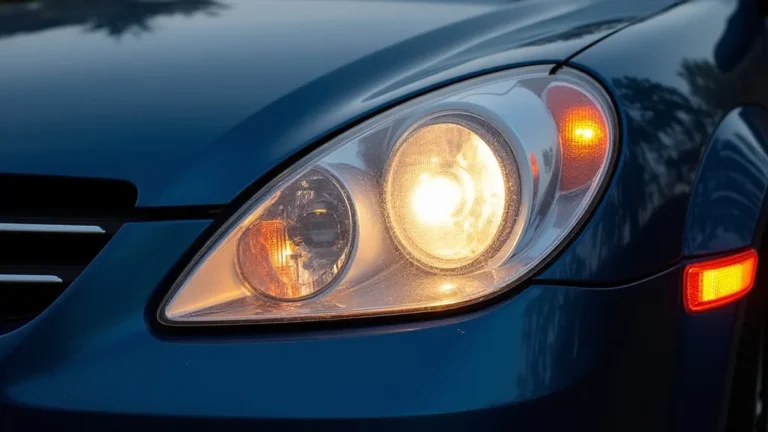
Fog lights are special lights located low on the front of your vehicle. They’re designed to help you see better in foggy, snowy, or rainy conditions. Unlike your headlights, which shine straight ahead, fog lights are positioned to direct their beams downwards and outwards. This helps illuminate the road surface directly in front of you, reducing glare and improving visibility. Because of their position and design, it’s critical to ensure they are adjusted properly, or they could become a nuisance to oncoming drivers.
The primary reason to adjust fog lights is to ensure they’re aimed correctly. Incorrectly aimed fog lights can be ineffective, not providing the visibility you need in foggy situations. If they’re aimed too high, they can cause glare for oncoming drivers, which is not safe or considerate. If they are too low, they might not illuminate the road surface effectively. Adjusting your fog lights ensures they provide the maximum benefit, enhancing safety in challenging weather.
The Purpose of Fog Lights
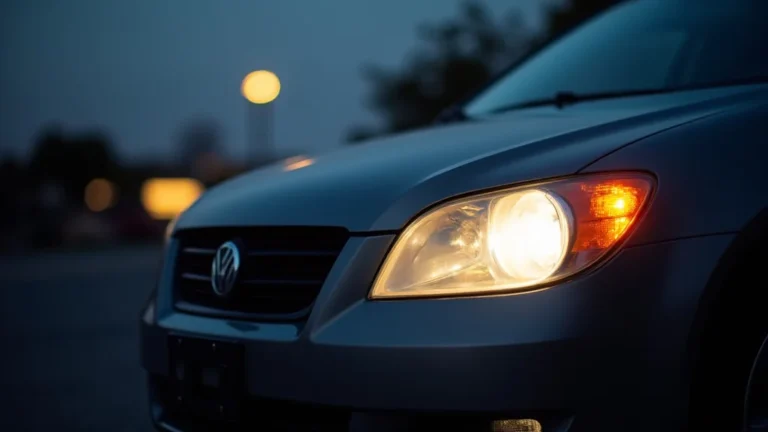
The purpose of fog lights is to increase visibility during inclement weather conditions. Standard headlights often aren’t as effective in fog, rain, or snow. Their beams can reflect off the water droplets or ice crystals in the air, creating a “wall” of light that reduces visibility. Fog lights, on the other hand, are designed to cut through this. They’re placed low to the ground, which means their light is less likely to reflect off the fog or precipitation, and more likely to illuminate the road surface.
- Enhanced Visibility: The primary function is to make it easier for the driver to see the road ahead in adverse conditions.
- Reduced Glare: Their low placement minimizes the glare that can be caused by higher-mounted headlights in fog or heavy rain.
- Improved Safety: By improving visibility, they increase safety for the driver and other road users.
Many drivers mistakenly believe that fog lights are only helpful in extreme weather. While they are most beneficial during heavy fog, they also help in other situations like heavy rain, snow, or even dust. They can provide an added layer of safety in any condition where visibility is reduced. Statistics show that car accidents increase by up to 10% during times of fog, highlighting the need for functional and properly aimed fog lights. This is particularly true on winding roads.
Fog Light vs. Headlight Differences
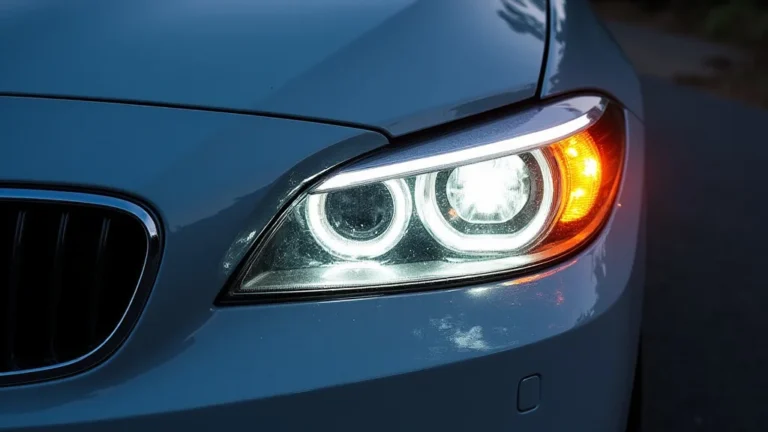
There are key differences between fog lights and headlights in their design and functionality. Headlights are designed to provide a long-range beam of light, illuminating the road far ahead. Their position is higher on the vehicle, and their light is usually focused to project forward. They are crucial for driving at night or in low-light conditions.
- Beam Pattern: Headlights project a focused beam, while fog lights have a wider, flatter beam pattern.
- Placement: Headlights are higher up, while fog lights are positioned low to the ground.
- Purpose: Headlights are for general nighttime visibility; fog lights are for use in adverse weather conditions.
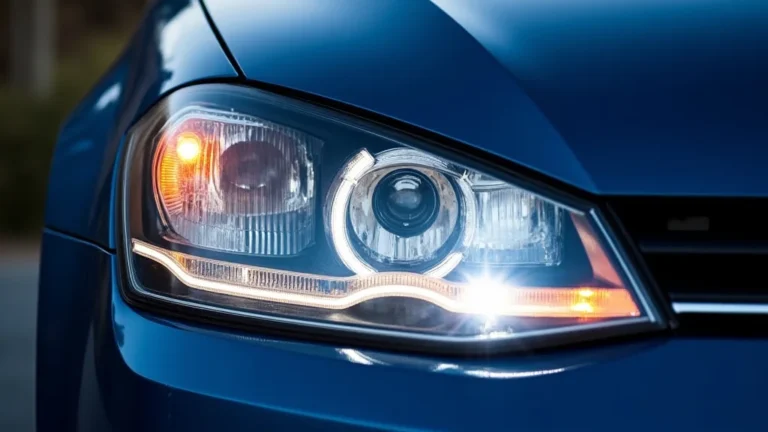
Fog lights often use a yellowish or amber light, which some studies suggest is more effective at cutting through fog than white light. However, many newer vehicles have fog lights that use white light as well. The primary job of a fog light is to enhance visibility at close range, while the main job of headlights is to provide visibility over a longer distance. This coordinated system is what keeps drivers safe. Headlights use a high and low beam, the low beam being used most of the time to avoid blinding drivers.
Getting Ready to Adjust Your Fog Lights
Before you begin the process of how to adjust fog lights, you’ll need to gather a few things. Having the right tools and knowing a few basic principles will make the job much easier. This section will guide you through the preparation phase, ensuring you have everything you need to do the adjustment correctly. It’s best to perform this task in a well-lit area, such as a garage or a spot where there is enough lighting.
This preliminary step is essential for accurate adjustments and ensures safety during the process. Having the proper equipment will help you find the adjustment screws, ensuring that the process is smooth and that you get the desired results. Taking a moment to prepare means that you will spend less time fiddling with things, and more time getting the job done.
Gathering Your Supplies
The first step is gathering the necessary tools and supplies. You’ll need only a few items to perform the adjustment. It’s usually a straightforward process.
- Your Car’s Owner’s Manual: This is a key resource. It will tell you the exact location of your fog light adjustment screws. It also has instructions specific to your car’s model.
- A Phillips Head Screwdriver or a Torx Wrench: The type of screwdriver or wrench you need will depend on your vehicle.
- A Level Surface: You’ll want to park your car on a flat surface to get accurate results.
- A Wall or Garage Door: You’ll use this to check the alignment of your fog lights.
- Measuring Tape: This can help to confirm you have the proper distance from the ground.
The tools required are common items, and you likely have them at home. The owner’s manual is indispensable because it provides model-specific information. You want to make sure the car is on a level surface. A slight slope can impact the results. Having all these items ready will help ensure a smooth, efficient adjustment process.
Finding the Adjustment Screws
The adjustment screws are usually located near the fog light housing itself. Their exact location can vary by vehicle make and model, which is why your owner’s manual is so useful. The screws are usually accessible without removing any parts of your vehicle. However, some car designs require you to access them from underneath the car.
- Consult Your Owner’s Manual: Locate the section on lighting adjustments.
- Look for the Adjustment Screws: They will usually be small screws, and turning them will adjust the vertical and sometimes horizontal alignment of the fog lights.
- Check Under the Bumper: On some vehicles, the screws may be found beneath the bumper.
The adjustment screws are essential, as they allow you to fine-tune the aim of the fog lights. The screws might be on the top, side, or back of the fog light housing. The screws generally control the vertical and horizontal aim. By finding the screws, you’ll be one step closer to making the necessary adjustments. If you cannot find the screws, contact a local repair shop or the car’s manufacturer.
Step-by-Step Instructions: How to Adjust Fog Lights
Now that you’ve prepared, let’s get into the step-by-step process of how to adjust fog lights. Following these instructions will allow you to make the adjustments necessary to maximize your fog light effectiveness. Each step is designed to be easy to follow and aimed at helping you get the best possible visibility. With a bit of patience, you will soon get your lights shining correctly.
Remember to work safely. Ensure the car is parked on a level surface. Also, be sure that the car is turned off, and the parking brake is engaged before starting. If at any point you feel uncomfortable with the process, or you are unsure about any steps, consider seeking help from a professional.
Step 1: Park Your Car Correctly
The first step is to park your vehicle on a level surface, facing a wall or garage door. This is an essential step, as any slope can affect the accuracy of your adjustments. The car should be approximately 10 to 20 feet away from the wall. Measure the distance to ensure it’s appropriate.
- Find a Flat Surface: Choose a level area, like a driveway or a parking lot.
- Position the Car: Face the vehicle towards a wall or garage door.
- Measure the Distance: Ensure the car is a consistent distance from the wall (usually 10-20 feet).
A level surface is crucial for accurate alignment. The wall will serve as your visual reference to determine how high or low your lights are shining. The right distance ensures you can see the light pattern clearly. This will give you the most accurate results for adjusting your fog lights.
Step 2: Locate the Vertical Adjustment Screws
The next step is to locate the vertical adjustment screws. This is where your owner’s manual comes in handy, showing you the exact location. The adjustment screws may be on the top, side, or back of the fog light housing. Use your screwdriver or wrench to find these screws.
- Consult Your Manual: Refer to the diagram in your owner’s manual to find the adjustment screws.
- Check the Fog Light Housing: Look around the housing for small screws.
- Prepare Your Tools: Have your screwdriver or wrench ready to make adjustments.
Once you’ve found the screws, make a note of their position for later. You will use these screws to adjust the vertical aim of your fog lights. Most fog lights have a single screw for vertical adjustment. Some might also have a second screw for horizontal adjustment. This process requires precise adjustment to prevent glare. If you are unsure, gently move the screw a little to see how it affects the light pattern.
Step 3: Adjusting the Vertical Aim
After finding the vertical adjustment screws, you will start adjusting the fog lights. This is where you will make the necessary adjustments to get the correct aim. By turning the screw, you will raise or lower the beam of the fog lights. A common recommendation is to set the top of the fog light beam at 4 inches below the horizontal center line when measured at 25 feet.
- Turn On Your Fog Lights: Make sure the fog lights are turned on so you can see the light pattern on the wall.
- Make Small Adjustments: Turn the adjustment screw, usually in small increments. Turn the screw clockwise to raise the light beam and counterclockwise to lower it.
- Check the Beam Pattern: Observe the light pattern on the wall after each adjustment to see how it changes.
The goal is to aim the fog lights at a height that gives the most effective illumination without creating glare. If you’re unsure, it is generally better to aim the lights slightly lower than higher. Repeat this step for each fog light to ensure both are aimed consistently. Taking the time to adjust the lights properly ensures safety for you and other drivers. The height recommendation is usually measured from the ground. Be patient and make small adjustments until you see the desired results.
Step 4: Checking the Alignment
After adjusting the fog lights, you need to check the alignment to ensure they’re aimed correctly. The simplest way is to observe the light pattern on the wall. Also, make sure that both fog lights are aimed at the same height. This ensures that the illumination is even and provides the best possible visibility.
- Observe the Light Pattern: Look at the light pattern on the wall to see how it is illuminating the surface.
- Compare the Heights: Make sure the top of each light’s beam is at the same height.
- Test Drive: If possible, take the car for a short test drive to check how the lights look on the road.
The light pattern should be wide and flat, with a clear cutoff at the top to prevent glare. If the lights are too high, they will shine into oncoming drivers’ eyes. If they are too low, they will illuminate too close to the car. Take the time to observe the pattern and make any final adjustments. If the alignment is not perfect the first time, make small corrections until it’s just right. Once the lights are correctly aligned, you can be sure of enhanced visibility during adverse weather conditions.
Troubleshooting Common Issues
Sometimes, things don’t go perfectly the first time, and it helps to know how to deal with common problems. During the process of how to adjust fog lights, you may face a few challenges. This section addresses some of the most common issues you might encounter and offers solutions to make the process smoother. The solutions will save you time and ensure that you get the best outcome.
Addressing these issues can save you from frustration. They are usually easy fixes that will allow you to complete the process. If you follow these guidelines, you can often address any issues yourself. However, for more complex problems, seeking assistance from a professional is the best solution.
Fog Lights Are Too Low or Too High
One of the most frequent issues is when the fog lights are aimed too low or too high. This is usually easily fixed by adjusting the vertical alignment screws. Aiming the lights too high can cause glare, while aiming them too low can reduce their effectiveness.
- Problem: Lights Are Too High: This can cause glare.
- Solution: Lower the beam by turning the adjustment screw counterclockwise.
- Problem: Lights Are Too Low: This reduces the area of illumination.
- Solution: Raise the beam by turning the adjustment screw clockwise.
To avoid glare, adjust the lights down until they no longer shine into the eyes of other drivers. If the lights are too low, you will not get maximum visibility. The adjustment process can take a few attempts to get it just right. The solution is usually to make small adjustments, testing the lights each time. If the adjustment does not seem to work, consult your owner’s manual to verify the correct screw for vertical adjustment.
Fog Lights Not Working
If your fog lights are not working, the problem could be a blown fuse, a faulty bulb, or a wiring issue. It is important to diagnose the problem systematically to determine the cause and how to adjust fog lights correctly. Troubleshooting ensures that you can identify and resolve any issues quickly.
- Check the Fuses: Examine the fuse box to see if the fuse for the fog lights is blown. Replace if needed.
- Inspect the Bulbs: Check the bulbs for any signs of damage or burn-out. Replace if necessary.
- Inspect the Wiring: Look for any loose connections or damaged wiring.
When dealing with electrical issues, safety is a priority. Make sure that the car is turned off and the key is out of the ignition before working on the electrical system. If the problem persists, consulting a qualified mechanic is a good idea. They can perform more in-depth diagnostics and address complex wiring issues, ensuring your fog lights work correctly.
Difficulty Finding the Adjustment Screws
Sometimes, finding the adjustment screws can be challenging. This is especially true if you are unfamiliar with your car. The adjustment screws can be in various locations depending on your vehicle model. It is always wise to consult your owner’s manual.
- Check the Owner’s Manual: The manual will provide the exact location of the adjustment screws.
- Inspect the Fog Light Housing: Look closely around the housing for small screws.
- Check Under the Bumper: Some cars have adjustment screws that can be accessed from underneath the bumper.
If you’re still unable to find the screws, consider searching online for videos or forums specific to your car model. These may have helpful information and tips. As a final step, you could take your car to a mechanic for assistance. They will be able to locate the screws and make the necessary adjustments.
Frequently Asked Questions
Question: How often should I adjust my fog lights?
Answer: You usually don’t need to adjust your fog lights very often. However, it’s wise to check them occasionally. Check them if you notice a decrease in visibility or after any repair work. It is also good practice to check them before or after driving in extreme weather conditions.
Question: Can I adjust my fog lights myself?
Answer: Yes, you can usually adjust your fog lights yourself. The process is straightforward and only requires a few basic tools. The most crucial item is your car’s owner’s manual, which will show you the adjustment screw locations. However, if you are not comfortable, seek help from a professional.
Question: What’s the best way to determine the correct height for my fog lights?
Answer: The ideal height is usually found by aiming the top of the fog light beam at a specific distance from the ground. Your owner’s manual will provide a specific distance for your car. If the manual is not clear, aim the lights so the beam illuminates the road ahead without creating glare for other drivers.
Question: Are there any safety precautions I should take when adjusting my fog lights?
Answer: Always park your car on a level surface. Make sure the car is turned off and the parking brake is engaged. Before working on any electrical parts, take the key out of the ignition. If you are unsure about any steps, it’s best to seek help from a professional.
Question: Where can I get help if I can’t adjust my fog lights myself?
Answer: If you’re having trouble, you can seek assistance from a local mechanic or a car repair shop. They can easily adjust your fog lights and ensure they’re aimed correctly. They can also troubleshoot any issues you might be having.
Final Thoughts
Now that you know how to adjust fog lights, you’re well-equipped to improve your vehicle’s visibility and safety. The process is simple, involving a few easy steps. First, ensure you have the correct tools and parking spot. Then, find the adjustment screws, turn the lights on, and carefully adjust them. Finally, observe the light pattern and make any fine-tuning adjustments.
By learning how to adjust fog lights, you’ve taken a significant step toward improving your driving experience. Taking these steps is especially important in conditions where visibility is reduced. Now you can confidently adjust your fog lights, whether it’s for better visibility or safety. Remember to always prioritize safety and consult a professional if you feel unsure. This simple task can significantly improve your ability to see and be seen on the road. Enjoy your newly improved visibility!