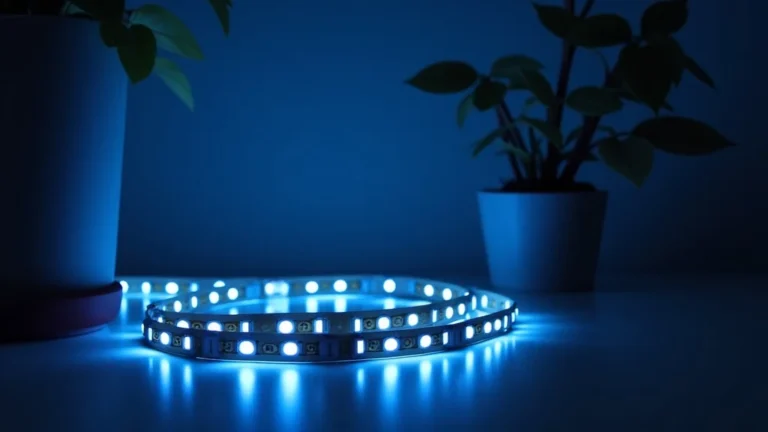
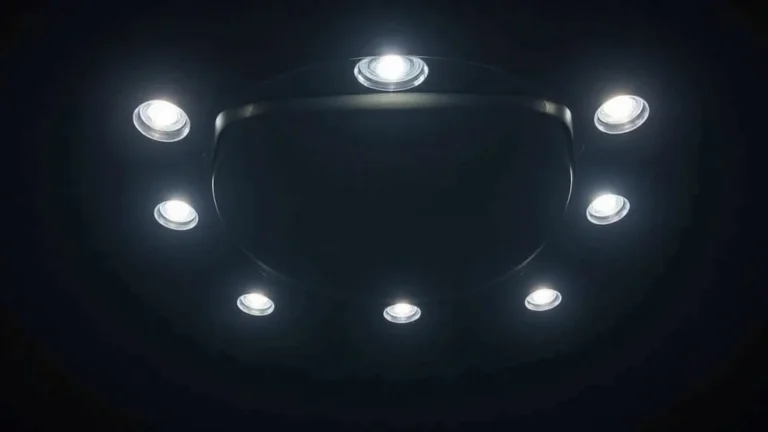
Interior LED Dome Light Wiring Problems: A Simple Fix
Wiring an interior led dome light wiring problem can seem tricky at first, especially if you’re new to electrical work. The good news is, many common issues are straightforward to solve. This post will help you through the process step by step, making it easy to troubleshoot and get your lights working correctly. We’ll explore the basics and show you how to identify and fix common issues, making sure you don’t get frustrated. Let’s get started!
Common Issues in Interior LED Dome Light Wiring
Many folks run into troubles when they’re working with the interior led dome light wiring problem, and it usually boils down to a few basic issues. Sometimes, the wires aren’t connected properly, causing the light not to turn on. Other times, the new LED light might not be compatible with the existing electrical setup. Also, problems with the power supply or the switch can occur. Don’t worry! We’ll explore these common challenges and show you how to solve them so you can successfully install or repair your lights.
Wire Connections and Polarity
One of the first things to check is the wiring itself. Ensure all connections are secure and that wires are correctly linked. Pay close attention to polarity; that is, ensuring the positive and negative wires are connected properly. Reversing the polarity is a very frequent mistake that prevents the light from working. Always double-check your connections to avoid this. A loose wire can disrupt the circuit and keep your lights from working. Make sure each wire is firmly secured within the connector or wire nut.
- Identify the Wires: Before doing anything, be sure you can tell the positive and negative wires apart. The wires are generally color-coded. Usually, red or black is positive (+), and white or another color is negative (-). If you’re unsure, use a multimeter to check the polarity. A multimeter helps verify the voltage, making sure you can safely handle the wiring project.
- Make Secure Connections: Ensure the wires are securely connected to the dome light. Wire nuts or crimp connectors are useful tools here. Twist the wires tightly together inside the wire nut. For crimp connectors, use the right crimping tool to get a firm, reliable connection. You want the wiring to be sturdy, so it doesn’t come loose when the car moves.
- Check for Loose Wires: After the wires are connected, gently tug on each wire to ensure the connection is strong. Loose wires are a common reason for lighting issues. This will help make sure there are no issues later on. If a wire comes loose with a slight tug, you’ll need to redo the connection.
- Use the Right Gauge Wire: Using the correct gauge wire is also very important. Make sure that the gauge is appropriate for the light and voltage. Consult your light’s instruction manual or the vehicle’s service information for the recommended wire gauge. Incorrect wire gauges can cause the lights to malfunction or pose safety risks.
LED Compatibility
LED lights have specific requirements that may not align with older electrical systems. LEDs work differently than older lights, like incandescent bulbs, in terms of voltage and current needs. Ensuring your LED dome light is compatible with your car’s electrical system is a must. If there’s a mismatch, your LED light won’t light up or could be damaged. You might also notice flickering or dim lighting, indicating there is a compatibility problem. Luckily, it is easy to fix. The important thing is to make sure your LED light is suitable for the vehicle.
- Check the Voltage: Most car electrical systems operate on 12 volts DC. Verify that your LED dome light is designed to operate at 12V. Using a higher or lower voltage can damage the light or make it not work properly. The voltage should be clearly marked on the light’s packaging or the light itself.
- Consider the Polarity: LEDs require correct polarity (positive and negative). Make sure you connect the positive (+) wire of the LED to the positive terminal and the negative (-) wire to the negative terminal. LEDs will not work if the polarity is reversed. Double-check your connections.
- Resistor Requirements: Some LED dome lights might need a resistor, especially if they are designed to
- Canbus Compatibility: Many modern vehicles have a CAN bus system that monitors the vehicle’s electrical systems. If your vehicle has a CAN bus system, choose LED dome lights that are CAN bus compatible. Otherwise, the car’s system could think there’s a problem with the lights, leading to issues. Check your car’s manual to find out if it has a CAN bus system.
Switch and Power Supply Problems
Sometimes, the issue isn’t the light itself, but rather the switch or the power supply. A faulty switch won’t send power to the light, and a problem with the power supply means there isn’t any electricity to use. These problems might happen after a new install or come about over time. It is important to know how to recognize the symptoms of these issues. Checking the switch and power supply will save you a lot of time and effort.
- Test the Switch: Use a multimeter to test the switch. Set the multimeter to measure continuity. With the switch off, there should be no continuity (no connection). When you turn the switch on, the multimeter should show continuity. If it doesn’t, the switch is likely faulty and needs replacing.
- Examine the Wiring to the Switch: Make sure the wires going to the switch are connected correctly and that there is no damage. Look for loose or corroded connections. These can prevent the switch from properly sending power to the light. Ensure the wires are clean and secure.
- Check the Fuse: A blown fuse is a very common cause of lighting problems. Check the fuse that protects the dome light circuit. Locate the fuse box, find the fuse for the interior lights, and
- Inspect the Battery and Alternator: Although less common, a weak battery or a faulty alternator can cause lighting issues, especially dim lights. Make sure your battery is in good condition and can supply enough power. Have your alternator checked to ensure it’s properly charging the battery.
Step-by-Step Guide to Wiring an LED Dome Light
Let’s go through a simple guide for wiring your interior led dome light wiring problem. It’s important to make sure you’re working safely and know what you need. This process makes it easier to install or fix your lights. Before you start, gather your tools, turn off the power, and follow these steps. The key is to take it slow and to be careful.
Gathering Your Tools and Materials
Having the right tools and materials ready before you start will save you time and make the job easier. It’s like having all the ingredients before you begin to cook. You’ll need a few essential items to make the job go smoothly. This will make the work faster, more secure, and less frustrating. Being prepared helps a lot when you’re working on any electrical project.
- LED Dome Light: First, ensure you have the correct LED dome light for your vehicle. Make sure it matches the size, voltage (12V), and any special requirements, like CAN bus compatibility. Check the light’s instructions for any specific wiring needs.
- Wire Strippers: A wire stripper is used to remove the insulation from wires without damaging them. It’s important for creating good, safe connections. Make sure your wire strippers are the right size for the wire gauge you’re using.
- Wire Connectors/Wire Nuts: Wire connectors or wire nuts are needed to securely join the wires. Wire nuts are the little plastic caps you twist onto the wires. You can also use crimp connectors. Pick the type that best suits the job and that you feel comfortable with.
- Screwdrivers: You’ll need both a Phillips head screwdriver and a flathead screwdriver for removing and tightening screws. This helps you to install the light and open panels if necessary. Choose sizes that are appropriate for the screws in your car.
- Multimeter: A multimeter is an essential tool for testing voltage, continuity, and polarity. It helps you find problems in the electrical circuit. This is useful for troubleshooting. It will help you check for power and to be certain your connections are correct.
- Gloves and Safety Glasses: Protective gear is important. Gloves can protect your hands. Safety glasses will keep your eyes safe from debris and other potential hazards.
Preparation and Safety
Safety is key before starting any electrical project. You need to make sure the car is safe to work on and that you don’t risk injury. It’s better to take your time and do everything safely. Always disconnect the negative battery cable before starting work to avoid electrical shocks. If you are not comfortable doing any of this, you should ask an expert to assist you. Safety comes first!
- Disconnect the Battery: To make sure there is no electrical shock, disconnect the negative (-) terminal of the car battery. Use a wrench to loosen the nut holding the cable to the terminal. Remove the cable from the terminal. Make sure the cable doesn’t touch the terminal while you’re working.
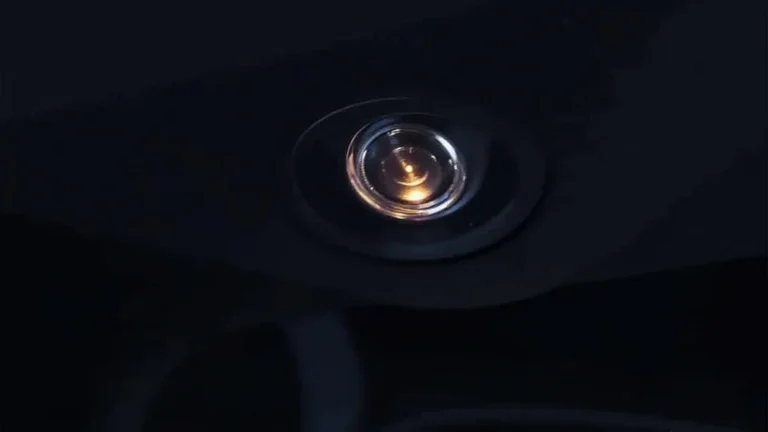
- Locate the Dome Light: Find the existing dome light inside your vehicle. It might be located in the roof or the overhead console. Before removing the old light, make sure you know how it is attached.
- Remove the Old Light (If Applicable): Carefully remove the old dome light. Some lights have screws. Others might have clips. Gently remove the housing of the old light to access the wires. Take a picture before removing the old dome light. This will help you know how to connect the wires on the new LED light.
- Clear the Area: Make sure you have a clean and well-lit workspace. Keep the area around your vehicle clear. If you’re working in a garage, make sure it is tidy to avoid tripping over anything.
Wiring the LED Dome Light
Now, let’s wire the new LED dome light. If you followed the prior steps, this part is pretty straightforward. You’ll attach the wires to the LED light, keeping the polarity in mind. Ensure you have a secure connection. A secure connection means your light should last and work properly. If the wires are not connected well, the light won’t work and you will be stuck with your interior led dome light wiring problem.
- Connect the Wires: Connect the wires from the LED dome light to the vehicle’s wiring. Make sure you match the positive (+) and negative (-) wires. Often, the wires from the car and the new light are color-coded. Match these colors. Use wire nuts or crimp connectors to join the wires securely.
- Double-Check Polarity: Before proceeding, double-check that the positive and negative wires are correctly matched. Reversing the polarity is a common mistake. Use a multimeter to verify your connections. This ensures your light will work and that you won’t harm the electrical system.
- Test the Connections: After connecting the wires, turn the light on (if possible, or turn the car’s power on) to see if it works. Test the light to make sure it functions properly. If the light does not turn on, recheck all your connections. Look for loose wires or incorrect polarity.
- Secure the Light: Once you’ve confirmed that the light functions, carefully mount it in the vehicle. Fasten the light using the screws or clips. Ensure the light is securely mounted and does not rattle or vibrate. Make sure all the wires are tucked neatly away.
Troubleshooting Common Wiring Problems
Even with careful planning, things sometimes go wrong. If your LED dome light isn’t working, don’t worry! Here is a troubleshooting guide for the interior led dome light wiring problem. Knowing how to diagnose and resolve problems will save you time and help you learn. By following these steps, you’ll be able to find and fix the issue quickly.
No Light at All
If the light doesn’t work at all, start by checking the power supply. Start with these simple checks to locate the issue. These steps help you eliminate simple problems before moving on to more complex ones. Starting simple often saves you time. It’s often something easy to fix.
- Check the Fuse: A blown fuse is a very common cause for a light not working. Locate the fuse box in your vehicle. Check the fuse that protects the dome light circuit. If the fuse is blown,
- Test the Switch: If the fuse is okay, check the light switch. Use a multimeter to test the switch. Make sure that when you turn the switch on, power is sent to the light. If the switch is faulty, replace it. You can test the switch by disconnecting it from the circuit.
- Verify the Wiring Connections: Make sure the wires are securely connected to the LED dome light. Check for loose connections, especially at the wire connectors or wire nuts. Make sure the wires are firmly seated. Re-do any connections that seem questionable.
- Check for Polarity: Double-check the polarity of the wires. Make sure the positive (+) wire from the light is connected to the positive wire in the car, and the same for the negative (-). Use a multimeter to confirm polarity. Reversing the polarity is a common error.
Dim or Flickering Light
If the LED dome light is dim or flickering, there are several causes. These issues usually relate to the power supply or the wiring. Addressing these problems makes the light brighter and more dependable. A dim or flickering light is often a simple problem. Let’s look at a few simple checks.
- Check the Voltage: Use a multimeter to check the voltage supplied to the LED light. The voltage should be close to 12V DC. If the voltage is too low, the light will appear dim. A low voltage could be a sign of a weak battery or problems with the vehicle’s charging system.
- Inspect for Loose Connections: Check all wire connections for any looseness. Sometimes, a slightly loose connection can result in a dim light. Wiggle each wire to make sure it’s secure. Reconnect any loose wires.
- Check the Ground Connection: Make sure the ground wire (negative) has a good connection to the car’s chassis. A poor ground connection can cause the light to be dim or to flicker. Make sure the ground connection is clean.
- Examine the LED Light Itself: Sometimes, the LED light itself may be defective. Try replacing the LED dome light with a new one. If the problem is solved, the original LED was likely faulty. If the problem persists, the issue lies elsewhere.
Light Does Not Turn Off
If your LED dome light stays on even when the switch is off, there is a wiring problem. This often relates to a problem with the switch. You can troubleshoot this issue using a few tests. Let’s identify the cause and how to fix it.
- Test the Switch: Use a multimeter to check the switch. Ensure the switch is working correctly. When you turn the switch off, no power should be going to the light. Replace the switch if it’s faulty. Make sure the switch is installed correctly.
- Check for a Short Circuit: A short circuit may be to blame. Look at the wires to see if any are touching each other, particularly near the switch. If the wires are worn, they might be touching. Any short can keep the light on. Repair any exposed wiring.
- Inspect the Wiring to the Switch: Make sure the wiring to the switch is in good condition and correctly connected. Wires connected incorrectly or damaged wires can result in the light staying on. Be sure to check the wiring carefully.
- Isolate the Light: If you’re unsure where the problem is, disconnect the light from the wiring. If the light goes off, the problem lies in the wiring. The light is not the issue. Then, test each part of the wiring individually to find the problem.
Real-Life Examples and Case Studies
Here are a few real-life examples and case studies that highlight interior led dome light wiring problem solutions.
- Case Study 1: The Flickering Light. A customer, let’s call him John, installed a new LED dome light in his car, but it was flickering. First, John inspected the wiring and found that the connections were loose. He tightened the connections, but the flickering remained. Then, he used a multimeter to check the voltage, which was fluctuating. John discovered that the car’s alternator was failing, leading to irregular power delivery. John replaced the alternator, and the LED light worked properly again.
- Case Study 2: No Light at All. Sarah installed a new LED light, but it didn’t work. First, she checked the fuse, which was blown. Sarah replaced the fuse, but it blew again. Then, she inspected the wiring. She found that the positive and negative wires were reversed. When Sarah corrected the wiring, the light worked properly.
- Case Study 3: The Persistent Drain. Mark installed an LED dome light and everything seemed fine. The light worked, but after a few days, his car battery was dead. Mark investigated and found that the light was staying on, even when the car was off. He discovered a fault with the switch. After replacing the switch, the light worked correctly and the battery drain was resolved.
Frequently Asked Questions
Question: Why is my new LED dome light not working after installation?
Answer: The most common causes are incorrect wiring, especially reversed polarity, a blown fuse, or the LED light not being compatible with your vehicle’s electrical system.
Question: How do I test the switch for my dome light?
Answer: Use a multimeter set to continuity mode. With the switch off, there should be no continuity. When you turn the switch on, you should see continuity.
Question: What should I do if my LED dome light is flickering?
Answer: Check for loose wire connections, verify the voltage supply, and make sure the ground connection is secure. The light itself may also be defective.
Question: Can I use any LED dome light in my car?
Answer: You need to make sure the LED dome light is the correct voltage (usually 12V), compatible with the car’s CAN bus system (if applicable), and of the right size and type for your vehicle.
Question: How do I know if I have a short circuit in my dome light wiring?
Answer: A blown fuse, a light that won’t turn off, or a burning smell can indicate a short circuit. Inspect the wiring for damaged insulation or exposed wires.
Final Thoughts
Working on the interior led dome light wiring problem can be challenging, but with the right steps, it’s a job you can successfully complete. By understanding common issues such as polarity, LED compatibility, and power supply, you can pinpoint the source of the problem. Remember to follow the safety steps and gather all of the proper tools. Whether you’re dealing with a light that won’t turn on, is dim, or won’t turn off, understanding the components of your system makes fixing these issues easier. So, next time your dome light isn’t working, don’t be discouraged! Take things one step at a time, use the steps in this guide, and you’ll have your lights shining again in no time.