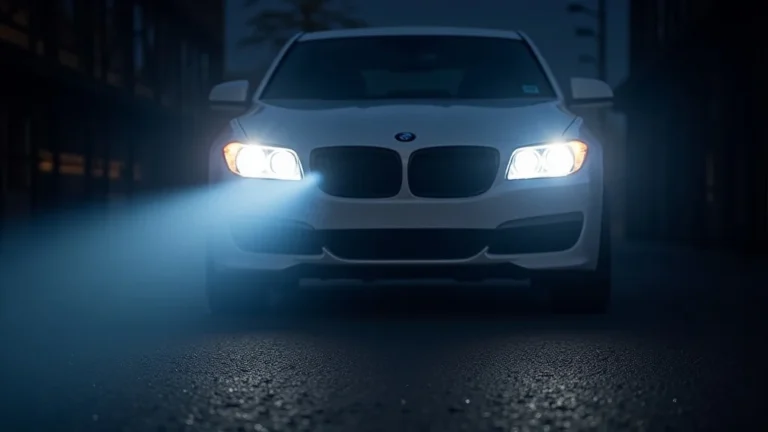
Restore Yellow Headlights: A Simple Guide to Clarity
If you’ve noticed your headlights looking yellow or cloudy, you’re not alone! This happens to many car owners. Figuring out how to restore yellow headlights might seem tricky at first, but don’t worry. This guide will make it super easy. We’ll break down the process step-by-step so you can get your headlights sparkling again. Get ready to explore the simple steps to a brighter, safer drive!
What Causes Yellow Headlights?
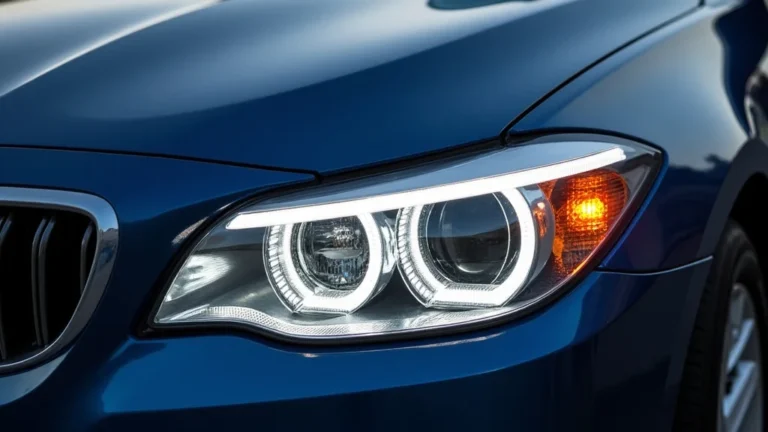
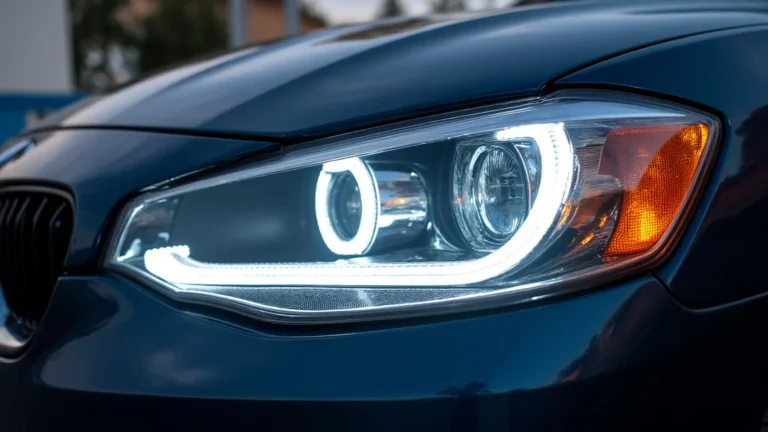
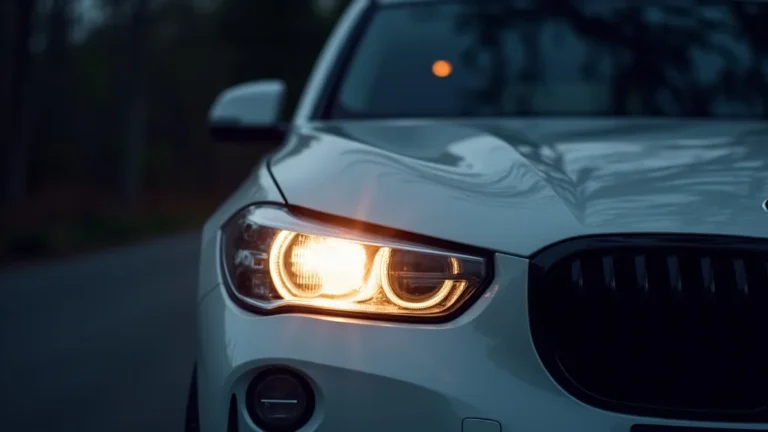
Your car’s headlights are made from a clear plastic called polycarbonate. This material is great because it’s strong and doesn’t shatter easily. However, it’s also susceptible to damage from the sun’s ultraviolet (UV) rays, along with exposure to road debris, dirt, and harsh weather conditions. Over time, these elements cause the clear plastic to break down, resulting in a yellow, hazy appearance. This yellowing reduces the amount of light that shines through, making it harder to see at night or in bad weather, and reduces the visibility of your car. The good news is, you can fix this!
UV Damage and Oxidation
The primary reason for yellow headlights is UV damage and oxidation. Sunlight, especially the UV rays it contains, gradually breaks down the plastic, making it more porous. Oxidation is a chemical process where the plastic reacts with oxygen in the air, causing it to become cloudy. Think of it like a thin layer of rust forming on your headlight lenses, only it’s not rust, it’s oxidized plastic. This damage isn’t just cosmetic; it significantly reduces the effectiveness of your headlights, making driving at night more dangerous.
- What are UV Rays? UV rays are a type of radiation from the sun that can damage materials like plastic.
- How Oxidation Works. Oxidation is a chemical reaction that occurs when a substance is exposed to oxygen.
- Effects of UV Damage. UV rays break down the plastic, causing it to become brittle and yellow.
- Road Debris and Damage. Small particles from the road can scratch the headlight surface, accelerating the yellowing process.
The extent of the yellowing depends on where you live and how often your car is exposed to the sun. Cars in sunny areas will experience more severe headlight yellowing than those in areas with less sun. Regular car washes and parking in shaded areas can help slow down the process, but eventually, most headlights will require restoration.
Environmental Factors
Beyond sunlight, other environmental factors play a role in headlight degradation. Extreme temperatures, both hot and cold, can cause the plastic to expand and contract, which contributes to the cracking and clouding. Exposure to road salt, used in colder climates to melt ice and snow, is another major contributor. These chemicals can eat away at the plastic, causing damage and accelerating the yellowing process. Pollution and airborne contaminants, such as industrial emissions, can also settle on the headlight surface and lead to corrosion or discoloration. It’s a combination of these elements that create the perfect storm of headlight degradation.
- Road Salt. Used to melt ice and snow, it’s highly corrosive to plastic.
- Temperature Changes. Extreme heat and cold can cause the plastic to expand and contract, leading to cracking.
- Pollution. Airborne pollutants can settle on the headlight surface and cause damage.
- Weather Conditions. Rain, snow, and hail can also contribute to wear and tear.
Cars that are frequently exposed to these elements, like those parked outdoors or driven in harsh conditions, often see headlight yellowing more quickly. Protecting your headlights with a sealant or regularly cleaning them can minimize the effects of these factors.
Easy Steps for How to Restore Yellow Headlights
Restoring yellowed headlights can make a big difference in how well you can see while driving, plus it improves the overall look of your vehicle. It is generally a straightforward process that doesn’t need a professional. The approach involves cleaning, sanding, and polishing the headlight lenses to remove the damaged top layer of plastic. Afterward, the headlights are protected with a sealant or coating to prevent future damage. Each step is important for getting the best results and ensuring your headlights stay clear for longer. You’ll need a few supplies, but the investment is worth it for the improved safety and appearance of your car.
Gathering Your Supplies
Before you begin, make sure you have everything you’ll need. This will help the process go smoothly and will ensure that you have everything you need to restore your headlights properly. Many of the items can be found at your local auto parts store, or can be purchased online. Having all the items ready before you start saves time and keeps you from having to pause mid-project. Getting organized makes all the difference.
- Sanding Materials: You’ll need sandpaper in different grits, starting with a coarser grit and working your way to finer grits.
- Polishing Compounds: Car polish and a headlight-specific polish will help to get rid of scratches and make the surface clear.
- Protective Coating or Sealant: This is a key step to protect your headlights after they’re restored.
- Tools: You’ll need masking tape to protect the paint around your headlights, a spray bottle with water, microfiber cloths for wiping and polishing, and potentially a power drill with polishing attachments.
- Cleaning Supplies: Soap and water or a headlight cleaning solution to prepare the surface.
Make sure you have all the necessary supplies before beginning the headlight restoration process. Having the right tools and materials will ensure you get the best results. The type and quality of products you use can also affect the outcome. It is best to choose quality supplies to protect your headlights and make the restoration easier.
Cleaning and Preparing the Headlights
Before you start sanding, the first step is to clean your headlights. This will remove any dirt, grime, and road residue that could interfere with the sanding process. A clean surface ensures that the sandpaper works properly and gives you a clearer view of the damage. Preparing the area will make it easier to see how well the restoration is working, and it helps to ensure that all of the headlight is evenly sanded. Skipping this step can lead to an uneven finish and reduce the overall effectiveness of the restoration.
- Wash the Headlights. Use soap and water or a headlight cleaner to wash away any loose dirt and debris.
- Rinse Thoroughly. Make sure to remove all soap residue, as it can interfere with the sanding process.
- Dry the Surface. Use a clean microfiber cloth to completely dry the headlights.
- Mask the Surrounding Area. Use masking tape to protect the paint around the headlights from accidental sanding or scratching.
Properly cleaning and preparing your headlights ensures the rest of the restoration steps will be more effective. Taking the time to do this correctly gives you a much better final result. This will allow the sanding and polishing to be more successful, which will provide you with better clarity when driving.
Sanding the Headlights
Sanding is where you remove the damaged outer layer of plastic. This step is key to restoring clarity. You will start with a coarser grit sandpaper to remove the most damage, then move to finer grits to smooth out the scratches. Using progressively finer grits is important for achieving a smooth, clear finish. Sanding might seem harsh, but it removes the oxidized layer and reveals the fresh plastic underneath. The goal is to smooth out the surface so that light can pass through without being scattered. Be patient and take your time to avoid causing unnecessary damage.
- Start with Coarse Grit: Begin with 400 or 600 grit sandpaper to remove heavy oxidation.
- Wet Sanding: Always wet the sandpaper and the headlight to reduce friction and heat.
- Progress to Finer Grits: Gradually use 800, 1000, 2000, and even 3000 grit sandpaper for a smoother finish.
- Sand Evenly: Apply even pressure and sand in a consistent pattern to avoid uneven spots.
It’s important to wet sand throughout the process, as this reduces friction and helps to prevent the sandpaper from clogging. You can use a spray bottle with water. After each sanding step, wipe the headlights clean to remove any residue. Don’t skip any grits, and take your time to be sure that the sanding is even. The goal of this step is to remove the outer damage and create a smooth surface to polish.
Polishing and Protecting
After sanding, your headlights will likely appear hazy. This is normal. The polishing stage removes the sanding marks and brings back the clarity. This is the stage where you will bring the headlight back to its shiny, clear state. This involves using a polishing compound to smooth the surface and remove any remaining imperfections. Then, a protective sealant is applied to protect the headlight from future UV damage and oxidation. Without protection, all the effort put into the restoration will be lost quickly.
- Use a Polishing Compound: Apply a car polish or a headlight-specific polish to the headlight.
- Polish with a Machine or by Hand: You can use a power drill with a polishing pad or apply the polish by hand using a microfiber cloth.
- Buff to a Shine: Buff the headlight until it is clear and glossy.
- Apply a Protective Sealant: Apply a UV protectant sealant to prevent future yellowing.
Make sure to apply the polish evenly and use circular motions to remove the sanding marks. Then, use a microfiber cloth to wipe the polish and remove any residue. Apply a protective coating after polishing. Choose a sealant that specifically protects against UV rays and helps to maintain the clarity of your headlights for a longer period. This will help to keep your headlights looking clear and your driving safer.
Real-Life Examples and Results
Many car owners successfully restore their headlights at home. Seeing real-world examples can give you a clear idea of what to expect, and show the difference the process makes. The before-and-after photos and the satisfaction of these owners prove that this is a doable project.
- Case Study 1. A car owner in a sunny area noticed their headlights were heavily yellowed. They followed the steps, including sanding, polishing, and sealing. After a few hours of work, their headlights were as clear as new. The owner noted a significant improvement in visibility while driving at night.
- Case Study 2. A car owner with a car that was five years old was not happy with the look of his headlights. He followed a simple restoration guide. After a few hours of sanding, polishing and sealing, the headlights looked nearly new. This owner said that they saw an immediate improvement in the look of the car, and now had much better visibility.
- Case Study 3. A driver decided to restore their headlights before selling their car. The before-and-after photos demonstrated a massive improvement in appearance. The car sold quickly, and the owner was satisfied that the restoration increased the car’s value.
These real-life examples demonstrate that restoring yellowed headlights is effective and worth the effort. By following these steps, you too can achieve similar results and enjoy improved visibility and a better-looking car.
According to the National Highway Traffic Safety Administration (NHTSA), headlight performance directly affects road safety. Poor headlight performance is a contributing factor in around 20% of all nighttime crashes. Restoring yellow headlights not only improves visibility but can also help reduce the risk of accidents. It makes the car safer for the driver and others on the road.
| Factor | Before Restoration | After Restoration |
|---|---|---|
| Light Output | Reduced, yellow or cloudy | Increased, clear and bright |
| Visibility | Limited, especially at night | Enhanced, for safer driving |
| Appearance | Deteriorated, aged look | Improved, revitalized look |
Alternatives to Headlight Restoration
While restoring your headlights is often the most cost-effective solution, there are alternative options if the damage is severe or you prefer other solutions. Choosing the right option depends on the severity of the damage, your budget, and how much time you want to spend on the job. Each option has its own benefits and drawbacks.
Headlight Replacement
Replacing the entire headlight assembly is a viable option, especially if the damage is severe. It guarantees that you get new, clear headlights without the need for restoration. This option is usually the most expensive, but also gives the best results in terms of clarity and appearance. If the damage is beyond repair, or if you want a guaranteed “like new” look, replacement might be the best option for you.
- Pros: Provides a “like new” look, and improves the overall look of the car.
- Cons: Costly, and you may need to take your car to a shop to have it installed.
Choosing to
Professional Headlight Restoration
If you don’t feel like doing the work yourself, you can take your car to a professional. These services use specialized tools and techniques to restore headlights. This is a convenient option if you don’t have the time or if you’re not comfortable doing the work yourself. Professional services usually guarantee their work, which can give you peace of mind. While it costs more than DIY restoration, it is still more affordable than replacing the headlights.
- Pros: Convenience and professional results.
- Cons: More expensive than doing the work yourself, and you have to leave your car at the shop.
Professional services can often achieve excellent results by removing a deeper layer of damage and applying high-quality sealants to protect your headlights. You can usually choose from different service levels depending on your budget and how extensive the restoration needs to be. Many shops also offer warranties on their work, which can be useful if any problems occur after the restoration.
Frequently Asked Questions
Question: How long does it take to restore yellow headlights?
Answer: The time it takes varies, but it usually takes between 1-3 hours, depending on the severity of the damage and your experience.
Question: What’s the best way to prevent yellowing in the future?
Answer: Applying a UV protectant sealant or wax regularly, and parking your car in a shaded area, can help.
Question: Is it safe to use a power drill for polishing?
Answer: Yes, but use it with caution. Start at a low speed and keep the pad moving to avoid overheating the plastic.
Question: What type of sandpaper should I use?
Answer: You will need various grits, from coarser grits (400-600) to remove the damage to finer grits (2000-3000) for a smooth finish.
Question: Can I use household products instead of car-specific products?
Answer: It’s best to use car-specific products, as they are designed for the plastic used in headlights. Some household products might cause damage.
Final Thoughts
Restoring yellow headlights is a worthwhile project that can make a big difference in both your car’s look and your driving safety. This simple guide has walked you through the steps, from gathering supplies to polishing and protecting your headlights. You’ve explored why headlights turn yellow, learned about the key materials and tools needed, and explored the essential steps to follow. You now know how to remove the damaged layer of plastic, and how to get your headlights looking clear and bright again. Remember, the key is preparation, patience, and using the right products. With a little time and effort, you can enjoy improved visibility and a car that looks much better. Take action and explore this project today!