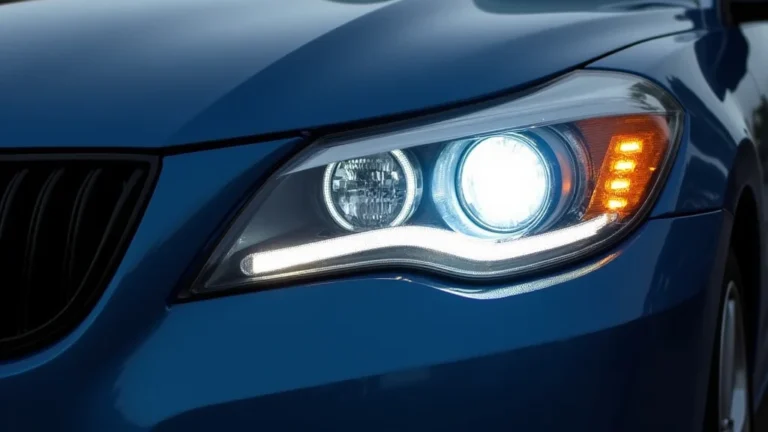
How To Keep Headlights From Yellowing And Stay Safe On The Road
It’s super common to see headlights getting hazy, right? You’re not alone if you’ve ever wondered how to keep headlights from yellowing. This can be tricky because headlights are exposed to the sun, weather, and road grime. Luckily, there’s a bunch of simple things you can do to help prevent it from happening, or to fix the problem if it already has! This guide will break down the steps, so you can keep your headlights bright and your view of the road clear. Let’s get started!
What Causes Headlight Yellowing?
Headlights are usually made from a clear plastic called polycarbonate. This plastic is great because it’s strong and doesn’t shatter easily. But it’s also vulnerable to the sun. Over time, the sun’s ultraviolet (UV) rays can break down the plastic, making it cloudy and yellow. This process is called oxidation. It’s like a sunburn on your headlights! Other things, like road salt, pollution, and even the heat from the bulbs themselves, can also speed up this process, causing your headlights to look dull and reduce how well they light the road.
The Science Behind Headlight Degradation
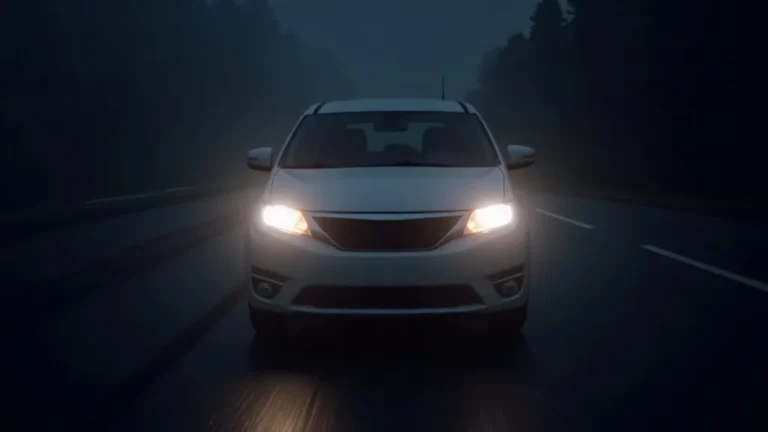
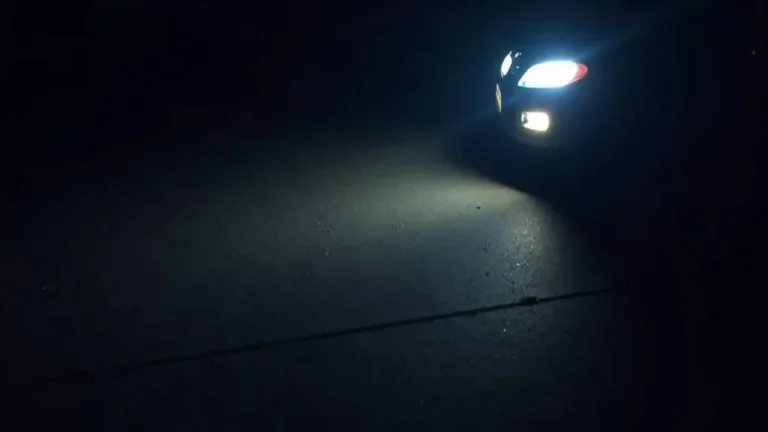
The yellowing and clouding of headlights is primarily caused by a process called photochemical degradation. This basically means that the plastic is breaking down because of light and chemical reactions. The UV rays from the sun are the main culprit. They have enough energy to break the chemical bonds in the polycarbonate plastic. This leads to the formation of small cracks and imperfections on the surface. These cracks scatter the light, making the headlights look hazy. The plastic also becomes less transparent, which blocks the light from the bulbs. This makes it harder to see at night. This is not just a cosmetic issue; it’s a safety problem.
Moreover, the surface of the headlights is often coated with a protective layer. This coating is designed to protect the plastic from UV damage. Over time, this coating can also wear away, especially from things like weather and car washes. Once the coating is gone, the plastic underneath is directly exposed to the UV rays. This speeds up the yellowing process. Road debris, such as rocks and dust, can scratch the surface of the headlights. These scratches can also trap dirt and grime, adding to the hazy appearance.
- UV Exposure: The primary culprit is the sun’s UV rays, which break down the polycarbonate plastic.
- Oxidation: As the plastic degrades, it oxidizes, leading to a yellow or cloudy appearance.
- Surface Damage: Scratches from road debris and harsh cleaning can also worsen the problem.
- Environmental Factors: Road salt, pollution, and extreme temperatures can accelerate degradation.
- Heat Exposure: The heat generated by the headlight bulbs can contribute to the breakdown of the plastic.
Protecting Headlights From Yellowing
Preventing headlight yellowing is much easier than fixing it once it’s already happened. Here’s a breakdown of the key steps you can take to keep your headlights clear and bright. Regular cleaning and care are important. The more you protect your headlights, the longer they will stay clear. Following these practices can drastically extend the life of your headlights and improve your driving safety, especially at night or in bad weather conditions.
- Regular Washing: Washing your car regularly, including the headlights, helps remove dirt, grime, and other contaminants that can damage the plastic. Use a car wash soap.
- UV Protection: The best way to protect your headlights is to use a UV protectant. These products create a barrier that blocks the sun’s harmful rays.
- Waxing: Applying a car wax can also help protect your headlights. Wax creates a thin layer of protection that can repel water and dirt.
- Parking in Shade: Whenever possible, park your car in a garage or under shade to minimize sun exposure.
- Proper Cleaning: Avoid using harsh chemicals or abrasive cleaners on your headlights. These can scratch the plastic and make it more prone to yellowing.
Cleaning and Restoring Yellowed Headlights
If your headlights are already yellowed, don’t worry! There are ways to restore them to their former glory. It might sound complicated, but it’s totally possible to do it yourself with the right supplies and a little bit of patience. There are several methods you can try, from simple DIY solutions to more advanced restoration kits. Each method involves removing the damaged outer layer of plastic and then polishing or coating the surface to restore clarity. Let’s explore some of the most effective and accessible approaches.
DIY Headlight Restoration Methods
One popular method involves using common household items. This is often the most cost-effective solution, especially if you’re on a budget. You may already have most of the supplies you need at home. Remember, while these methods can improve the appearance of your headlights, the results may not be as long-lasting as professional restoration or using dedicated kits. However, they are a great starting point, and can buy you some time.
- Baking Soda and Vinegar: Make a paste of baking soda and vinegar, apply it to the headlights, scrub gently, and rinse. This can help remove light oxidation.
- Toothpaste: Use regular toothpaste (not gel) and a soft cloth to gently polish the headlights. Toothpaste has mild abrasives that can remove the yellowing.
- Sandpaper and Polish: Wet sand the headlights with fine-grit sandpaper, then polish with a car polish. Be careful not to sand too aggressively.
- Headlight Restoration Kits: These kits usually include sandpaper, polish, and a sealant. They are designed for easy application.
- Chemical Cleaners: There are some chemical cleaners designed for headlights. Follow the instructions carefully to avoid damaging the plastic.
Headlight Restoration Kits
Headlight restoration kits are specifically designed to restore clarity to yellowed or hazy headlights. These kits often contain everything you need for the restoration process, including sandpaper, polishing compounds, and a sealant or protectant to help prevent future yellowing. The kits often provide detailed instructions, making the process fairly straightforward. Always remember to wear gloves and eye protection while working with any chemicals or abrasive materials. They offer a good balance of effectiveness and ease of use, making them a popular choice for many car owners. They’re usually pretty affordable, too.
Headlight restoration kits usually provide multiple sandpaper grits, allowing you to gradually remove the damaged outer layer of the headlight. They also provide a polishing compound to restore the clarity of the plastic. The final step typically involves applying a sealant or protectant. This will help to shield the headlights from UV rays and other environmental factors that can cause yellowing. When selecting a kit, consider the level of yellowing on your headlights. For light haze, a simple polishing kit may suffice. For more severe yellowing, you may need a kit with multiple sandpaper grits and a more aggressive polishing compound.
Here’s a simplified breakdown of the steps involved in using a headlight restoration kit:
- Prepare the Headlights: Clean the headlights with soap and water and tape off the surrounding paintwork to protect it.
- Sand the Headlights: Use the sandpaper included in the kit, starting with the coarsest grit. Sand the headlights in a cross-hatch pattern, keeping the surface wet.
- Polish the Headlights: Apply the polishing compound to a polishing pad and polish the headlights until they are clear.
- Apply Sealant: Apply the sealant or protectant to the headlights to protect them from future UV damage.
Best Practices for Headlight Maintenance
To keep your headlights looking their best and working properly, regular maintenance is key. This includes both preventative measures and knowing what to do if you spot an issue. Simple habits and routine care can dramatically extend the life and clarity of your headlights. This approach saves you money in the long run. Let’s look at some key maintenance practices that can help you keep your headlights clear, safe, and looking great.
Regular Inspections and Cleaning
Make it a habit to inspect your headlights regularly, maybe every time you wash your car or check your tire pressure. Look for signs of damage or clouding. Catching problems early can make them easier to fix. A good, thorough cleaning at least once a month can make a big difference. This will remove any dirt or debris that could damage the headlights. Also, washing your headlights as part of your regular car washing routine can help to keep them clean. Clean headlights mean better visibility. They also improve the overall look of your car.
- Visual Checks: Regularly inspect your headlights for yellowing, clouding, or damage.
- Gentle Cleaning: Use car wash soap and a soft cloth or sponge to clean your headlights.
- Avoid Harsh Chemicals: Stay away from strong detergents or abrasive cleaners that can damage the plastic.
- Proper Drying: After cleaning, dry your headlights thoroughly to avoid water spots.
- Check for Damage: If you see cracks or other damage, address them quickly.
Long-Term Headlight Protection
Protecting your headlights is a continuous effort. It’s not just about one-time fixes. Long-term protection includes consistent care and the use of protective products. These actions will help maintain the clarity and functionality of your headlights for many years to come. Remember, the better you protect your headlights, the less likely you are to have problems in the future. Investing in headlight protection is an investment in your safety and the longevity of your car’s appearance.
This includes applying UV protectants, using a sealant to create a barrier, or even considering a professional clear coat to enhance protection against various elements. Parking your car in a garage or shaded area whenever possible will reduce sun exposure. Avoiding harsh environments, such as areas with high pollution or extreme weather, can also help. Keep an eye on your headlights, and address any changes promptly. The goal is to create a long-lasting defense against the factors that lead to yellowing and clouding.
Here’s a comparison of common headlight protection methods:
| Method | Description | Benefits | Drawbacks |
|---|---|---|---|
| UV Protectant Sprays | Spray-on coatings that create a barrier against UV rays. | Easy to apply, relatively inexpensive, provides immediate protection. | Requires regular reapplication, may not be as durable as other methods. |
| Waxing | Applying car wax to the headlight surface. | Repels water and dirt, adds a layer of protection. | Provides limited UV protection, requires frequent reapplication. |
| Sealants | Products that create a more durable protective layer. | Provides longer-lasting protection than wax, some offer UV resistance. | Can be more expensive than wax, application may be more complex. |
| Clear Coat Application | Professional application of a clear coat to the headlight surface. | Offers the best UV protection and durability, adds a glossy finish. | Most expensive option, requires professional service. |
Frequently Asked Questions
Question: How often should I clean my headlights?
Answer: It’s a good idea to clean your headlights whenever you wash your car, or at least once a month. This helps remove dirt and grime that can damage the plastic over time.
Question: Are all headlight restoration kits the same?
Answer: No, the quality and contents of headlight restoration kits can vary. Some kits may only include polishing compounds, while others include sandpaper, polishing pads, and sealants. Read reviews and compare products before you buy.
Question: Can I use household items to restore my headlights?
Answer: Yes, you can try DIY methods like baking soda and vinegar or toothpaste, but the results may not be as long-lasting as using a dedicated restoration kit.
Question: What’s the best way to prevent headlight yellowing?
Answer: The best ways to prevent yellowing are to regularly wash your car, park in the shade, and apply a UV protectant. This will provide a long-lasting barrier.
Question: How can I tell if my headlights need to be replaced?
Answer: If your headlights are severely yellowed, cracked, or if the light output is significantly reduced, they may need to be replaced. Replacing headlights is a good long-term solution.
Final Thoughts
Maintaining bright, clear headlights is a key part of staying safe on the road. Now that you’ve explored the causes of yellowing, and the best ways to tackle it, you’re ready to take care of your headlights! Remember, it’s a mix of preventing the problem and knowing how to fix it. Keep up with regular washing, consider a UV protectant, and check your headlights often. If they start to look hazy, you can take action by using a restoration kit. By following these easy steps, you can keep your headlights shining bright and make sure you have the best possible visibility, which is super important for driving at night or in bad weather.