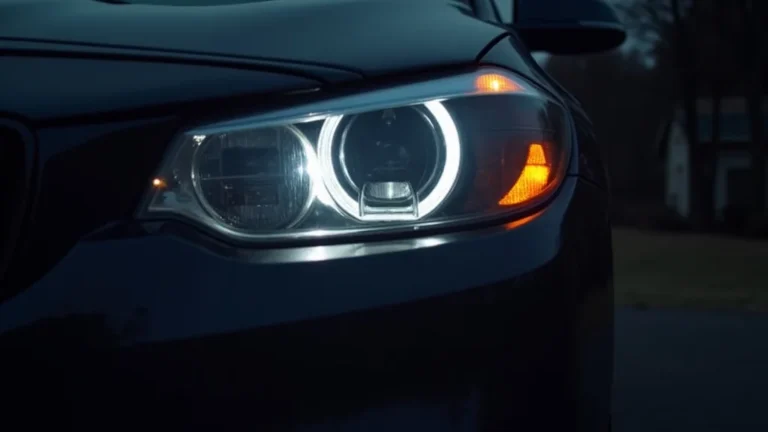
How To Get Oxidation Off Headlights: A Simple Guide
If you’re like most people, you’ve probably noticed your headlights getting cloudy or yellow over time. This is what we call oxidation. The good news is, learning how to get oxidation off headlights isn’t as hard as it might seem. It’s a common issue caused by sunlight and weather, and many beginners find it frustrating. But don’t worry! This guide will provide you with a straightforward, step-by-step process that’ll make your headlights shine like new. Let’s get started!
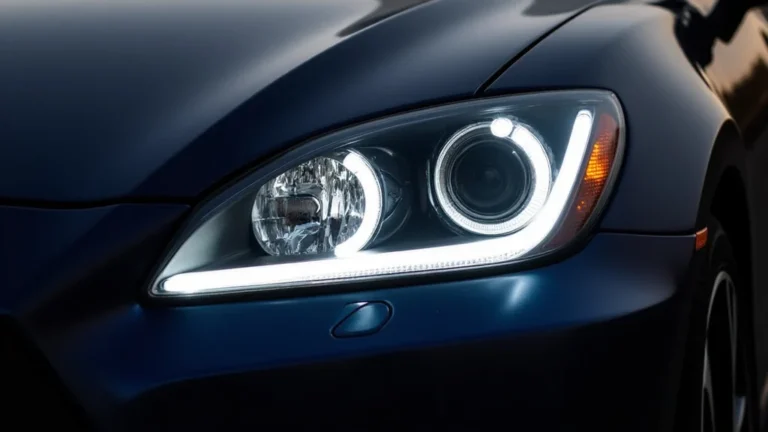
What Causes Headlight Oxidation and Why It Matters
Headlight oxidation happens due to exposure to UV rays, weather, and road grime. Over time, the plastic lenses of your headlights deteriorate, leading to a yellow or cloudy appearance. This reduces the amount of light that shines through, making it harder to see at night. This isn’t just about aesthetics; it’s a safety issue. Dim headlights can significantly reduce your visibility, increasing the risk of accidents. Oxidized headlights also make it difficult for other drivers to see you. The plastic material itself begins to break down, causing the outer layer to become rough and uneven. This degradation absorbs and scatters light, further reducing the effectiveness of your headlights. Addressing oxidation improves both your safety and the appearance of your car.
The Science Behind Headlight Plastic and Oxidation
The plastic used in headlights, typically polycarbonate, is great for its impact resistance and clarity. However, it’s vulnerable to UV radiation. UV rays break down the bonds within the plastic molecules, causing them to weaken and degrade. This process is called photodegradation. The outer layer becomes rough and porous, trapping dirt, and making the lens appear yellowed or hazy. Think of it like a clear coat that has been damaged by the sun. Once the plastic is damaged, light doesn’t pass through as efficiently as it should. Instead, it scatters, reducing the headlight’s brightness and range. Weather exposure, like rain and humidity, worsens this process.
- Polycarbonate Plastic: This is the main material used in modern headlight lenses. It’s strong, but its weakness lies in its vulnerability to ultraviolet (UV) light.
- UV Exposure: The sun’s UV rays are the main culprit behind oxidation. They break down the chemical bonds in the polycarbonate, making it weak and hazy.
- Chemical Reactions: As the plastic degrades, it reacts with oxygen in the air, creating a yellow or cloudy appearance. This is a form of corrosion, similar to what happens with metal.
- Impact Resistance: Polycarbonate is designed to withstand impacts from road debris. This characteristic makes the material desirable to use in automobile construction.
- Optical Clarity: The reason that this material is selected for headlights is its optical clarity, which means that it allows light to pass through with minimum interference when new.
Factors That Speed Up Headlight Oxidation
Several factors can accelerate the oxidation process, making your headlights look older and cloudier faster. These factors often work in combination to degrade the plastic. Living in a sunny climate, for example, can make a huge difference. High temperatures and intense sunlight are significant contributors. Frequent exposure to harsh chemicals, such as cleaning products, can also weaken the lens. Regular car washes that use strong detergents can strip away the protective coating, exposing the plastic underneath. Ignoring these factors leads to faster headlight degradation, necessitating more frequent restoration.
- UV Intensity: Areas with high UV exposure, such as sunny regions and high-altitude locations, experience faster oxidation due to the constant bombardment of harmful rays.
- Climate: Hot and humid climates contribute to the breakdown of the plastic. Moisture can get into the plastic, and the heat speeds up the chemical reactions.
- Road Chemicals: Salt and other de-icing agents used on roads in winter can harm headlight lenses. These chemicals are corrosive and can strip the protective layers.
- Cleaning Products: Using abrasive or harsh cleaning products or waxes can damage the lens surface. Always check that the product is safe for plastics.
- Lack of Protection: Not applying a sealant or protective coating after cleaning can leave the headlights vulnerable to the elements and accelerate oxidation.
Materials and Tools You’ll Need
Gathering the right tools and materials is the first step in successfully cleaning your headlights. You don’t need expensive equipment. The goal is to efficiently remove the oxidation and restore the clarity of the plastic. This task can often be done with a budget of just a few dollars. These materials are relatively easy to find at your local auto parts store or online. Being prepared avoids any interruptions during the cleaning process, and it makes the entire task run more smoothly.
Essential Supplies for Headlight Restoration
When starting this project, the right supplies are important. The proper tools can make the entire process easier and more effective. You’ll need an abrasive to remove the damaged surface and a way to protect the plastic after cleaning. Having these items organized beforehand prevents any delays and leads to better results. You’ll likely have many of the items already. Make sure to have a good supply of these items ready before you start.
- Sandpaper (Various Grits): Wet/dry sandpaper in different grits (e.g., 600, 1000, 2000, 3000) for abrasion.
- Polishing Compound: A polishing compound designed for plastic to remove scratches and restore clarity.
- Polishing Pad: A microfiber pad for applying the polishing compound, either a hand pad or one for a drill.
- Protective Coating: A UV protectant sealant or headlight restoration sealant to protect the plastic after polishing.
- Masking Tape: To protect the painted surfaces around the headlights.
Optional Tools That Can Make The Job Easier
While the essentials are sufficient, certain tools can make the job much faster and provide better results. These tools can increase the efficiency of the cleaning process and help to achieve a more professional result. Using the right tools might require an additional expense, but they often pay off by saving time and labor. Consider the optional tools to enhance your cleaning experience and get a better final outcome. If you do this job often, these will be worth the money.
- Electric Drill or Polisher: A drill or small polisher with variable speed settings helps to speed up the sanding and polishing steps.
- Spray Bottle with Water: For wet sanding, a spray bottle keeps the sandpaper and the headlight wet.
- Microfiber Cloths: For cleaning and drying the headlight surface.
- Work Light: A work light ensures you can see any imperfections during the sanding and polishing process.
Step-by-Step Guide to Clean Headlights
Restoring your headlights is a straightforward process. The key is to take your time and follow the steps carefully. This approach ensures you’re addressing the root cause of the problem and protecting the headlights afterward. Each step is essential. Going through each step properly guarantees the best possible result. If the oxidation is severe, you may need to repeat some steps. You’ll enjoy the visual results, and your driving safety will improve.
Preparing Your Headlights For Restoration
The first step is about protecting your car. This preparation ensures that only the headlights are affected. You also need to clean the surface of the headlights. This preliminary preparation is the foundation for a successful restoration. Make sure your car is in a well-ventilated area, and you have all of your supplies ready before you start. It is a simple process that sets the stage for the rest of the work. Proper preparation ensures that the process is effective and safe.
- Clean the Headlights: Wash the headlights with soap and water to remove any loose dirt and debris. Rinse well and dry thoroughly. This step removes anything that could scratch the plastic.
- Tape Off Surrounding Areas: Use masking tape to protect the paint around the headlights. This keeps the paint safe during the sanding and polishing process.
- Inspect the Headlights: Look at the condition of the headlights to determine the extent of the oxidation. This will help you select the correct grit of sandpaper.
Sanding Away the Oxidation
This is the core of the restoration process. Sanding removes the damaged outer layer of the plastic. This step will eliminate the yellowed and cloudy appearance. This step may seem drastic, but it is necessary to remove the oxidized plastic. You’ll want to start with a coarser grit and gradually move to finer grits. The goal is to smooth out the surface without causing deep scratches. Keep the surface wet during this process to reduce friction and prevent overheating. Take your time to make sure that the surface is smooth before moving to the next step. It’s important to use the correct technique to achieve the best outcome.
- Wet Sanding (Coarse Grit): Start with a coarser grit (e.g., 600 or 800) wet sandpaper. Wet the sandpaper and the headlight with water. Sand in a back-and-forth motion, keeping the surface wet. This helps remove the oxidation.
- Intermediate Sanding: After removing the oxidation, change to a finer grit sandpaper (e.g., 1000 or 1500). Continue wet sanding to remove the scratches from the coarser grit.
- Fine Sanding: Finish with an even finer grit (e.g., 2000 or 3000) wet sandpaper to smooth the surface even more. At this point, the headlight should look somewhat clear.
- Rinse and Dry: After sanding, thoroughly rinse the headlight and dry it with a clean microfiber cloth. Inspect the surface for any remaining imperfections.
Polishing and Protecting the Headlights
Once the oxidation is removed and the surface is smooth, you need to restore the clarity and protect it. This is where the polishing compound and sealant come into play. The polishing compound removes the fine scratches. The sealant prevents future oxidation. The final step provides the necessary protection, ensuring a long-lasting restoration. The polishing phase will give the headlights a clear and glossy look. The protective sealant provides a barrier against UV rays and other environmental factors. This last step is essential to keep the headlights from clouding up again.
- Apply Polishing Compound: Apply a small amount of polishing compound to a clean microfiber pad.
- Polish the Headlights: Using a circular motion, polish the headlight. If using a drill, set it to a low speed.
- Wipe Away the Residue: Wipe off any remaining polishing compound with a clean microfiber cloth.
- Apply a Protective Coating: Apply a UV protectant sealant to the headlights. Follow the manufacturer’s instructions. This step is the most important to make the restoration last.
| Process | Description | Tools Needed |
|---|---|---|
| Cleaning | Wash away loose dirt and grime to prepare the surface. | Soap, water, microfiber cloth |
| Sanding | Remove oxidation and scratches by using sandpaper, starting with coarse grits. | Sandpaper, water, sanding block |
| Polishing | Restore clarity by using polishing compound and a polishing pad. | Polishing compound, microfiber pad or drill polisher |
| Sealing | Protect the surface from UV rays and weather damage. | UV protectant sealant |
Tips For Long-Lasting Results
Once you’ve restored your headlights, it’s important to maintain their clarity. Regular maintenance can prolong the life of your restoration efforts. This includes regular cleaning, protection from the sun, and the use of the right cleaning products. Regular care makes the results last longer and reduces the need for future restorations. The following tips will help to keep your headlights looking great for longer.
Maintaining Headlights After Restoration
To keep your headlights clear for an extended time, adopt a routine of regular care and protection. Maintaining your headlights isn’t difficult but requires a bit of effort. This involves periodic cleaning and applying a protective coating as needed. Making these practices part of your regular car care routine will help prevent oxidation and ensure that your headlights stay in top shape. Proactive care is easier than repeated restoration and will save you time and money over the long term. These tips will help you keep the headlights looking their best.
- Regular Cleaning: Wash your headlights with a mild soap and water solution whenever you wash your car. This helps prevent the buildup of grime.
- Avoid Abrasive Cleaners: Don’t use harsh chemicals or abrasive cleaners that can damage the plastic.
- Apply Protective Coatings Regularly: Reapply a UV protectant sealant or wax every few months to keep the plastic protected.
- Park in Shade: When possible, park your car in the shade or a garage to reduce UV exposure.
When to Seek Professional Help
While the steps described in this guide are effective for many situations, there might be times when professional help is necessary. If the oxidation is extremely severe or if the damage is deep, professional restoration may be more cost-effective. Professionals use advanced tools and methods to achieve optimal results. Determining when to call in a professional saves time and potentially money by preventing further damage. Consider these factors to ensure the best possible solution for your headlights.
- Deep Cracks or Damage: If your headlights have deep cracks, chips, or severe damage, professional help may be needed.
- Severe Oxidation: Extremely cloudy or yellowed headlights may need more than DIY restoration can provide.
- If You’re Not Comfortable: If you are not comfortable with the DIY process, it’s better to get professional help.
- When Time is a Factor: If you want the job done quickly, or don’t have time, a professional can complete it faster.
According to a report by the National Highway Traffic Safety Administration (NHTSA), properly maintained headlights can increase nighttime visibility by up to 30%, which can significantly reduce the risk of accidents. Additionally, the same report stated that nearly 20% of all car accidents occur at night, indicating the importance of good headlights.
Frequently Asked Questions
Question: How often should I restore my headlights?
Answer: It depends on the climate and how well you protect them. In sunny areas, you might need to restore them every 1-2 years. In less sunny areas, it could be longer. Maintenance can reduce the need for more frequent restoration.
Question: Can I use toothpaste to clean my headlights?
Answer: Yes, but it’s not the most effective method. Toothpaste can work for light oxidation, but it won’t be as effective as using the proper polishing compounds and abrasives.
Question: Is it safe to use a drill to polish my headlights?
Answer: Yes, but with caution. Use a drill with variable speed settings and start on a low setting. Be careful not to apply too much pressure or stay in one area for too long, as this can damage the plastic.
Question: Can I skip the sanding step?
Answer: No, the sanding step is crucial for removing the oxidized layer. Polishing without sanding won’t remove the damage. You can skip the sanding step only if your headlights have minor oxidation. For the best results, always use sandpaper.
Question: How long does the headlight restoration process take?
Answer: This depends on the severity of the oxidation and your experience. It can take anywhere from 1 to 3 hours per headlight for a thorough restoration.
Final Thoughts
Now you know how to get oxidation off headlights and give your car’s look a boost. It’s a process you can easily handle with the right tools and a little patience. Remember, the key is proper preparation, the correct sanding process, and applying a protective sealant. Keeping your headlights clear is essential for your safety and the safety of others on the road. By following the steps outlined in this guide, you can restore your headlights and maintain their clarity over time. Regular maintenance will make your car look its best and increase your visibility during nighttime driving. The effort you put into cleaning your headlights will be well worth it. You’ve now gained a practical skill that helps you maintain your car’s appearance and driving safety, so explore the steps and enjoy brighter headlights!