Changing HID Headlight Bulbs Made Easy: A Step-by-Step Guide
If you’ve ever needed to fix a headlight, you know it can seem tricky at first. Figuring out how to change hid headlight bulb often feels challenging because of tight spaces, unfamiliar components, and the fear of breaking something. But don’t worry! This guide breaks down the process into easy-to-follow steps. We’ll explore everything you need to know to get your headlights shining brightly again. Ready to get started and see how simple it really is?
What Are HID Headlight Bulbs?
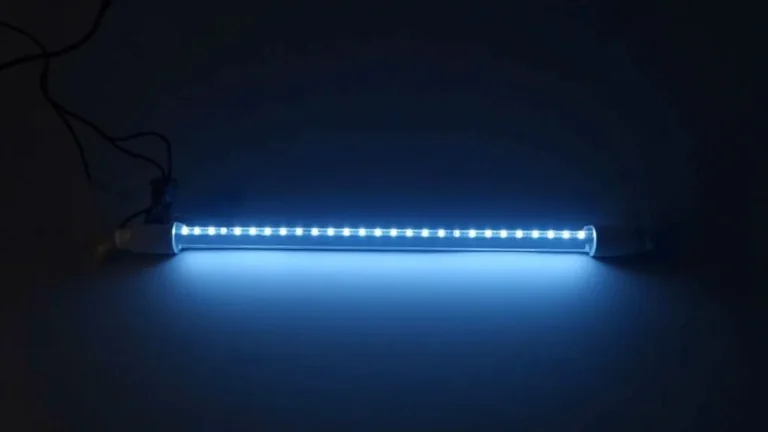
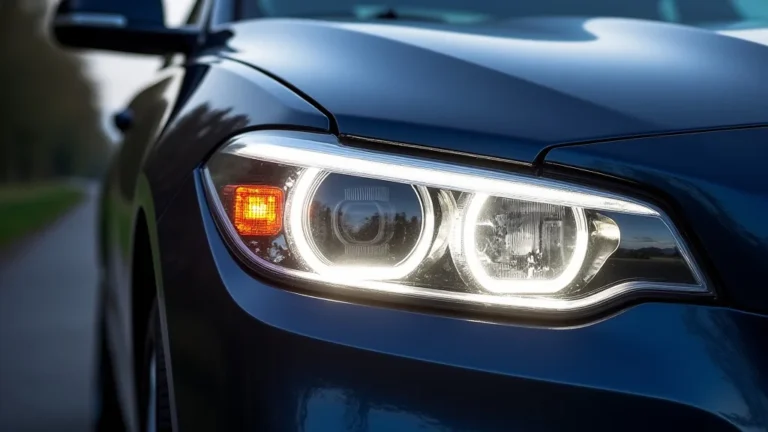
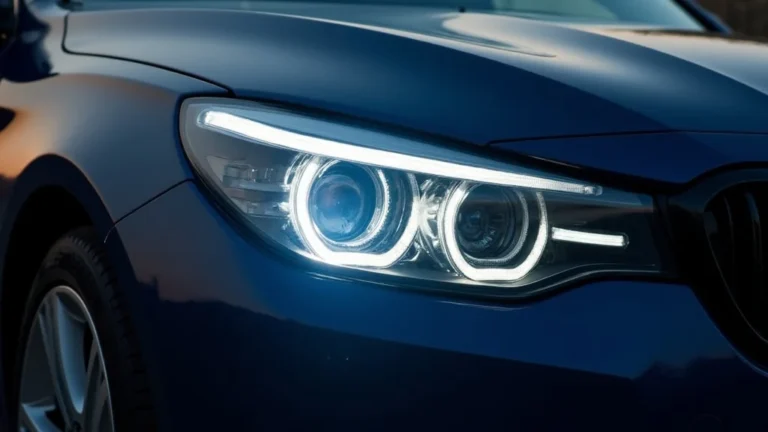
HID stands for High-Intensity Discharge. These bulbs are a type of car headlight that uses an electric arc between two electrodes within a bulb filled with xenon gas. This creates a bright, intense light, often bluish-white, that’s favored for its superior illumination compared to older halogen bulbs. This brighter light improves visibility, particularly at night or in adverse weather conditions. They are known for their efficiency and extended lifespan. The technology behind HID bulbs is complex but the basic operation can be easily grasped by anyone willing to learn.
The Science Behind HID Bulbs
The core of an HID bulb is a sealed capsule filled with xenon gas and a small amount of metal halide salts. When you turn on your headlights, a high voltage is applied to the bulb. This voltage ionizes the xenon gas, creating a plasma. The plasma then arcs between two electrodes inside the bulb. This arc, or electrical discharge, excites the metal halide salts, causing them to vaporize and emit a bright light. The color of the light can vary depending on the specific metal halide salts used. This intricate process results in the bright, long-lasting illumination that HID headlights provide.
- Xenon Gas: The primary gas used inside the HID bulb, essential for creating the initial arc and maintaining the plasma.
- Electrodes: Two electrodes are present inside the bulb. These are responsible for initiating and sustaining the electrical discharge.
- Metal Halide Salts: These salts are vaporized by the arc, adding color and intensity to the emitted light.
- Ballast: A critical component that provides the high voltage necessary to ignite the HID bulb and regulates the current.
HID vs. Halogen Headlights
Halogen headlights work by passing electricity through a filament, similar to an older incandescent light bulb. This filament heats up and glows, producing light. HID headlights, on the other hand, use an electrical arc in a gas-filled capsule, generating much brighter light. While halogen bulbs are cheaper and easier to replace, they don’t offer the same level of brightness or lifespan as HID bulbs. HID lights consume less power relative to the light they produce. This comparison highlights the advancements in lighting technology.
| Feature | HID Headlights | Halogen Headlights |
|---|---|---|
| Light Source | Electrical arc in xenon gas | Heated filament |
| Brightness | High (brighter) | Moderate |
| Lifespan | Longer | Shorter |
| Cost | Higher | Lower |
| Power Consumption | Lower | Higher |
Gathering Your Tools Before You Begin
Before you start, make sure you have everything you need. This will make the process easier and prevent interruptions. Taking a few moments to prepare can make a huge difference. Having the right tools and supplies within easy reach will streamline the entire process. Remember, safety first! Always disconnect your car’s battery before working on any electrical components.
Essential Tools and Supplies
To successfully replace an HID headlight bulb, you will need some key items. The exact tools needed can vary slightly depending on your car model, so it’s a good idea to consult your owner’s manual. Making sure you are prepared ahead of time can avoid frustration. Having these items on hand will significantly simplify the replacement procedure.
- New HID Bulb: Make sure you buy the correct bulb type for your car model. Check your owner’s manual or look at the old bulb for the right code.
- Gloves: Wear gloves to protect your hands from any sharp edges and to avoid getting oils on the new bulb, which can shorten its life.
- Screwdrivers: You may need a Phillips head and a flathead screwdriver to remove any screws or clips.
- Wrench or Socket Set: Sometimes, you’ll need these to remove parts like the headlight assembly.
- Owner’s Manual: Refer to your car’s manual for specific instructions and the location of the headlight assembly.
- Safety Glasses: Protect your eyes from debris and potential injury.
Safety First: Important Precautions
Safety is paramount when working on your car. Working with electricity can be hazardous, and HID bulbs, because of the high voltages involved, require extra care. Taking these precautions is not just about avoiding injury; it’s also about preventing damage to your car. Ensuring your safety will give you peace of mind.
- Disconnect the Battery: Always disconnect the negative terminal of your car’s battery before starting. This prevents electrical shock.
- Let the Bulbs Cool: If the headlights were recently on, give the bulbs time to cool down before handling them.
- Avoid Touching the Glass: Handle new HID bulbs by the base only. Touching the glass can leave oils that shorten their lifespan.
- Work in a Well-Lit Area: Ensure you have good visibility to see what you’re doing.
- Use Protective Gear: Wear gloves and safety glasses at all times.
Step-by-Step Guide: How to Change an HID Headlight Bulb
Replacing an HID headlight bulb involves a series of steps. These general instructions should apply to most vehicles, but always refer to your car’s manual for specific guidance. This guide provides a detailed walk-through, making the process straightforward and accessible. Following these steps can help you
Step 1: Locate the Headlight Assembly
The location of your headlight assembly will vary depending on your car model. In most cases, you can access the headlight from the engine compartment, but sometimes you may need to access it from behind the wheel well. Refer to your owner’s manual to find the exact location of the headlight assembly on your specific vehicle. Knowing how to access the headlight assembly is essential to starting the replacement process.
Step 2: Disconnect the Battery
Safety first! Disconnect the negative (black) terminal of your car’s battery. Use a wrench to loosen the nut and remove the cable. Tuck the cable away so that it cannot accidentally make contact with the terminal. This prevents any electrical hazards during the replacement process. Always be sure to prioritize safety.
Step 3: Remove the Headlight Assembly (If Necessary)
Some cars allow direct access to the bulb, while others require you to remove the entire headlight assembly. If necessary, use a screwdriver or wrench to remove the screws or clips holding the assembly in place. Gently pull the assembly forward and disconnect any wiring harnesses. This step ensures you can easily access the bulb for
Step 4: Access the Bulb
Once you have access to the back of the headlight, locate the bulb’s access cover. This cover protects the bulb from the elements. Remove the cover by twisting or releasing any clips. This process may involve twisting the cover, or unfastening clips. Then, carefully disconnect the electrical connector from the old bulb. This step is crucial for separating the old bulb from your car’s electrical system.
Step 5: Remove the Old Bulb
There are usually clips or a retaining ring that holds the bulb in place. Carefully unclip or unfasten these to release the old bulb. Handle the old bulb carefully. Depending on your car’s design, you might need to twist the bulb. Remove the old bulb and set it aside.
Step 6: Install the New Bulb
Take the new bulb and handle it only by the base. Align the new bulb with the housing and insert it into the headlight assembly. Secure it using the clips or the retaining ring. Ensure that the bulb is properly seated and locked in place. Correct installation is important for the bulb to function correctly.
Step 7: Reconnect the Electrical Connector
Plug the electrical connector back into the new bulb. Make sure it is securely attached. This connector supplies the electricity the bulb needs to function. A loose connection can cause the new bulb not to light up or to flicker. Make sure this connection is secure to avoid future issues.
Step 8: Replace the Access Cover and Reassemble
Carefully put the access cover back on the headlight assembly, making sure it is sealed correctly to keep out moisture and debris. If you removed the headlight assembly, reinstall it and secure it with the screws or clips. This step ensures the headlight assembly is sealed and secure. Close any compartments and secure all parts.
Step 9: Reconnect the Battery
Reconnect the negative battery terminal. Secure the terminal using a wrench. This step reactivates your car’s electrical system. Reconnecting the battery is the final step before testing the new bulb. Always ensure the connection is secure.
Step 10: Test the New Bulb
Turn on your headlights to ensure the new bulb works correctly. If it doesn’t light up, double-check all connections and make sure the bulb is properly installed. If the bulb still doesn’t work, there may be an issue with the ballast or the wiring. You may have to consult an expert. Testing the bulb ensures that your replacement was successful.
Common Problems and Solutions
Even with careful instructions, things can still go wrong. Being aware of common issues and how to resolve them can save you time and frustration. Knowing what might go wrong and how to fix it will help you succeed. This section tackles some common problems you might encounter.
Bulb Doesn’t Light Up
One of the most common issues is when the new bulb fails to light up after installation. This problem can be due to a variety of reasons, so don’t be worried. There are some simple checks you can do to troubleshoot the situation. Identifying the issue and using the necessary troubleshooting tips will help you fix this.
- Incorrect Bulb Type: Verify that you have the right bulb type for your car model.
- Loose Connection: Make sure the electrical connector is firmly attached to the bulb.
- Faulty Ballast: The ballast provides the high voltage to start the HID bulb. If the ballast is damaged, the bulb won’t light up.
- Blown Fuse: Check your car’s fuse box for a blown fuse related to the headlights.
- Wire Damage: Inspect the wiring for any breaks or damage.
Bulb Flickering or Dimming
If the bulb flickers or dims, it means there is an issue with the power supply. A flickering light is often a sign of a bad connection or other electrical issues. Identifying the source of the problem is essential for effective repairs. These problems can be resolved with some basic troubleshooting.
- Loose Connection: Recheck all connections to ensure they are secure.
- Faulty Ballast: A failing ballast can cause flickering or dimming.
- Weak Power Supply: If your car’s electrical system is weak, it can affect the bulb’s performance.
- Grounding Issues: Poor grounding can cause the bulb to flicker. Check the ground wire.
Moisture Inside the Headlight
Moisture inside the headlight assembly can be a significant issue, potentially damaging the bulb and other components. Moisture can cause corrosion and electrical failures. This situation requires immediate attention to prevent further damage. Addressing the issue early will prevent a more serious problem.
- Improperly Sealed Cover: Ensure the access cover is sealed tightly.
- Cracked Housing: Inspect the headlight housing for cracks.
- Condensation: Sometimes, condensation occurs naturally, but excessive moisture is a sign of a problem.
- Ventilation Issues: Check that the headlight assembly vents are clear, if your car has any.
Alternative Lighting Options for Your Vehicle
While HID headlights are popular, there are other lighting options you might consider for your car. The best choice depends on your needs, budget, and driving conditions. Exploring these options can broaden your horizon. Weighing the options can help you decide what’s best for you.
LED Headlights
LED headlights are becoming increasingly popular due to their efficiency and long lifespan. LED lights use light-emitting diodes, which are highly energy-efficient and produce bright light. LED headlights often last longer than HID bulbs. They are an attractive option. Choosing LED lights can be a great upgrade to your vehicle.
- Pros: Highly efficient, long lifespan, instant-on, bright light.
- Cons: Can be more expensive than HID or halogen.
- Installation: Often a straightforward replacement for existing bulbs.
- Considerations: Make sure to buy LED bulbs that are compatible with your car’s headlight assembly.
Halogen Headlights
Halogen headlights are a more traditional option. Halogen bulbs are very affordable, making them a budget-friendly choice. These bulbs provide a decent level of illumination. If you are looking for an affordable alternative, halogen lights may be a good option for you. Halogen lights are good if you are not interested in the advantages of HID and LED lights.
- Pros: Affordable, readily available, easy to install.
- Cons: Shorter lifespan than HID or LED, less bright.
- Installation: Typically a simple replacement.
- Considerations: The bulbs may require more frequent replacement.
Comparing Lighting Systems
Making a comparison of these lighting systems is the key to making the best choice. Each has its pros and cons. Understanding these differences can help you make an informed decision. Making the right choice will help you drive more safely. This chart highlights the key differences between the lighting systems.
| Feature | Halogen | HID | LED |
|---|---|---|---|
| Brightness | Moderate | High | High |
| Lifespan | Shorter | Longer | Longest |
| Cost | Lowest | Moderate | Highest |
| Efficiency | Lower | Higher | Highest |
| Warm-up Time | Instant | Several seconds | Instant |
Frequently Asked Questions
Question: How often do HID headlight bulbs need to be replaced?
Answer: HID bulbs typically last for several years, often much longer than halogen bulbs. However, their lifespan can vary depending on usage and environmental factors.
Question: Can I touch the new HID bulb with my bare hands?
Answer: It’s best to avoid touching the glass part of the new HID bulb with your bare hands. The oils from your skin can shorten the bulb’s lifespan. Always handle the bulb by its base and consider using gloves.
Question: What if the new bulb doesn’t light up after installation?
Answer: First, double-check all the connections to ensure they are secure. Then, make sure you’ve installed the correct type of bulb. If it still doesn’t work, it may be a ballast or wiring issue, and you might need professional help.
Question: Is it safe to work on my car’s headlights myself?
Answer: Yes, it is generally safe if you take the proper precautions. Always disconnect the battery, wear gloves and safety glasses, and follow the steps carefully. If you’re not comfortable, seek professional assistance.
Question: Do I need to replace both headlights at the same time?
Answer: It’s often a good idea to replace both headlights at the same time, even if only one has burned out. This ensures that both headlights have similar brightness and color, providing balanced illumination. It will also save you time in the long run.
Final Thoughts
So, there you have it – a clear guide on how to change your HID headlight bulb. Replacing a headlight bulb might seem intimidating at first, but with the right information and a little care, it’s a manageable task. By following these steps, you can successfully replace your HID bulbs and get back on the road safely. Remember to always prioritize safety and take your time. Now you have the knowledge to keep your headlights shining bright. Get out there and explore!