Does Cerakote Work on Headlights A Complete Guide
Figuring out if does cerakote work on headlights is something many people wonder about, especially if they’re new to car detailing. It can seem tricky because you want to make your headlights look better and last longer. Don’t worry, this guide will help you understand the whole process step-by-step. We’ll explore everything you need to know to get great results. Ready to begin?
What is Cerakote and How Does It Work on Headlights?
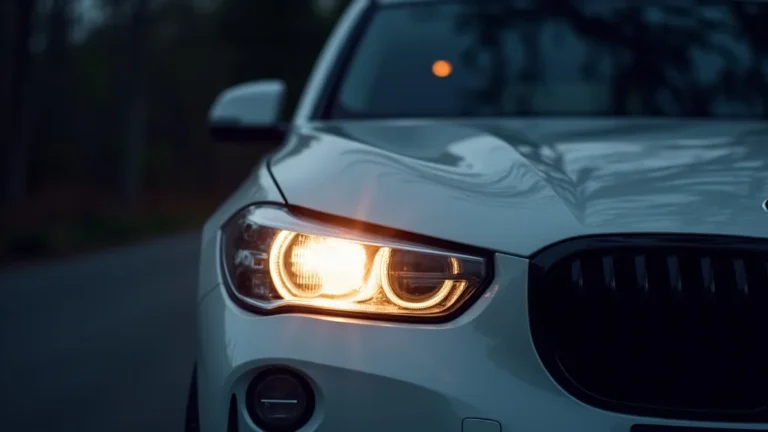
Cerakote is a thin, durable coating that’s applied to surfaces, often to improve their protection and appearance. It’s known for its ability to resist scratches, chemicals, and extreme temperatures. It’s often used in the automotive industry for everything from car parts to paint. When applied to headlights, Cerakote is designed to restore their clarity by protecting the plastic from future damage, such as UV light and oxidation. Think of it as a clear shield that prevents the headlights from yellowing and becoming hazy over time.
The Science Behind Cerakote
Cerakote is a ceramic-based coating. The main components are typically ceramic polymers, solvents, and pigments. The ceramic polymers form a strong, cross-linked structure when cured, creating a tough barrier. Solvents help the coating apply smoothly, and pigments add color or clarity. When applied to a headlight, the coating bonds to the plastic, forming a protective layer that’s resistant to many environmental factors. This layer creates a hard surface that doesn’t easily scratch, and it also contains UV inhibitors that block harmful sun rays.
- Ceramic Polymers: These are the foundation of Cerakote. They are mixed with solvents and pigments to make a ceramic coating.
- Solvents: These are used to make the coating easy to apply and spread evenly.
- Curing Process: The coating is typically cured, either through heat or air drying. It hardens, creating a durable layer.
Cerakote vs Other Headlight Restoration Methods
There are various ways to restore headlights, and each has its pros and cons. Simple methods like buffing and polishing remove the top layer of damaged plastic. However, this offers temporary clarity since the headlights may start to yellow again in a short time. Other methods, such as applying UV coatings, can provide some protection, but the effectiveness of these coatings can vary. Cerakote stands out because it forms a durable, hard layer that lasts longer. It offers better resistance to damage than other solutions, potentially saving money and effort over time.
Here’s a comparison table to show how Cerakote measures up against other options:
| Method | Pros | Cons | Longevity |
|---|---|---|---|
| Buffing and Polishing | Quick, inexpensive | Short-term results, removes protective layer | Few months |
| UV Coatings | Some UV protection, easy to apply | Varying effectiveness, may peel | 6 months to 1 year |
| Cerakote | Durable, long-lasting, UV protection | Requires prep work, can be more expensive | Several years |
Preparing Headlights for Cerakote Application
Before applying Cerakote, proper preparation is key to success. This stage involves cleaning and sanding the headlight to ensure the Cerakote adheres correctly. It might seem like a lot of steps, but doing this groundwork properly will set you up for a fantastic finish. Think of it like painting a wall; you need to clean and prep the surface first for a good result.
Cleaning the Headlights
First, you need to clean the headlights to remove any dirt, grime, or wax. Use a car soap and warm water to wash the headlights. Be sure to dry them completely after. This step makes sure that there is nothing on the surface that could prevent the Cerakote from sticking properly. Any grease or dirt can get in the way and cause the coating to peel or not adhere properly. It’s like prepping your canvas before painting.
- Wash with Soap and Water: Use a pH-neutral car wash soap. This gets rid of any dirt or contaminants.
- Dry Thoroughly: Use a clean microfiber towel to make sure the headlights are dry.
- Masking: Cover the areas around the headlight with masking tape to protect the paint.
Sanding the Headlights
Sanding is a vital step in the process. It removes the existing yellowing and makes the surface rough, which helps the Cerakote stick better. You’ll need sandpaper of varying grits, starting with a coarser grit and working your way to a finer one. This process might seem tough, but it’s important to give the Cerakote something to grab onto. It is like preparing wood before you apply varnish.
- Wet Sanding: Wet sanding with water helps to reduce dust.
- Start with Coarse Grit: Begin with a lower grit sandpaper (e.g., 400-600 grit) to remove heavy oxidation.
- Gradual Progression: Move to higher grit sandpaper (e.g., 1000, 2000, 3000) for a smoother finish.
Applying Cerakote to Headlights: The Step-by-Step Guide
Applying Cerakote is a straightforward process, but it requires patience and care. From applying the coating to curing it, following the right steps is essential. These steps will ensure a proper and lasting finish. Here’s a detailed guide to help you succeed.
Applying the Cerakote Coating
Once your headlights are prepared, it’s time to apply the Cerakote. Typically, Cerakote comes in an aerosol can, so you should hold the can a few inches from the headlight and spray an even coat. Make sure not to apply it too thick, as this could cause problems. A good, even coat is the goal. This step is like painting the headlight.
- Spray Application: Hold the Cerakote can about 6-8 inches from the headlight.
- Apply Even Coats: Spray in smooth, even strokes, overlapping slightly.
- Avoid Runs: Don’t spray too much in one place to prevent drips or runs.
Curing and Finishing
Curing is the final stage that hardens the Cerakote, and it’s usually achieved by either air drying or using heat. Make sure to follow the manufacturer’s instructions. After it has cured, the headlights should look clear and protected. After the Cerakote has fully cured, you can enjoy your restored headlights.
- Air Drying: Allow the Cerakote to air dry for the specified time, typically 24-48 hours.
- Heat Curing (Optional): Some Cerakote products can be heat-cured, which speeds up the process.
- Inspection: Check for any imperfections and touch them up if necessary.
Does Cerakote Work on Headlights: Practical Examples and Results
Cerakote’s effectiveness on headlights has been shown in real-world scenarios, giving a clear picture of its capabilities. When the headlights are restored using Cerakote, they get their original clarity, and the car’s overall appearance changes. Here’s a look at how well Cerakote performs in practice.
Case Study 1: Restoration of Severely Oxidized Headlights
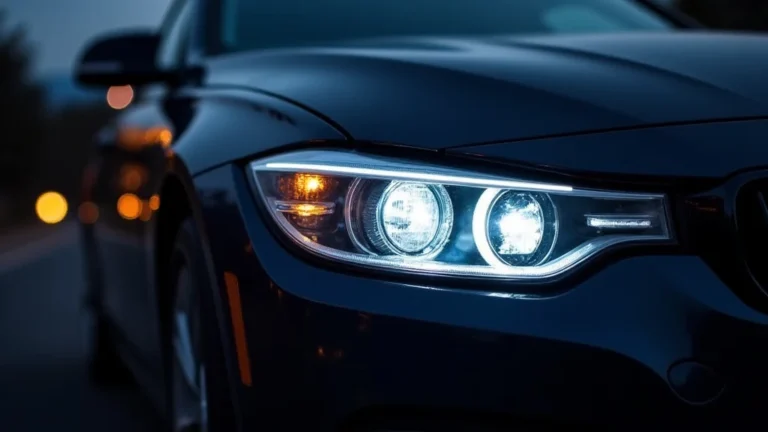
In this case study, a car with heavily oxidized headlights was restored using Cerakote. The headlights were yellow and cloudy. After cleaning, sanding, and applying Cerakote, the headlights looked brand new. This improvement was not just cosmetic; the light output improved noticeably. The owner noticed an immediate difference in visibility, especially at night. The Cerakote layer provided strong protection against future oxidation and UV damage.
Case Study 2: Long-Term Durability and Performance
Another case study looked at the long-term performance of Cerakote on headlights. A car was treated with Cerakote, and the headlights were monitored over several years. The results showed that Cerakote effectively resisted yellowing and clouding, even in harsh conditions. The headlights maintained their clarity and light output. This study proves that Cerakote is a great option for a longer lifespan.
Scenario 1: Comparing Before and After
Imagine a car with dull, yellowed headlights. Following the steps, the headlights are sanded, prepped, and Cerakote is applied. Then, visualize the difference: the headlights are now crystal clear, improving the car’s overall appearance and visibility. The difference is like night and day.
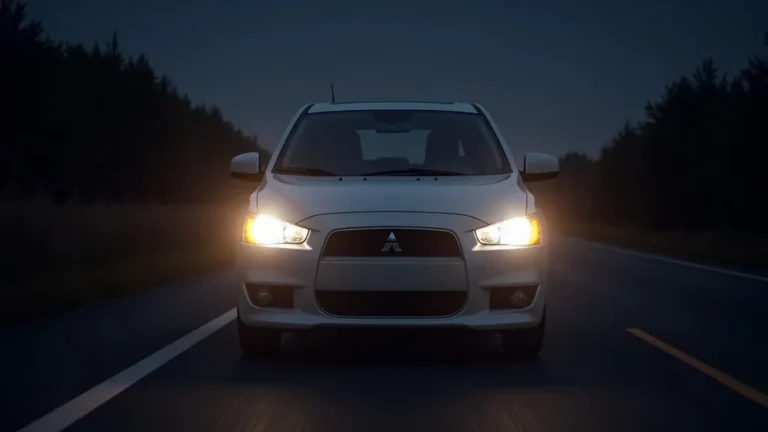
Scenario 2: Driving Experience After Cerakote
Think about driving a car with headlights that have been restored with Cerakote. The light shines much brighter, increasing visibility and safety during nighttime driving. The driver feels more confident because they can see the road clearly, without the problems of dim headlights.
Maintaining Cerakote Treated Headlights
After applying Cerakote, proper maintenance is key to keeping the headlights looking their best. Regular care and cleaning will make the coating last longer and help the headlights stay clear. Simple actions can make a big difference, ensuring the headlights stay in great shape for a longer time.
Cleaning and Care Tips
Regular cleaning is essential to keep the headlights looking clear and performing well. Washing the headlights with a gentle car soap and water is enough to remove any dirt. Avoid using harsh chemicals or abrasive cleaners, which might damage the coating. It’s like taking care of your car’s paint.
- Regular Washing: Wash the headlights with car soap and water every few weeks.
- Avoid Abrasives: Stay away from harsh chemicals or abrasive cleaners.
- Waxing (Optional): Applying a car wax can provide extra protection against UV rays.
Protecting Headlights From Environmental Damage
Headlights are exposed to the elements, including sunlight, rain, and road debris. To protect them, make sure to park in shaded areas when possible to reduce UV exposure. Consider using a sealant or wax on the headlights to give added protection against environmental damage. This can help keep the headlights in great condition.
- Parking: Park in shaded areas to reduce UV exposure.
- Sealants and Waxes: Apply sealants or waxes for extra protection.
- Regular Inspections: Check for any damage or wear.
Frequently Asked Questions
Question: How long does Cerakote last on headlights?
Answer: Cerakote can last several years, often between 3 to 5 years, depending on environmental conditions and maintenance.
Question: Is Cerakote hard to apply on headlights?
Answer: Applying Cerakote requires some prep work, but with the right steps, it’s not too difficult. Following the instructions carefully is key.
Question: Can I apply Cerakote on cloudy headlights?
Answer: Yes, Cerakote is designed to restore cloudy headlights, making them clear again.
Question: What do I need to prepare before applying Cerakote?
Answer: You’ll need to clean and sand the headlights to ensure the Cerakote adheres correctly.
Question: How do I remove Cerakote from headlights if I make a mistake?
Answer: You can remove Cerakote by sanding the surface. You may need to sand it back down to the original plastic and start again.
Final Thoughts
So, does cerakote work on headlights? It certainly does, offering a lasting solution to restore and protect them. Cerakote provides a durable, clear coating that fights against yellowing, clouding, and UV damage. Remember, the preparation is just as important as the application. With careful sanding, even application, and curing, your headlights will shine. Keep your headlights clean and take some time to care for them so that they remain crystal clear. Enjoy the improved visibility and the great look it gives your vehicle!