Can Am Defender Headlights: Brightening Your Off-Road Adventures
Picture this: You’re out on the trail, the sun’s dipping below the horizon, and suddenly, the visibility drops. That’s where quality lighting makes all the difference. This post is all about can am defender headlights. You’ll learn everything you need to know to make the best decisions for your off-road adventures. We’ll explore the types of lights available, factors to consider, and how to improve your machine’s illumination. Get ready to gain insights that can improve your safety and enjoyment on the trails, and discover how to optimize your setup.
Choosing the Right Can Am Defender Headlights
Selecting the correct lighting for your Can Am Defender involves several key considerations. Different types of headlights offer varying levels of brightness, beam patterns, and durability. The type of riding you do, from slow, technical trails to high-speed desert runs, will influence your choice. Also, think about the weather conditions you often encounter, such as fog or dust, as these require specific lighting solutions. There’s a lot to consider, so let’s explore the options.
Headlight Types and Technologies
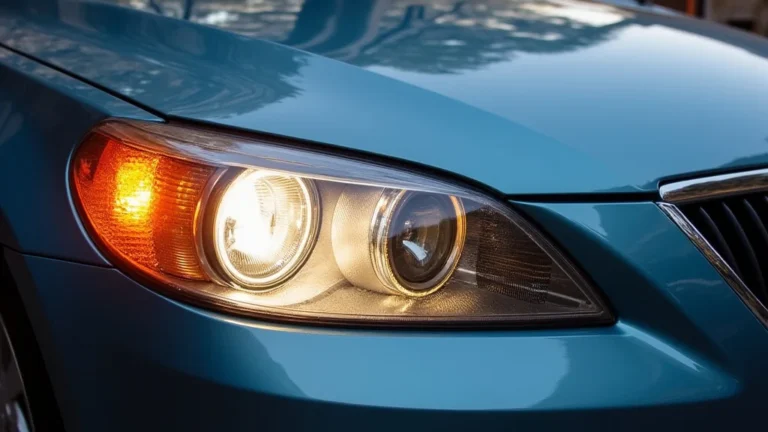
The marketplace offers several types of headlights, each with unique advantages. Halogen lights are the most budget-friendly, but they have lower light output and efficiency. Xenon HID (High-Intensity Discharge) lights offer brighter light and a longer lifespan compared to halogen. LED (Light Emitting Diode) lights, however, have become the most popular choice because of their superior brightness, energy efficiency, and durability. LED lights also often come with a longer lifespan and better resistance to vibrations. Understanding the different technologies allows you to make a more informed choice that fits your needs.
- Halogen Headlights: These are the most common and cheapest option. They use a heated filament inside a glass bulb. The light is less intense than other options, and the bulb life is shorter. Halogen lights are suitable for casual use but might not be enough for serious off-road driving.
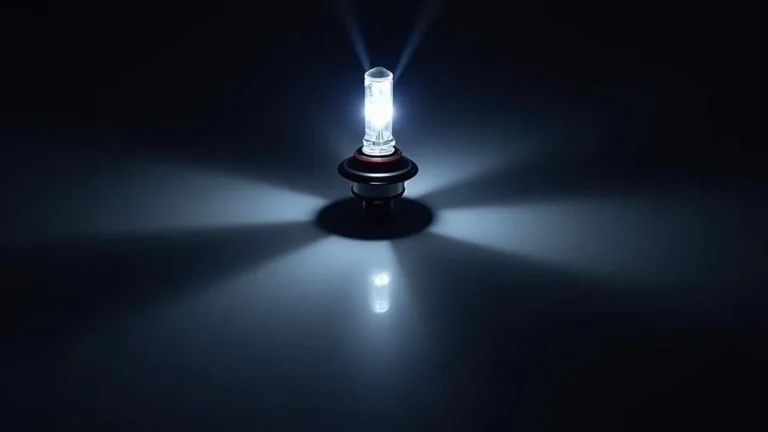
- HID (Xenon) Headlights: HID lights use an electrical arc between two electrodes in a capsule filled with xenon gas. They produce a brighter, whiter light than halogen lights, providing better visibility. They also last longer. However, they may require a ballast to regulate the power.
- LED Headlights: These are the most modern and efficient option. LEDs are solid-state lights that emit light when an electrical current passes through a semiconductor. They are incredibly bright, energy-efficient, and have a long lifespan. They are also highly resistant to vibrations.
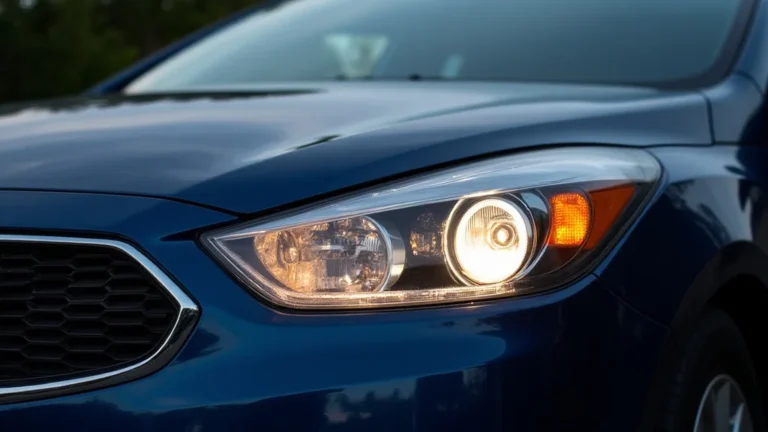
Halogen lights are often found in older models or as base-level equipment due to their affordability. The main downside is their relatively low light output compared to more modern technologies. The filaments are also vulnerable to vibrations, which can cause them to break and fail in off-road conditions. For drivers who do not need powerful illumination, halogen lights could be adequate, but for those seeking enhanced safety and visibility, the upgrade to LED or HID is recommended.
HID lights provide a significant upgrade over halogen lamps in terms of both brightness and lifespan. This technology utilizes a discharge method, producing a higher intensity of light and offering improved visibility in various conditions. Though brighter than halogen, HID lights still have limitations compared to LEDs. They take a short time to reach full brightness and can be somewhat sensitive to vibrations. While offering a good middle ground, consider LED options for even better performance.
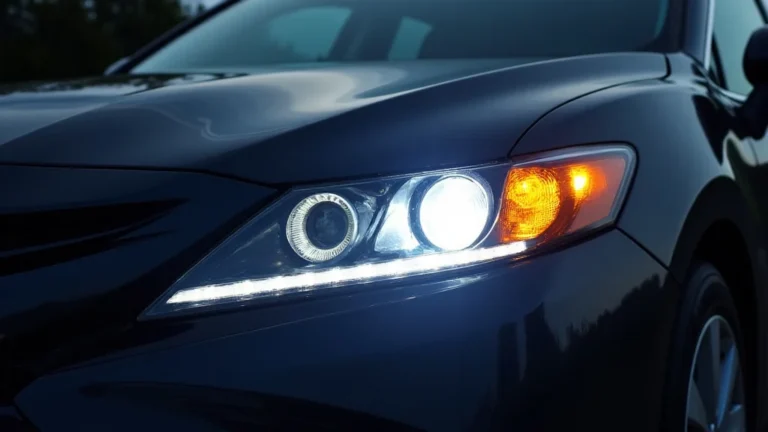
LED headlights are becoming the standard due to their outstanding characteristics. They provide exceptional brightness, allowing for improved visibility on trails and in harsh conditions. LED lights switch on instantly and offer a long lifespan, reducing the need for replacements. Their energy efficiency also benefits your Defender. They are also incredibly robust. Many aftermarket LED options allow for easy customization of color temperature, beam pattern, and overall appearance.
Beam Patterns and Their Importance
Beyond the type of light, the beam pattern is a key factor. Different beam patterns are designed for different driving situations. A spot beam provides a concentrated beam of light, ideal for long-distance visibility. A flood beam provides a wider spread of light, ideal for illuminating the area around your vehicle. Some headlights combine both in a combo beam. Understanding beam patterns will allow you to tailor your lighting setup to match the type of off-roading you do. The correct selection can dramatically improve your safety and comfort.
- Spot Beam: Focuses light into a narrow, concentrated beam. Ideal for seeing far down the trail.
- Flood Beam: Spreads light over a wide area, illuminating the surroundings.
- Combo Beam: Combines both spot and flood beams, providing a balanced lighting solution.
Spot beams are excellent for high-speed riding and when you need to see long distances. They concentrate the light in a narrow pattern, effectively cutting through the darkness. Spot beams help you spot obstacles, potential hazards, and the terrain ahead. However, spot beams have their limitations; they don’t illuminate the surroundings. Consider using spot beams in combination with other beam patterns to get full coverage.
Flood beams offer a broad and even distribution of light, lighting up a larger area around your vehicle. They help you to see the obstacles around you, the sides of the trail, and the immediate environment. Flood beams are suitable for navigating tight trails and working in low-light conditions. However, the limited distance that they illuminate means they don’t
Combo beams are a popular choice. They provide a combination of the focused light from a spot beam and the broader illumination of a flood beam. This configuration offers versatility, allowing you to see both long distances and the surroundings. Combo beams are a good all-around solution. They provide improved visibility in many situations. However, those who require more specific lighting for particular applications may still want to consider single-beam setups.
Brightness (Lumens) and Color Temperature
Brightness, usually measured in lumens, is an essential factor. A higher lumen rating means a brighter light. The color temperature, measured in Kelvin (K), influences the color of the light. A lower Kelvin number results in a yellowish light, while a higher number results in a bluer or whiter light. You need to consider both for visibility and how the lights will interact with environmental conditions. Finding the right balance between lumens and color temperature is critical for ensuring optimal visibility.
- Lumens: Measure of the total amount of visible light emitted. Higher lumens mean brighter lights.
- Color Temperature (Kelvin): Influences the color of the light. Lower Kelvin (e.g., 3000K) is yellowish; higher Kelvin (e.g., 6000K) is whiter/bluer.
The lumen rating of your headlights directly relates to their brightness. This is a critical factor when choosing aftermarket or
Color temperature significantly impacts the perceived light quality and visibility. Lower color temperatures, around 3000K, produce a yellow hue, often preferred for fog and dusty conditions as they can penetrate atmospheric conditions better. The whiter light of 6000K provides excellent clarity and is preferred for general off-road driving. The color temperature also affects how your eyes react. Some drivers find that a cooler color temperature can be easier on the eyes for extended driving. So, choose the light color that fits your requirements.
Installing and Maintaining Can Am Defender Headlights
Once you’ve selected your ideal can am defender headlights, proper installation and maintenance are essential. This section covers what you need to know to get the most out of your lights. This includes the installation process, aiming your headlights correctly, and the maintenance practices that will extend their lifespan and ensure optimal performance. A well-maintained lighting system is a safe and reliable system.
Installation Procedures
Installing new headlights often involves several steps, from removing the old units to connecting the new ones. For many LED upgrades, the process is straightforward, often involving a direct plug-and-play installation. Other upgrades, such as HID conversions, may involve more complex wiring and ballasts. Regardless of the light type, always follow the manufacturer’s instructions. Incorrect installation can affect the performance and lifespan of your new lights.
- Preparation: Gather necessary tools (screwdrivers, wrenches, etc.) and read the manufacturer’s instructions. Disconnect the battery.
- Removal of Old Headlights: Locate and remove the existing headlights. This usually involves removing screws or clips.
- Wiring and Connections: Connect the new headlights according to the instructions. This may involve plugging in connectors or splicing wires.
- Mounting and Alignment: Securely mount the new headlights and align them properly.
Before you begin the installation, make sure you have all the tools and parts needed. Double-check that the lights you have purchased fit your Can Am Defender model. Disconnect the battery to prevent electrical shorts during the installation. Proper preparation ensures that the installation process is smooth and avoids potential issues. Having the correct tools on hand allows for an efficient and safe process. Careful reading of the instructions will give you an understanding of the steps involved.
Carefully remove the old lights from your machine. This usually involves removing screws, clips, or other fasteners holding the headlights in place. Check the factory service manual for instructions specific to your Can Am Defender model, as steps might vary slightly. When removing, pay attention to any wiring connections, and label them if needed to help during the installation of the new lights. Proper removal will ensure a clean install, and the process prevents any damage.
Wiring is a critical step in the installation. Carefully connect the wiring harness of your new headlights to the existing wiring of your Can Am Defender. Some lights use a plug-and-play setup, while others may require splicing wires. Ensure all connections are secure and properly insulated to prevent electrical issues. Test the lights before fully securing them to ensure proper function. Use the instructions provided by the manufacturer. Incorrect wiring can cause the lights not to function.
Once the wiring is complete, mount the new headlights onto your Defender, ensuring they are securely fastened. Proper mounting prevents vibration or movement that could damage the lights or affect their performance. After mounting the lights, carefully aim the beam. Correct alignment ensures the lights project in the correct direction, providing optimal visibility. Misalignment can reduce visibility and potentially blind other drivers.
Aiming and Adjusting Your Headlights
Proper headlight alignment is vital for both your visibility and the safety of others on the trail. Incorrectly aimed headlights can reduce your visibility or blind oncoming drivers. Most headlights have adjustment screws that allow you to change the vertical and horizontal aim of the light beam. You can often adjust the lights by parking your Defender on a level surface and using a wall as a reference point. Regularly check your lights’ alignment and make adjustments as needed.
- Level Surface: Park the Defender on a level surface about 25 feet from a wall.
- Vertical Adjustment: Adjust the vertical aim using the adjustment screws on the headlights. The beam should be aimed slightly downwards.
- Horizontal Adjustment: Adjust the horizontal aim to ensure the beams are centered.
- Testing: After adjustments, test the headlights in a dark environment to confirm proper alignment.
Before aiming, park your Can Am Defender on a flat, level surface. The surface ensures you can get accurate aiming. Position the vehicle approximately 25 feet away from a wall. This distance is common for headlight aiming. Ensuring the machine is in the correct position will provide a proper starting point for the alignment. This is critical for getting accurate results and for a properly adjusted lighting setup. Accurate aiming is essential for visibility.
The adjustment screws on your headlights allow you to alter the vertical aim of the light beam. Aim the beam to be slightly downward. This prevents the lights from shining directly into the eyes of other drivers or over trees. Adjust the screws until the light pattern aligns correctly. Proper vertical adjustment ensures you have adequate road illumination without causing glare to other drivers. This small adjustment can significantly improve your safety.
The horizontal adjustment ensures that the light beams are correctly centered. This adjustment is necessary to get the best possible visibility. If the beams are not correctly centered, you could reduce visibility or shine the light away from the trail. Use the adjustment screws to make the necessary corrections. Correct horizontal alignment improves visibility. It also helps to prevent the lights from being distracting to other drivers. Proper adjustments mean you’ll have the best possible visibility.
Once you’ve made the adjustments, test the lights in a dark area. This will give you a clear view of the light pattern. Look for any areas that need additional adjustments. Test to ensure there are no issues with the beam patterns. Testing in a dark environment provides a good visual of the light beam. Make final adjustments to ensure maximum visibility and safety. Make sure that the headlights are working correctly before heading out on the trail.
Maintenance Tips for Headlights
Regular maintenance will improve the lifespan of your headlights and maintain their performance. Clean your headlights regularly to remove dirt, mud, and debris that can block light output. Inspect the wiring for damage or loose connections. Replace damaged bulbs or lights promptly. By following these simple maintenance practices, you can ensure your lights are ready for any adventure.
- Cleaning: Clean headlights regularly to remove dirt and debris. Use a soft cloth and mild soap.
- Inspection: Inspect wiring and connections regularly for damage or corrosion.
- Bulb Replacement: Replace bulbs promptly if they burn out.
Keeping your headlights clean will ensure you have maximum light output. Over time, mud, dust, and other debris can gather on the lenses, reducing their effectiveness. Regularly clean your headlights with a soft cloth and some mild soap. Avoid abrasive cleaners that could damage the lens surface. This maintenance will maintain maximum light output and protect the lens. Regular cleaning is a simple but effective way to ensure optimal headlight performance.
Regularly check the wiring and connections of your headlights for damage or corrosion. Vibration and exposure to the elements can cause wear on the wiring, affecting performance and safety. Look for any exposed wires or loose connections. Also, watch out for corrosion. Resolve any problems immediately. This inspection can help prevent electrical issues. This practice will ensure your headlights operate safely. If any damage is found, you should address it right away.
When a bulb fails, replace it immediately. Not only does this reduce your visibility, but it can also make your Defender less safe. Keep spare bulbs on hand. Also, make sure you know how to replace them. Regular replacement will keep your lights functional. A quick bulb replacement can help you avoid dangerous situations on the trail. Also, check to see if your lights are still covered under warranty.
Upgrading Your Can Am Defender Headlights
Enhancing your lighting setup is a worthwhile consideration for any Can Am Defender owner. By upgrading your existing can am defender headlights, you can improve visibility, enhance safety, and customize the look of your machine. This section explores several upgrade options, from aftermarket headlights to auxiliary lighting, and considers how to choose the right upgrades for your needs. Investing in lighting upgrades can vastly improve your off-road experience.
Aftermarket Headlight Options
The aftermarket offers a wide variety of headlight options. These upgrades can offer improved performance, durability, and a more modern look. Before choosing a set of aftermarket headlights, research different brands and options. Consider factors like light output, beam pattern, and construction quality. Carefully compare the specifications of different products to find the ideal match. Reading reviews from other users can also provide valuable insight into the quality and performance of a product.
- LED Headlight Assemblies:
Replacing the entire headlight assembly with LED units can significantly improve light output and modernize the look of your Can Am Defender. These assemblies often feature brighter, more efficient LED technology. Also, they come in a variety of styles and beam patterns, allowing for customization. Installation usually involves a direct
- LED Conversion Kits: Upgrade existing headlights to LED using a conversion kit.
- Projector Headlights: Add projector lenses for improved beam control and style.
A conversion kit can upgrade your existing headlights to LEDs. These kits usually include LED bulbs and any necessary adapters. The installation is straightforward, and the upgrade is less costly than replacing the whole assembly. Conversion kits can be a good choice for those wanting to benefit from LED technology without changing the entire headlight housing. Always check the kit’s compatibility with your specific model. Conversion kits provide a cost-effective way to get the benefits of LED technology.
Projector headlights can provide improved beam control and a modern aesthetic. The projector lens focuses light more precisely, creating a more defined beam pattern. They reduce glare for oncoming drivers. These are popular for their stylish look and efficient light distribution. However, installation may be more involved than a simple bulb replacement. Projector headlights offer great performance and look. You can improve your driving experience by adding projector headlights.
Auxiliary Lighting Solutions
In addition to upgrading your headlights, auxiliary lighting can enhance your off-road visibility. Auxiliary lights are extra lights you can add to your Defender. They are designed to supplement your headlights. There are several types of auxiliary lights available, from light bars to spotlights. Before installing any auxiliary lights, familiarize yourself with local regulations and laws. Correctly installed and strategically placed auxiliary lights can greatly improve your visibility.
- LED Light Bars: Provide a wide spread of light, ideal for illuminating the trail ahead.
- Spotlights: Offer a focused beam of light for long-distance visibility.
- Fog Lights: Designed to cut through fog and improve visibility in adverse weather conditions.
LED light bars offer a wide and powerful spread of light, ideal for illuminating the path in front of you. These bars are available in various lengths and configurations, from small bars to large, curved setups. They offer excellent visibility, making them suitable for night riding and other activities. The wide illumination from the light bar assists with spotting obstacles and hazards. Choosing a light bar that matches your needs is very important. Always consider the terrain. They are usually easy to mount.
Spotlights provide a focused beam of light designed to see long distances. They are ideal for spotting hazards on the trail or identifying wildlife. These are often used in conjunction with other types of lights. Spotlights are useful for high-speed driving or situations where you need to see far ahead. Always position the spotlights appropriately. Consider your driving style. They can greatly improve your ability to see and react to potential problems on the trail.
Fog lights are designed to cut through fog, rain, and snow. They emit a wide, low beam of light that illuminates the road just in front of you. Fog lights are usually mounted low on the vehicle to reduce glare from the fog. They are often a valuable addition to your Defender for adverse weather conditions. For proper installation, you’ll need to mount them correctly and align them. Fog lights can improve your safety. Always be sure to use them when weather conditions require it.
Customization and Styling Options
Upgrading your headlights doesn’t just improve your visibility. It’s also an opportunity to customize the look of your Defender. From color options to unique housing designs, there are many ways to personalize your lighting system. Remember to be mindful of local regulations. Prioritize functionality and consider your personal style when making choices. Careful choices will allow you to make your machine unique to your taste.
- Color Options: Consider different color temperatures to match your style or driving conditions.
- Housing Designs: Explore different housing designs to change the look of your Defender.
- Light Covers and Grilles: Protect your headlights while adding a unique appearance.
Headlights come in various color temperatures, giving you options. The light’s color can be matched to your personal style. You can also match the color temperature to your driving requirements. LEDs are available in a variety of colors and hues. Many people choose cooler colors. Warmer hues are preferred in some conditions. Choosing the color that suits you is a great way to customize your machine. You can also improve your visibility while doing it.
The housing design of your headlights can have a significant effect on the overall look. Many aftermarket headlights come in a variety of designs, from modern to retro-inspired. Some housings also incorporate unique elements such as daytime running lights or accent lighting. You can significantly change the look of your Defender with different housings. Be sure to consider your Defender’s overall style and your personal taste when choosing your housings.
Light covers and grilles are an excellent way to protect your headlights from damage. This also gives you the chance to add a touch of style. Many covers and grilles are available in different colors and designs. Covers help to protect from rocks, debris, and impacts that can occur on the trail. You can change your Defender’s appearance. You can enhance its rugged look. This offers a combination of both protection and visual customization.
Frequently Asked Questions
Question: What is the difference between a spot beam and a flood beam?
Answer: A spot beam focuses the light in a narrow pattern for long-distance visibility, while a flood beam spreads light over a wide area, illuminating the surroundings.
Question: Are LED headlights better than HID headlights?
Answer: Generally, yes. LED headlights are more energy-efficient, have a longer lifespan, and provide better light output than HID headlights.
Question: How do I aim my headlights correctly?
Answer: Park your Defender on a level surface approximately 25 feet from a wall. Adjust the vertical aim so the beam is slightly downwards, and center the horizontal aim.
Question: What is the color temperature, and why does it matter?
Answer: Color temperature is measured in Kelvin (K). It affects the color of the light emitted. The light’s color can be useful in certain environments. Different color temperatures impact your visibility.
Question: How often should I clean my headlights?
Answer: Clean your headlights regularly to remove dirt and debris. Doing this can greatly improve the light output and performance of your lights. This should be a part of your regular maintenance.
Final Thoughts
Choosing the right can am defender headlights is a decision that significantly affects your off-road experience. From halogen to LED, the options are varied, each with pros and cons. We’ve explored the differences in beam patterns, brightness (lumens), and color temperature. Proper installation, adjustment, and regular maintenance are essential for maximizing the performance and lifespan of your headlights. When upgrading, consider aftermarket LED assemblies, conversion kits, and auxiliary lighting solutions. With all of the information we covered, your next adventure can be much brighter. So, explore the options, and select headlights that match your riding style, needs, and preferences. Get out there and enjoy the trails!