Which Fuse Is for My Headlights A Simple Guide
Figuring out which fuse is for my headlights can be tricky, especially if you’re new to car maintenance. It’s a common problem because cars have so many fuses protecting different electrical systems. You might be staring at a confusing fuse box, but don’t worry! This guide will break down the process step-by-step. We’ll make it easy to find and identify the correct fuse, helping you get your headlights working again. Ready to learn?
What a Fuse Does and Why It Matters
A car’s electrical system is a network of wires that powers everything from your headlights to your radio. Fuses are like tiny guardians, protecting these wires from damage. They’re designed to break—or “blow”—if too much electricity flows through them. This prevents overheating and potential fires. Knowing about fuses is one of the first things you need to know about your car. It will save you from expensive repairs. It also saves you a great deal of frustration.
The Role of Fuses in Your Car
Fuses act as safety devices in your car’s electrical system. They’re designed to break the circuit when an electrical overload occurs. This overload can happen due to a short circuit, a surge in power, or a faulty component. When a fuse blows, it cuts off the flow of electricity to the circuit it protects. This prevents damage to the wiring and components connected to that circuit. Without fuses, your car’s electrical system would be highly susceptible to damage.
- Protection against Overload: Fuses are rated for a specific current. If the current exceeds this rating, the fuse melts and breaks the circuit.
- Preventing Fires: A blown fuse prevents excessive current from flowing through wires, which could cause them to overheat and start a fire.
- Easy Replacement: Fuses are designed to be easily accessible and replaceable, making it simple to fix many electrical problems.
- Circuit Specificity: Each fuse protects a specific circuit, so replacing a blown fuse restores power only to the affected component.
Think of it like this: a fuse is a safety valve. It releases the pressure (excess electricity) before it can cause an explosion (electrical fire). A car typically contains dozens of fuses. They vary in size and amperage (the amount of electrical current they can handle). It’s crucial to use the correct amperage when replacing a fuse. Using a fuse with too high of an amperage can allow too much current to flow. This can damage components or start a fire. Using a fuse with too low of an amperage will cause the fuse to blow frequently.
What Happens When a Fuse Blows
When a fuse blows, the circuit it protects stops working. This can manifest in several ways. The headlights may stop working, the radio might turn off, or the power windows could fail. You’ll often notice a specific electrical component failing. The blown fuse has created an open circuit. This means the flow of electricity is interrupted. This will cut off the power to the component. In most cases, it is easy to fix this.
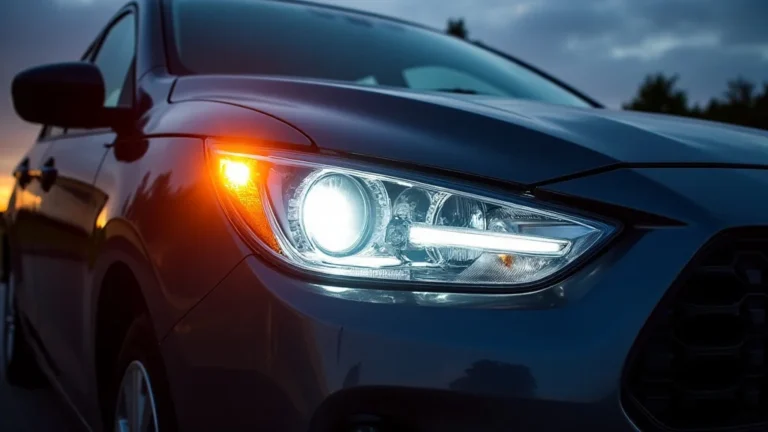
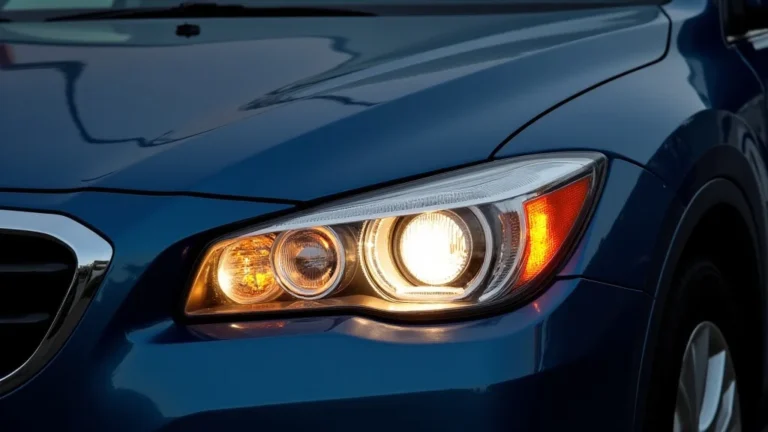
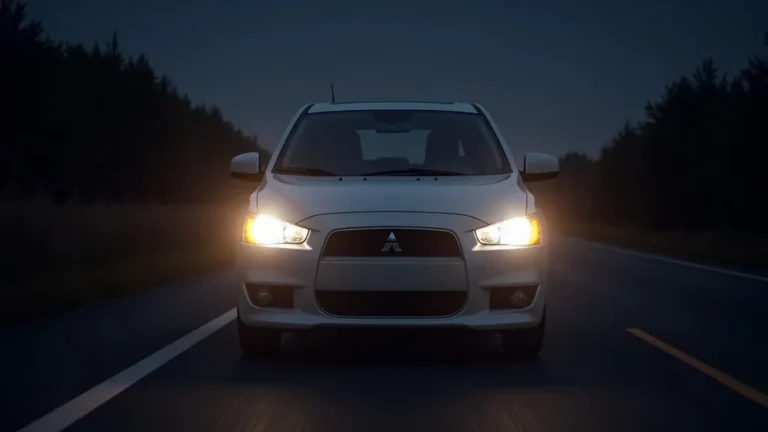
- Headlights Out: If the headlight fuse blows, both headlights (or just one, depending on the car’s wiring) will stop working.
- Radio Silence: A blown fuse for the radio can cause the radio and possibly the clock to stop functioning.
- Power Window Failure: If the fuse for the power windows goes, the windows won’t go up or down.
- Dashboard Indicators: Some fuses also protect dashboard lights or other indicators, leading to those features not working.
It’s important to pinpoint the blown fuse. Inspect the fuse box, looking for any fuses with a broken filament (the thin wire inside the fuse). Often, the filament will have a visible break or a darkened appearance. If a fuse has blown, it needs to be
Locating the Headlight Fuse
Finding the correct fuse is a matter of knowing your car’s fuse box and how it’s labeled. Fuse boxes are usually located under the dashboard or in the engine compartment. These boxes can vary from car to car. The owner’s manual is your best friend here. It provides a detailed diagram of the fuse box, showing which fuse controls which component. This helps you identify which fuse is for my headlights.
Finding Your Fuse Box
The location of your fuse box can vary by car manufacturer and model. There are usually two fuse boxes in a car. One is typically under the dashboard. It’s often located on the driver’s or passenger’s side. The other is usually in the engine compartment. The engine compartment fuse box is typically found near the battery or on the side of the engine bay. These fuse boxes contain fuses for different circuits in your car. Some cars may even have a fuse box in the trunk.
- Driver’s Side: Many cars have a fuse box near the steering wheel or under the dashboard on the driver’s side.
- Passenger’s Side: Some vehicles have the fuse box on the passenger side. It could be behind a panel or under the glove box.
- Engine Compartment: This fuse box is often located near the battery or on the inner fender. It’s protected from the elements.
- Owner’s Manual: The owner’s manual is the key. It details the location of all fuse boxes and provides a diagram of the fuses.
Once you’ve located the fuse box, finding the right fuse is next. The owner’s manual will have a diagram that shows you which fuse controls which circuit. This diagram is crucial for identifying which fuse is for my headlights. Most fuse boxes also have a label inside the cover that helps. However, it’s often more difficult to read than the owner’s manual.
Reading the Fuse Box Diagram
The fuse box diagram is a map of your car’s electrical system. It will label each fuse with a number or a symbol. These numbers and symbols tell you what each fuse controls. The diagram is usually printed on the inside of the fuse box cover or in the owner’s manual. It typically shows the location of each fuse and its amperage rating. It might also use color-coding to make it easier to identify different circuits.
- Fuse Identification: The diagram will label the fuses, identifying what each one powers (e.g., “Headlights,” “Radio,” “Brake Lights”).
- Amperage Ratings: It will also specify the amperage rating of each fuse (e.g., 10A, 15A, 20A). This is crucial for replacement.
- Color Coding: Some diagrams use color-coding. This can make it easier to identify fuses of different amperage ratings.
- Symbols and Abbreviations: You may see symbols or abbreviations. These are usually explained in the owner’s manual.
When you’re trying to figure out which fuse is for my headlights, look for a label that says “Headlights,” “Headlamps,” or something similar. Once you’ve found the correct fuse, note its amperage. You will need a replacement fuse of the same amperage. Don’t simply pull fuses out randomly. Doing so can cause more problems. Always consult the diagram.
Inspecting and Replacing a Blown Headlight Fuse
After you’ve identified the headlight fuse, it’s time to inspect it. Look for any signs of damage or a broken filament. If the fuse is blown, you’ll need to replace it. This process is straightforward. However, it’s important to make sure you use the right type of fuse. Replacing the fuse is a quick and easy fix that will get your headlights working again. You should also check for other electrical issues that may have caused the blown fuse.
How to Identify a Blown Fuse
Identifying a blown fuse is relatively simple. The fuse has a thin metal wire, or filament, that runs through its center. When a fuse blows, this wire breaks, interrupting the flow of electricity. It’s usually easy to see if the filament is broken. Sometimes, you’ll see a darkened area inside the fuse. This indicates that it has been exposed to excessive heat. A blown fuse means the circuit is no longer protected.
- Visual Inspection: Look closely at the fuse. Is the metal wire inside broken? If so, the fuse is blown.
- Darkening or Discoloration: Sometimes, the glass or plastic around the fuse will appear darkened or discolored. This is a sign of overheating.
- Use a Fuse Tester: A fuse tester is a simple tool you can use to check if a fuse is good or bad.
- Compare to a Known Good Fuse: If you’re unsure, compare the suspected fuse to a known good fuse.
Make sure the car is off before you start checking fuses. You can remove the fuse box cover. Then, use a fuse puller (usually provided in the fuse box or a simple pair of needle-nose pliers). Carefully remove the headlight fuse from its slot. If the filament is broken or if there is any sign of damage, you need to replace the fuse. However, before replacing it, think about what might have caused the fuse to blow. If the new fuse blows immediately, there could be a short circuit.
The Fuse Replacement Process
Replacing a blown fuse is a simple process. First, make sure you know the correct amperage for the
- Gather Your Supplies: You’ll need a replacement fuse of the correct amperage. A fuse puller will also be helpful.
- Locate the Blown Fuse: Find the headlight fuse in the fuse box. Make sure you’ve identified it using the diagram.
- Remove the Blown Fuse: Use the fuse puller (or pliers) to carefully remove the blown fuse from its slot.
- Insert the New Fuse: Insert the new fuse into the same slot, making sure it’s firmly seated.
- Test the Headlights: Turn on your headlights to see if they work. If they do, you’ve successfully replaced the fuse.
Once you’ve replaced the fuse, test your headlights. If they work, you’ve fixed the problem. However, if the new fuse blows immediately, there might be a problem in the headlight circuit, such as a short. You should then consider seeking the help of a professional mechanic. If the headlights still do not work, inspect the bulbs. Sometimes, a burned-out bulb can cause the circuit to fail. The most important thing is to use the right fuse and follow the diagram.
Troubleshooting Common Headlight Issues
Sometimes, replacing the fuse doesn’t solve the problem. If your headlights still aren’t working after replacing the fuse, there could be another issue. This could be a burned-out bulb, a problem with the wiring, or something more serious. It’s important to do some troubleshooting to identify the cause of the problem. This can save you time and money on costly repairs. You can determine which fuse is for my headlights.
Checking the Headlight Bulbs
A common cause of headlight failure is a burned-out bulb. Headlight bulbs have a limited lifespan and will eventually burn out. It’s important to check the bulbs as part of your troubleshooting process. Checking the bulbs involves inspecting them for a broken filament or a cloudy appearance. This often means the bulb has failed. You can usually inspect the bulbs without any special tools. In other cases, you might need to consult your owner’s manual for instructions on how to access the headlight bulbs.
- Visual Inspection: Look at the headlight bulbs. Are the filaments inside intact? A broken filament means the bulb is bad.
- Cloudy or Discolored Glass: Sometimes, the glass of the bulb will look cloudy or discolored. This can also indicate a failed bulb.
- Test with Another Bulb: If you suspect a bad bulb, you can test it by swapping it with a known good bulb.
- Use a Multimeter: For more advanced testing, you can use a multimeter to check for continuity in the bulb’s circuit.
To check the bulbs, first, make sure your car’s headlights are turned off and the car is parked. Open the hood and locate the headlights. You may need to remove a cover or access panel to reach the bulbs. Once you’ve accessed the bulbs, remove them from their sockets. Inspect the bulbs for any signs of damage. If the bulbs look bad,
Wiring and Connector Issues
Problems with the wiring or connectors can also cause headlight issues. The wiring can become damaged over time due to wear and tear, corrosion, or animal interference. Connectors can become loose or corroded. Check the wiring and connectors that connect to your headlights. This may reveal the problem. Look for signs of damage or corrosion. You can use a multimeter to test the wiring for continuity. This can help you pinpoint the issue.
- Check for Loose Connections: Make sure all connectors are securely attached to the headlights and wiring.
- Inspect the Wiring: Look for any signs of damage, such as cuts, abrasions, or exposed wires.
- Check for Corrosion: Corrosion can build up on connectors and wires. This can prevent electricity from flowing.
- Use a Multimeter: A multimeter can be used to test the wiring and connectors for continuity and voltage.
Start by checking the headlight connectors. Disconnect and reconnect them to make sure they’re secure. Look for any signs of corrosion. Use electrical contact cleaner to clean any corroded connectors. Next, inspect the wiring for any damage. If you find any damaged wires, you may need to repair them. It may be helpful to consult with a mechanic. They can help you identify and fix these wiring issues. Make sure the wiring is properly routed and protected to avoid future damage.
When to Seek Professional Help
While some headlight issues can be fixed at home, others require professional assistance. If you’ve replaced the fuse, checked the bulbs, and inspected the wiring. However, your headlights still aren’t working, it may be time to seek help from a mechanic. A mechanic has specialized tools and knowledge to diagnose and fix more complex electrical problems. Do not try to repair anything that you are not capable of.
- Persistent Fuse Blowing: If the headlight fuse keeps blowing. This usually indicates a more serious electrical problem.
- Complex Wiring Issues: Complex wiring issues can be difficult to diagnose. They require specialized knowledge and equipment.
- Faulty Components: Faulty components, such as the headlight switch or the light control module.
- Lack of Expertise: If you’re not comfortable working with electrical systems. It’s always best to seek professional help.
A professional mechanic can diagnose the problem and perform the necessary repairs safely. They can use specialized tools and equipment to identify the root cause of the problem. This can save you time, money, and frustration. They also have the knowledge to handle more complex electrical problems. You don’t want to make things worse. Don’t be afraid to take your car to a mechanic. They’re there to help.
| Problem | Possible Cause | Solution |
|---|---|---|
| Headlights not working | Blown fuse | Replace the fuse (ensure it’s the correct amperage) |
| Headlights not working | Burnt-out bulb | Replace the headlight bulb |
| Headlights not working | Loose connection or broken wire | Check the wiring and connectors. Repair or replace as necessary. |
| Headlights not working | Faulty switch | Seek professional assistance from a mechanic |
Frequently Asked Questions
Question: Where can I find the fuse box in my car?
Answer: Fuse boxes are usually located under the dashboard (driver’s or passenger’s side) or in the engine compartment. Check your owner’s manual for the exact location in your vehicle.
Question: What does a blown fuse look like?
Answer: A blown fuse has a broken wire (filament) inside or shows a darkened/discolored appearance. You might see a visible break.
Question: Can I use a fuse with a higher amperage?
Answer: No, it is not safe. Always use a fuse with the same amperage rating as the original. A higher-rated fuse can damage the electrical system.
Question: What should I do if the new fuse blows immediately?
Answer: If a new fuse blows right away, it likely indicates a short circuit or another electrical problem. It’s best to have a mechanic examine the car.
Question: How do I know which fuse is for my headlights?
Answer: Check your owner’s manual or the fuse box diagram. It will show you which fuse controls the headlights, usually labeled “Headlights” or similar.
Final Thoughts
So, understanding which fuse is for my headlights doesn’t have to be hard. By learning about fuses, finding the fuse box, and using your owner’s manual, you can pinpoint the right fuse. Remember that you can