Why One Headlight Is Brighter Than the Other Explained
Ever noticed why one headlight is brighter than the other on your car? It’s a pretty common question, especially for those just starting to learn about car care. Don’t worry, it’s not always a big deal, and figuring it out is easier than you think. We’ll explore the main reasons this happens and offer a straightforward, step-by-step approach to fix it. We’ll start with the basics, and you’ll soon be able to diagnose the problem yourself.
Common Causes of Headlight Brightness Differences
The difference in brightness between your car’s headlights can be caused by various factors, from simple bulb issues to more complex electrical problems. Many beginners face this situation, often unsure where to begin. Sometimes, it’s just a quick fix, while other times, a deeper inspection is necessary. Recognizing the common causes is the first step in resolving the issue and ensuring your safety on the road. We will break down the most likely reasons for this disparity, providing you with the skills to address them.
Bulb Issues and Their Impact
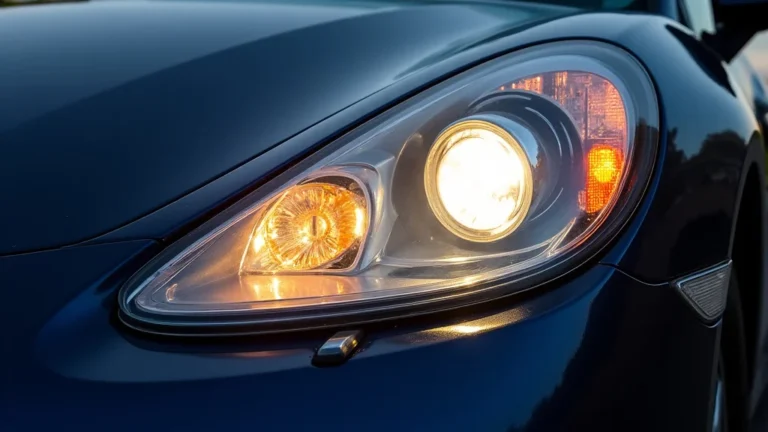
One of the most frequent reasons for uneven headlight brightness is directly tied to the light bulbs themselves. Over time, bulbs can weaken, burn out, or even become coated with grime, leading to reduced light output. It’s often the simplest problem to check and rectify. You’ll want to inspect the bulbs in both headlights. You might notice a difference in color or intensity. Regularly inspecting your light bulbs is a key element of car maintenance. It enhances visibility and avoids potential safety risks.
- Bulb Age and Degradation: All light bulbs have a lifespan. As they age, their brightness decreases. Halogen bulbs, for example, tend to dim gradually as their filament deteriorates. Replacing both bulbs simultaneously ensures uniform illumination, improving your view at night and enhancing other drivers’ ability to see you. Newer bulbs provide much better lighting, making night driving safer and easier.
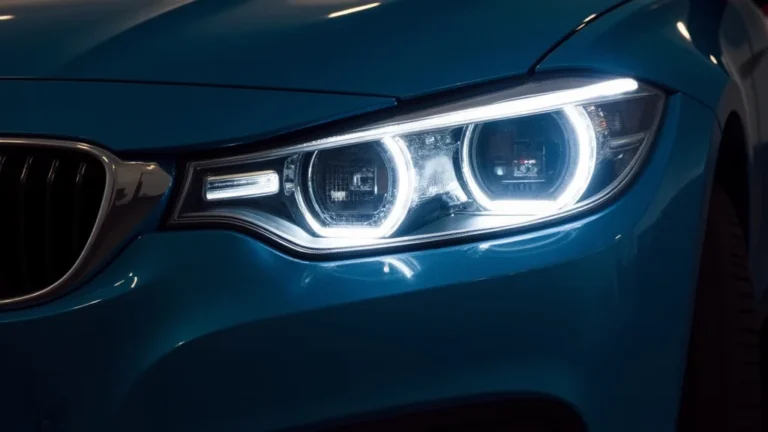
- Bulb Type Differences: Make sure both headlights use the same type of bulb. If one headlight is fitted with a different type than the other, like a halogen versus an LED, their brightness will naturally differ. Replacing both bulbs with identical types will rectify this. The lighting color from each type is also a factor. LEDs produce a sharper, whiter light compared to the yellowish light from traditional halogen bulbs.
- Internal Bulb Damage: Sometimes, a bulb can be damaged internally, perhaps due to a manufacturing defect or physical shock. This damage might not be immediately obvious, but it can significantly reduce the light output. Look for any discoloration or cloudy areas within the bulb. Check the filament, as a broken filament means the bulb has failed completely.
- Dust or Grime on the Bulb: Dust, dirt, or even fingerprints can accumulate on the bulb’s surface, reducing the amount of light that’s emitted. Cleaning the bulb with a soft cloth can improve brightness. Make sure the bulb is cool before cleaning it. Any grime will block light.
Electrical System Problems
Beyond the bulbs themselves, the electrical system of your car can play a significant role in headlight performance. Issues like voltage drops, corroded wiring, and faulty connectors can all contribute to reduced brightness in one or both headlights. These electrical problems are often more challenging to diagnose than bulb issues, but they’re critical to check. Getting a grip on electrical problems can prevent more serious issues. Careful inspection of the wiring and electrical components is a must.
- Voltage Drop Issues: A voltage drop happens when the current flowing to a headlight is reduced. This can be due to problems with the wiring, connectors, or even the car’s battery. A simple test with a multimeter can help determine if this is the cause. If the voltage is too low, the headlight won’t shine as brightly. Poor voltage can also affect the lifespan of the bulbs.
- Corroded Wiring and Connectors: Corrosion on wires and connectors causes resistance, restricting the flow of electricity to the headlights. Check all connections for any signs of rust or corrosion, especially around the headlight sockets and ground wires. Cleaning these connections can often restore full brightness. A good electrical connection ensures that the headlights receive the necessary power.
- Faulty Ground Wires: A proper ground connection is essential for the electrical system. A bad ground wire can lead to reduced brightness or complete failure of the headlight. Examine the ground wires for corrosion or loose connections. Make sure that the ground wire is firmly attached to the chassis. A reliable ground circuit is fundamental to proper headlight function.
- Damaged Headlight Relay: The headlight relay controls the power flow to the headlights. If this relay is damaged, it could affect the brightness. Replace the relay if you suspect a problem. This is a cheaper part, and easy to replace.
Lens Condition and Its Influence
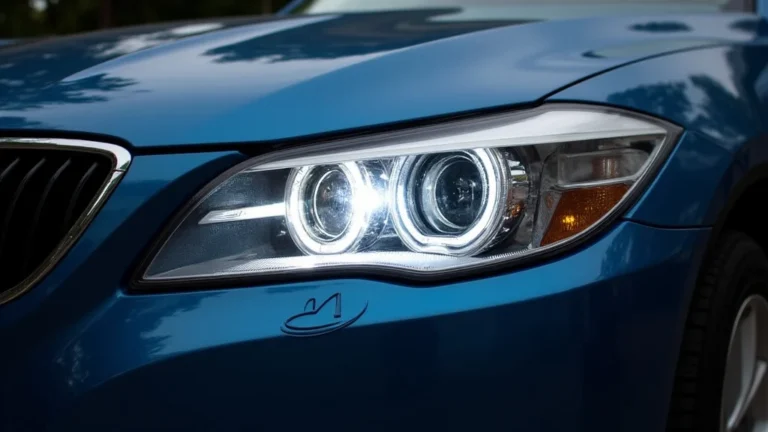
The condition of the headlight lens itself can drastically affect the light output. Over time, plastic lenses can become cloudy, yellowed, or scratched due to sun exposure and road debris. This degradation reduces the amount of light that can pass through, leading to reduced brightness. It is often the lens condition, not the bulb itself, that causes a driver to note a difference in light. Maintaining a clear lens is as important as having good bulbs.
- Clouding and Yellowing: Ultraviolet (UV) light from the sun degrades the plastic headlight lenses. This makes them cloudy and yellow, greatly diminishing the light’s ability to shine through. Restoration kits are available to clean and restore clarity, and you may find that the light output has increased dramatically. Regular cleaning and care can extend the life of your lenses.
- Scratches and Damage: Scratches from road debris can scatter the light. This makes the beam less focused and reduces brightness. More extensive damage might require replacing the lens. Even small scratches can make a significant difference.
- Internal Condensation: Water buildup inside the headlight housing can cloud the lens. This also reduces the amount of light that comes out. Check the seals around the lens and housing. This may be related to the headlights not being sealed properly.
- Improper Lens Cleaning: Always use the correct products to clean your headlight lenses. Avoid harsh chemicals or abrasive cleaners that can damage the plastic. Proper cleaning preserves the clarity of the lens, which is important.
Troubleshooting Steps to Resolve Brightness Issues
To accurately diagnose the reasons why one headlight is brighter than the other, a systematic approach is necessary. Start by checking the easiest things first, and then advance to more complex tests. By following these steps, you’ll be able to identify the root cause of the problem and implement the appropriate solution. This troubleshooting approach will help you save time and prevent unnecessary repairs. It will help you learn the electrical system of your car.
Step-by-Step Diagnostic Process
Here’s a detailed guide to help you find the problem and fix it.
- Visual Inspection:
Start with a close look. Check the appearance of the headlight bulbs. Are the bulbs the same type? Are they both of the same age? Look for signs of damage or discoloration on the bulbs, lens, and housing. Ensure the lenses are clean and free of significant scratches or cloudiness.
- Bulb Swap Test:
Swap the bulbs between the two headlights. If the brighter headlight now has the dimmer bulb, you know the problem is with the bulb. If the dimmer headlight remains dim, the issue is not the bulb itself. This test helps identify if the problem is bulb-related or due to something else.
- Voltage Measurement:
Use a multimeter to measure the voltage at the headlight connectors. Compare the voltage readings for both headlights. The voltage should be close. Any considerable difference means an electrical problem.
- Wiring and Connector Inspection:
Inspect the wiring, connectors, and ground wires. Look for corrosion, loose connections, or damaged wires. Repair or replace any damaged components. It is essential to ensure a reliable electrical connection.
- Lens Inspection and Cleaning:
Examine the lens for cloudiness, yellowing, or damage. Clean the lenses with a headlight restoration kit if necessary. Restoring the lenses can make a big difference in light output.
Tools and Equipment Needed
To perform the troubleshooting steps, you’ll need the right tools. Having the correct tools will ensure you can safely and effectively diagnose and fix the problem. You might already have a lot of what you need. Getting the correct tools will save you time and money.
- Multimeter: Used to check voltage and test electrical circuits. This tool can measure voltage, resistance, and current.
- Screwdrivers and Wrenches: You’ll need different sizes for accessing the headlights and associated components. You will need a variety of tools.
- Headlight Restoration Kit: To clean and restore the clarity of clouded headlight lenses. These kits include cleaning solutions, polishing compounds, and sometimes sanding pads.
- Gloves and Safety Glasses: For protection. Always wear safety glasses when working with any electrical components, and wear gloves to protect your hands from grease and dirt.
- Replacement Bulbs: To test or replace faulty bulbs. Make sure you get the right type and wattage for your car.
Safety Considerations
When working on your car’s electrical system, always put safety first. It’s essential to prevent injuries or damage. Following these safety guidelines ensures that you can work without risk. Proper safety will prevent electrical shock and other issues.
- Disconnect the Battery: Before starting any electrical work, always disconnect the negative terminal of the car’s battery. This prevents any accidental short circuits. Disconnecting the battery helps you stay safe.
- Wear Protective Gear: Use gloves and safety glasses. This protects your eyes and hands from potential hazards like sparks, debris, and chemicals.
- Work in a Well-Lit Area: Make sure you have good lighting to see the components clearly. Good lighting can prevent mistakes.
- Avoid Touching Live Wires: Never touch exposed wires. Be cautious when working around electrical components. If you are unsure about something, ask for help from a professional.
Real-World Examples and Case Studies
Seeing how others have tackled this problem can be helpful. These real-life examples offer insights and a better grasp of the situation. They will illustrate how to resolve the brightness issue. Case studies and examples make it easy to understand the solution.
- Case Study 1: Halogen Bulb Failure: A driver noticed one headlight was significantly dimmer than the other. After swapping the bulbs, the problem remained with the same headlight. Further inspection revealed the wiring connector to that headlight had slight corrosion. Cleaning the connector with electrical contact cleaner resolved the problem. This shows how important it is to examine the connection.
- Case Study 2: Lens Restoration: A vehicle’s headlights looked clouded and yellowed. The owner bought a headlight restoration kit. Following the kit’s instructions, they cleaned and polished the lenses. This dramatically improved the light output, making the headlights look almost new.
- Case Study 3: Voltage Drop Issue: A mechanic found that one headlight was much dimmer than the other on a customer’s car. Using a multimeter, they checked the voltage at both headlights. The dimmer headlight was receiving less voltage. They found a corroded ground wire, which, after cleaning, restored the full voltage and brightness. This case showed how an electrical problem can affect brightness.
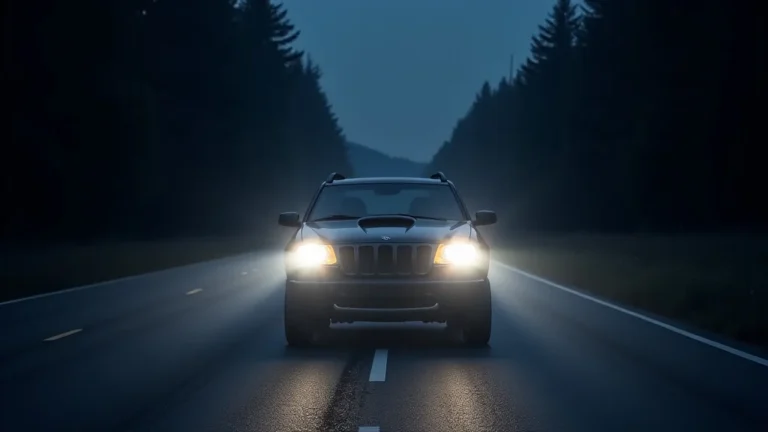
Statistics show that up to 30% of car accidents happen at night. Properly functioning headlights are vital for road safety. Maintaining and ensuring optimal headlight performance is essential for safer driving. It improves visibility for you and also for other drivers. Ensuring both headlights are equally bright reduces the risk of accidents.
Another statistic reveals that about 60% of drivers are unaware of the importance of maintaining their headlight lenses. Many people don’t realize how much lens condition affects headlight performance. Regular lens cleaning and restoration can help increase the amount of light emitted, which is vital for safety on the road.
| Factor | Impact |
|---|---|
| Bulb Age | Gradual Dimming |
| Electrical Issues | Voltage Drop, Corrosion |
| Lens Condition | Clouding and Scratches |
Frequently Asked Questions
Question: Why is one headlight dimmer after replacing the bulb?
Answer: Check the wiring and connectors for corrosion, ensure the new bulb is the correct type and wattage, and verify the voltage supply to the headlight.
Question: How do I clean cloudy headlights?
Answer: Use a headlight restoration kit. These kits usually include abrasive pads and polishing compounds.
Question: What’s the best way to test the voltage to the headlights?
Answer: Use a multimeter set to measure DC voltage. Touch the probes to the headlight connector terminals.
Question: Can I use any type of light bulb in my car’s headlights?
Answer: No, it’s important to use the correct type of bulb specified for your vehicle. Using the wrong bulb can cause damage or reduce the light output.
Question: How often should I replace my headlight bulbs?
Answer: Most halogen bulbs should be replaced every one to two years, depending on how often you drive at night. For LEDs, they typically last much longer.
Final Thoughts
Figuring out why one headlight is brighter than the other doesn’t have to be hard. As you can see, the problem might be a simple fix. From checking bulbs to inspecting wiring, the process is straightforward. Start with a visual inspection, then work your way through the steps. Often, it comes down to old bulbs or some kind of electrical issue. The troubleshooting tips will help you do it right. Regular checks and maintenance will ensure your headlights work correctly. This will enhance your safety and the safety of everyone on the road.