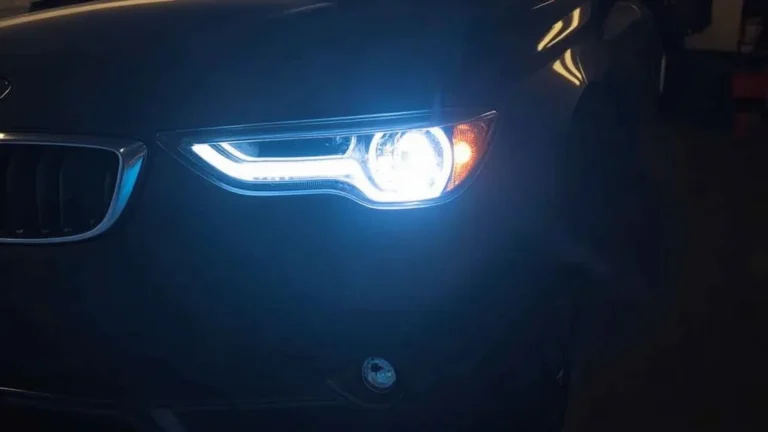
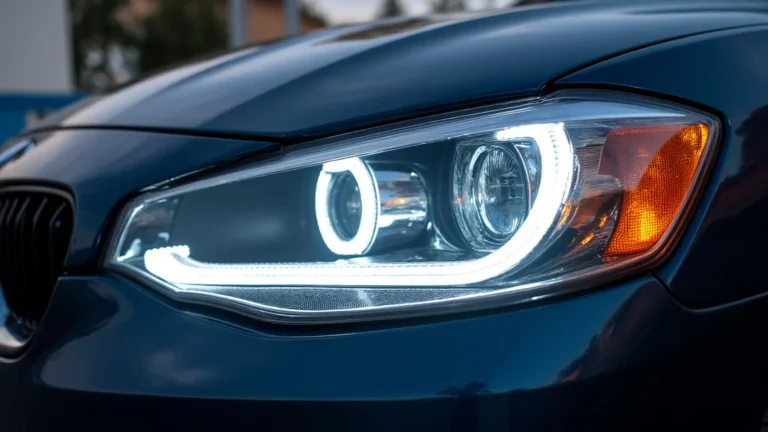
How to Change a Headlight Bulb: A Simple Guide
Changing a headlight bulb is something many drivers face, and it often seems tougher than it is. It’s common because bulbs burn out, and a burned-out bulb means you can’t see the road as well at night. While it might seem challenging if you’ve never done it before, don’t worry! This guide will break down how to change a headlight bulb step-by-step, making the process easy for anyone. We’ll explore the basics, making sure you feel confident and ready to get started.
Prepare Before Replacing a Headlight Bulb
Before you even think about touching your car, preparation is key. This initial step sets the stage for a smooth and safe process. It’s like gathering your tools before starting any project; having the right things on hand makes everything easier. This ensures your safety and prevents any unexpected issues during the process. We will look at things like gathering the right materials and safety practices.
Gather Your Tools and Materials
Having the right tools and materials ready will make the process much simpler. You don’t need a whole garage full of equipment, but a few key items will be essential. The right tools can save you time and prevent damage to your car. Checking what you need before starting is the best approach to changing a headlight bulb. This simple check can prevent any unnecessary trips to the store in the middle of the work.
- Replacement Bulbs: The most crucial item is the replacement bulb. Make sure you know what type your car needs. This information is usually found in your car’s owner’s manual or on the old bulb itself. Buying the wrong bulb is a common mistake that can be easily avoided. You can also find your car’s specifications online by using your car’s make, model, and year.
- Gloves: Wear gloves to keep the oil from your skin off the new bulb. This is because oil can create a hot spot, shortening the bulb’s lifespan. Any type of gloves can be used, but latex or nitrile gloves are ideal.
- Screwdriver: A screwdriver, usually a Phillips head or flathead, might be needed to remove the headlight assembly. Sometimes, clips are used instead of screws.
- Owner’s Manual: Your car’s manual will provide information about your specific vehicle’s headlight type and how to access them. It can save you a lot of guessing and potentially damaging parts.
- Safety Glasses: Protect your eyes from any debris that might fall during the process. Safety glasses are a simple, but important, safety measure.
A survey found that 62% of drivers have changed a headlight bulb at least once. This highlights how common this task is. Getting the necessary tools and supplies before you start can prevent any unnecessary delays. This ensures you can focus on the task at hand without interruptions.
Safety First: Taking Precautions
Safety should always be your top concern when working on a car. This is not just about protecting yourself, but also protecting your vehicle. Some basic safety measures will ensure you have a safe and successful experience. Taking these precautions may seem like common sense, but they are essential for avoiding injuries and preventing damage to your vehicle. Remember that safety is a priority.
- Turn Off the Car: Before doing anything, turn off your car and remove the keys. This prevents the headlights from accidentally turning on while you’re working. Make sure the car is off and the engine has cooled down before starting the work.
- Disconnect the Negative Battery Terminal: This prevents any electrical shocks. Locate the battery, usually under the hood, and use a wrench to disconnect the negative (-) terminal. This is a very important safety measure.
- Work in a Well-Lit Area: Whether it’s day or night, make sure you have enough light to see what you’re doing. A garage or well-lit driveway is ideal. If working at night, use a flashlight or work light.
- Allow the Engine to Cool: If you’ve been driving recently, let the engine cool down. Handling hot engine parts can lead to burns. Giving it a cool-down period will make it safer to work on.
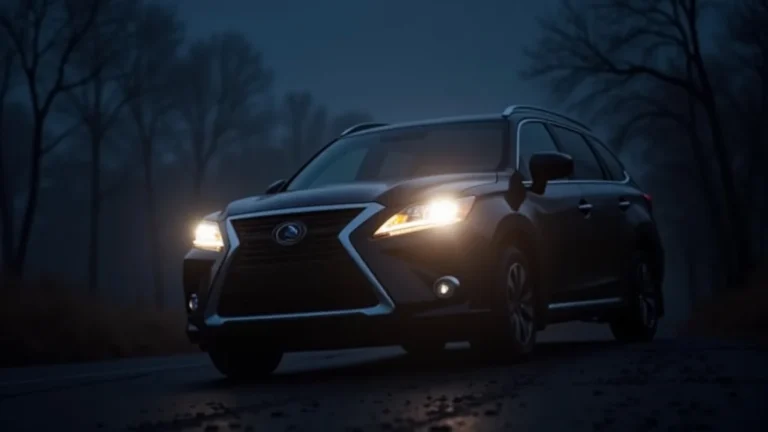
According to the National Highway Traffic Safety Administration (NHTSA), properly functioning headlights are responsible for preventing 5-10% of accidents. Your safety and the safety of other drivers rely on this simple step.
Replacing the Headlight Bulb: A Step-by-Step Guide
Now, let’s move on to the main event: actually changing the bulb. This is where you put your preparation into action. This section is structured to make the process as clear and straightforward as possible, breaking down each step into easy-to-follow instructions. We will ensure that you have all the knowledge needed to get the job done right, whether it’s your first time or if you’re a regular DIYer.
Accessing the Headlight Assembly
The first step is gaining access to the headlight. This can vary depending on your car’s make and model. Some headlights are easy to reach, while others may require some disassembly. This section will guide you through the common methods of getting to the headlight. Following these steps carefully will allow you to see the bulb.
- Locate the Headlight Assembly: Find the headlight assembly, which is usually at the front of your car, on the side where the burned-out bulb is located. It is usually protected by a clear plastic cover.
- Identify How to Open the Assembly: Some headlights can be accessed from under the hood. Others may require you to remove a panel or cover. Consult your car’s manual for specific instructions for your vehicle.
- Remove Any Necessary Covers or Panels: If there’s a cover or panel blocking access, carefully remove it. This might involve unscrewing bolts, removing clips, or detaching other fasteners. Put these parts somewhere safe.
- Unscrew or Unclip the Assembly: Once the cover or panel is removed, the headlight assembly itself might need to be unscrewed or unclipped. Again, follow your car’s manual instructions.
Most vehicles have a different way of accessing their headlight assemblies. This depends on the make and model of the car. Always remember to check your owner’s manual before starting any work. This will ensure that you follow the appropriate steps for your vehicle. Without consulting the owner’s manual, damage to your car is possible.
Removing the Old Headlight Bulb
With access to the headlight assembly, it’s time to remove the old bulb. Be very careful with this step, as the bulb can be fragile, and you don’t want to break it. This is a straightforward procedure if you follow the instructions correctly. If the bulb breaks, make sure you remove all pieces of the broken bulb.
- Disconnect the Electrical Connector: There will be an electrical connector attached to the back of the bulb. Carefully disconnect it by squeezing the sides or pressing a release tab.
- Unclip or Unscrew the Bulb: Depending on your car, the bulb is held in place by either clips or screws. Release these carefully.
- Remove the Bulb: Once the clips or screws are removed, gently pull the old bulb out of the assembly. Do not force it.
- Handle with Care: Be very careful not to touch the glass part of the bulb, as oils from your fingers can reduce its lifespan.
The type of bulb that goes in your car can vary. Some cars use halogen bulbs, while others use LED or xenon bulbs. It’s important to know the type of bulb your car needs when replacing it. Check your owner’s manual or the old bulb itself to make sure you have the correct replacement.
Installing the New Headlight Bulb
Putting in the new bulb is the reverse of taking the old one out, but with some key considerations. It is important that the bulb is correctly positioned for optimal light output. By following these steps, you can ensure the new bulb is installed correctly. Doing this will guarantee that the new bulb lights up the road as intended.
- Handle the New Bulb Carefully: As before, avoid touching the glass part of the new bulb with your bare hands. Wear gloves or hold it by the base.
- Insert the Bulb: Align the new bulb with the socket and carefully insert it into the headlight assembly.
- Secure the Bulb: Secure the bulb using the clips or screws, just as you removed the old one. Make sure it’s firmly in place.
- Reconnect the Electrical Connector: Reattach the electrical connector to the back of the bulb, ensuring it clicks into place.
Improper bulb installation can lead to several issues. It might prevent the light from working, or it might cause a poor beam pattern. Be sure to double-check that the bulb is properly seated and secured before you move on.
Reassembling the Headlight Assembly
Once the new bulb is in place, it’s time to put everything back together. This step ensures that the headlight is correctly sealed and protected. This will also restore your car’s original appearance. A careful reassembly guarantees that the headlight functions properly and is protected from the elements. This step is about putting the pieces back, and making sure everything looks and works correctly.
- Replace the Headlight Assembly: Carefully position the headlight assembly back into its original spot.
- Secure the Assembly: Screw it back into place or re-clip it, ensuring it’s securely fastened.
- Reattach the Covers or Panels: Replace any covers or panels you removed earlier. Make sure they are correctly aligned and fastened.
- Test the Headlight: Before you fully close everything up, turn on your headlights to ensure the new bulb is working correctly.
One of the biggest issues people face when putting the headlight back together is that they may not seat everything correctly. This can leave gaps that let moisture in. If this happens, your headlights might become cloudy or stop working. It’s always important to check everything.
Troubleshooting Common Problems
Sometimes things don’t go perfectly, and you might run into problems. Knowing how to fix common issues can save you time and frustration. If you have done the job correctly, you may have issues with your new headlight. Let’s look at the issues you might face.
The New Bulb Doesn’t Work
The new bulb not working is a frustrating issue, but it’s often something simple. This section covers common causes and how to fix them. You’ll explore how to verify the bulb and look into the electrical connections. With a little troubleshooting, you can get the light working again.
- Check the Bulb: Make sure the bulb is securely installed and making good contact in its socket.
- Check the Fuse: A blown fuse can also cause the bulb not to work. Consult your car’s manual to find the correct fuse for your headlights. Check the fuse box and replace any blown fuses.
- Check the Electrical Connections: Ensure the electrical connector is properly attached to the back of the bulb. Look for any damage or corrosion.
- Test the Bulb in Another Socket: If possible, test the new bulb in another headlight socket. This will help you know if the bulb itself is the problem.
Electrical problems can sometimes be hard to find, but checking the bulb and fuse is easy. By systematically checking these parts, you can usually identify and fix the issue. A common issue is a bad connection, which can often be solved by cleaning the connections and ensuring they are tight.
Moisture Inside the Headlight
Finding moisture inside the headlight can be concerning. This can cause the light to look foggy, and it can also damage the bulb and electrical components over time. This section will look at the potential causes of this problem. In this section, we will also explore how to prevent moisture from entering your headlights.
- Check for Proper Sealing: Make sure the headlight assembly is properly sealed. Check for any cracks or gaps.
- Check the Seals: Examine the rubber seals around the headlight assembly. Make sure they are in good condition and making a tight seal.
- Inspect the Headlight Cover: If you see cracks or damage in the headlight cover, it may need to be replaced.
- Use a Desiccant: If you frequently find moisture inside the headlight, consider using a desiccant, like a silica gel packet, to absorb the moisture.
Moisture can often enter the headlight assembly through a cracked seal. Always check the headlight cover and replace it if you find any damage. Inspecting the seals around the headlight assembly will ensure the parts are airtight. Checking the seals can prevent any moisture from entering the headlight assembly.
The Headlight is Still Dim
Even if the new bulb works, it might not be as bright as it should be. This could be due to a few different reasons, including issues with the electrical system. This can be caused by the bulb type, the lens clarity, or other electrical problems. By considering these issues, you can work to make sure your headlights are working at their best.
- Check the Bulb Type: Ensure you are using the correct type of bulb for your car. Using a bulb with a lower wattage than recommended can cause dim light.
- Clean the Headlight Lens: A dirty or cloudy lens can reduce the light output. Clean the lens with a headlight restoration kit or a suitable cleaner.
- Check the Electrical Connections: Loose or corroded connections can reduce the current flowing to the bulb. Clean and tighten all connections.
- Check the Grounding: Poor grounding can also cause dim headlights. Ensure the ground connection for the headlight assembly is clean and secure.
You can improve your headlights’ brightness by ensuring the bulb type matches your car’s needs. Cleaning the headlight lenses is a simple way to improve light output. Checking electrical connections and grounding can solve many problems that cause dim lights.
Frequently Asked Questions
Question: How often should I change my headlight bulbs?
Answer: Headlight bulbs usually last between 1 to 5 years, depending on the type and your driving habits. It’s a good idea to check your headlights regularly and replace them if they appear dim or are burned out. Changing them in pairs is also something that most people suggest, but it isn’t a requirement.
Question: Can I touch the new headlight bulb with my bare hands?
Answer: It’s best to avoid touching the glass part of the new headlight bulb with your bare hands. The oil from your skin can create a hot spot on the bulb, which may shorten its lifespan. Use gloves or handle the bulb by its base.
Question: What’s the difference between halogen, xenon, and LED bulbs?
Answer: Halogen bulbs are the most common and affordable type, using a filament that heats up to produce light. Xenon (HID) bulbs use gas and a high voltage to create a brighter light. LED bulbs are the most modern type, using light-emitting diodes that are energy-efficient and long-lasting.
Question: My headlight lens is cloudy, what should I do?
Answer: A cloudy headlight lens can reduce the brightness of your headlights. You can usually restore a cloudy lens by using a headlight restoration kit. These kits polish the lens to remove the haze and improve light output. You can usually find these at your local auto parts store.
Question: What should I do if the new bulb still doesn’t work after installation?
Answer: If the new bulb doesn’t work, first check the electrical connections and the fuse. Ensure the bulb is correctly installed and that the connector is properly attached. If the issue continues, it is best to test the bulb in another socket or consult a professional.
Final Thoughts
Now that you’ve explored the process, you know how to change a headlight bulb. By gathering your tools, following the steps, and keeping safety as your main focus, you can handle this task with confidence. Remember, preparation is key; take your time and follow the instructions carefully. You also know how to troubleshoot common issues if they happen. With a new bulb installed correctly, you’ll be driving safely and with better visibility at night. So, the next time a bulb burns out, you will have the knowledge to fix it. Get out there and take care of your car!