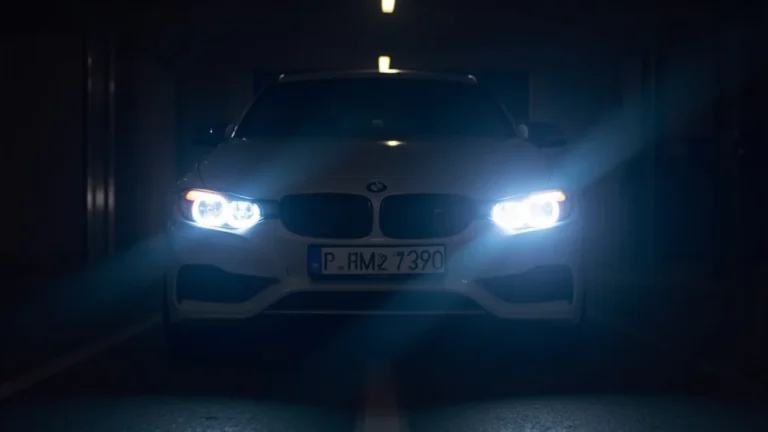
Can Am Outlander Headlights: A Comprehensive Guide
Picture this: You’re out on a thrilling off-road adventure, the sun begins to dip below the horizon, and the trails get darker. Suddenly, your can am outlander headlights aren’t performing at their best, or worse, they’ve completely failed. This scenario can quickly turn a fun ride into a dangerous one. This guide will walk you through everything you need to know about your ATV’s lighting system, from understanding different headlight types to troubleshooting common issues and making informed upgrades. By the end, you’ll be able to conquer any trail, even when the sun goes down, improving your safety and enhancing your riding enjoyment.
Headlight Basics for Your Can Am Outlander
Knowing the fundamentals of your Can Am Outlander’s headlight system is the first step toward superior visibility and safe riding. This knowledge provides you with a basic framework. When you’re dealing with the headlights on your ATV, you’re primarily concerned with ensuring that you can see and be seen. This means understanding how your lights function, what types are available, and the factors that influence their effectiveness. This will equip you with the fundamental skills for diagnosing and fixing lighting issues. You’ll gain a deeper appreciation for how essential proper lighting is for your safety and the longevity of your machine.
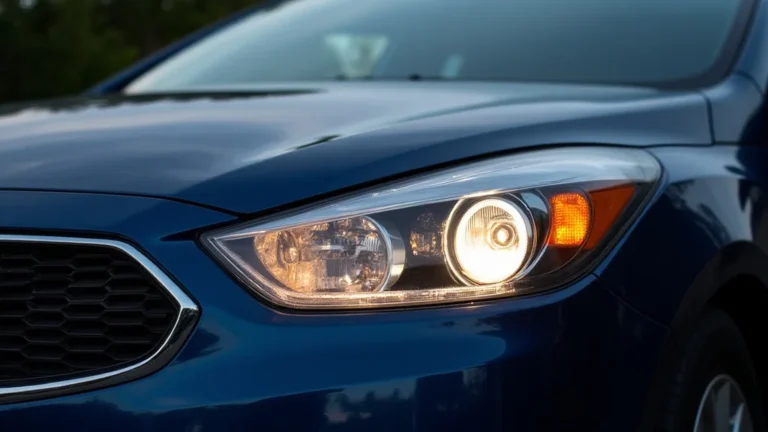
Headlight Types and Technologies
The Can Am Outlander, like many ATVs, uses various headlight technologies. Understanding these can help you select the best
-
Halogen Bulbs:
Halogen bulbs use a tungsten filament heated within a glass envelope filled with halogen gas, such as iodine or bromine. When the filament is heated, it emits light. Halogen bulbs are budget-friendly and widely available, making them a common choice for many ATVs, including the Can Am Outlander. However, they produce a warm, yellowish light and have a shorter lifespan than more modern options. Their light output is also generally lower, which may not be ideal for nighttime off-road riding where superior illumination is crucial. Despite these limitations, their ease of replacement and affordability make them a practical choice for riders on a budget.
-
LED Headlights:
LED (Light Emitting Diode) headlights are becoming increasingly popular for ATVs. LEDs are semiconductor devices that emit light when an electrical current passes through them. LED headlights offer several advantages over halogen bulbs, including significantly brighter light output, lower power consumption, and a much longer lifespan. They also provide a crisp, white light that improves visibility, particularly during nighttime riding. However, LED headlights typically cost more than halogen bulbs. LED technology is constantly improving, making it a good choice for those prioritizing safety and performance. They are usually more resistant to vibrations and shocks, which is very important for off-road use.
-
HID Headlights:
HID (High-Intensity Discharge) headlights use an arc of electricity to generate light. They produce a very bright, bluish-white light, making them suitable for excellent visibility. HID headlights typically offer superior light output compared to halogen. But they can take a few seconds to reach full brightness and need a ballast to regulate the electrical current. They are less common in ATVs compared to LED and halogen options. They can be more expensive to replace, and the setup is usually more complex. They have a more focused beam, which may not be ideal for all off-road scenarios.
Headlight Components and Functionality
A typical headlight system on a Can Am Outlander involves more than just the bulb. It’s a complex system of interconnected components designed to provide optimal lighting performance. Understanding each part’s function is essential for effective maintenance and troubleshooting. Proper care of these components, from the wiring to the lenses, directly impacts the overall efficiency of your headlights. This section will break down the key parts of the headlight assembly, helping you understand how each element contributes to the overall function. Knowing how these pieces work together will improve your riding experience and keep your ATV in good condition.
-
Bulbs:
The light source itself. As discussed, these can be halogen, LED, or HID. The bulb’s specifications, such as wattage and voltage, must match your ATV’s requirements. Using the wrong type of bulb can result in poor light output or damage to the electrical system. Choosing the correct type ensures optimal performance and safety. Regularly inspecting the bulbs and replacing them when they burn out is essential for maintaining effective lighting.
-
Reflector:
The reflector is a parabolic surface that directs and focuses the light emitted by the bulb. The shape of the reflector is precisely engineered to optimize the beam pattern, providing the right balance between distance and width of illumination. A clean and well-maintained reflector is crucial. Dirt or damage on the reflector surface can reduce the headlight’s effectiveness. Clean the reflector carefully during maintenance to ensure maximum light output and visibility.
-
Lens:
The lens is a protective cover over the headlight. It shields the bulb and reflector from external elements such as dirt, moisture, and debris. Lenses are typically made from plastic or glass and are often designed with specific patterns to distribute the light evenly. Damage to the lens, such as scratches or cracks, can scatter the light and diminish visibility. Regularly cleaning the lens and replacing it if damaged is important for maintaining clear vision.
-
Wiring Harness:
The wiring harness is responsible for delivering power to the headlight assembly. It includes wires, connectors, and fuses. Ensure the wiring harness is in good condition, with no frayed wires or loose connections. Problems with the wiring can cause intermittent headlight failure or complete system shutdown. Inspecting the wiring periodically and replacing damaged components is essential for reliable headlight operation. Additionally, check for corrosion on the connectors and clean them regularly to maintain good electrical contact.
-
Switch:
The headlight switch is typically located on the ATV’s handlebars and controls the operation of the headlights. This allows you to turn the lights on or off. The switch should function smoothly and reliably. A faulty switch can prevent the headlights from working, even if all other components are in good condition. Regularly check the switch for proper function and replace it if it fails.
Troubleshooting Common Headlight Problems
Even with high-quality components, your can am outlander headlights may encounter issues. Understanding the common problems and how to troubleshoot them will allow you to quickly resolve these issues and restore your ability to ride safely. These problems often have simple solutions, such as replacing a blown fuse or tightening a loose connection. Being proactive with routine checks will minimize the chances of problems in the first place. You can resolve most of the typical issues yourself with a few tools and a little bit of knowledge.
Identifying Headlight Issues
Properly identifying the problem is the first step toward fixing your headlights. It will save you time and money. There are various symptoms of headlight failure, each pointing to a different set of possible causes. Paying close attention to the specific problems you are experiencing helps you narrow down the issue and implement the best solution. Taking the time to observe and evaluate the condition of your headlights is important. Identifying whether the problem is electrical, mechanical, or due to a damaged component will help you fix it.
-
Dim Headlights:
Dim headlights often indicate a problem with the voltage supply to the bulbs. This could be caused by a weak battery, corroded connections, or a faulty regulator. The lights may still function, but their brightness is noticeably reduced. Check the battery voltage and clean the headlight connectors, as corrosion can reduce the flow of current to the bulbs. Additionally, make sure the voltage regulator is functioning correctly; a faulty regulator might not provide enough power to the headlights.
-
Flickering Headlights:
Flickering headlights can point to loose connections, a failing bulb, or problems with the wiring harness. This is usually caused by intermittent contact somewhere in the electrical circuit. Inspect the wiring for any signs of wear or damage. Check the connections at the bulb sockets and the headlight switch. A failing bulb can cause flickering, and replacing it is often the easiest solution. If the problem persists, a professional electrical check is advisable to identify any underlying issues in the ATV’s wiring system.
-
One Headlight Not Working:
If only one headlight isn’t working, the problem is most likely related to a specific component within that headlight’s circuit. This could be a burned-out bulb, a blown fuse, or a break in the wiring. The first thing you should do is
-
Both Headlights Not Working:
When both headlights fail simultaneously, there is probably a more significant problem. This could be a blown fuse that affects the entire headlight system or a fault in the main power supply or switch. Check the main fuse box. Inspect the headlight switch for proper operation. If the fuse is blown,
Diagnosing and Repairing Issues
Once you’ve identified the specific problem, you can proceed with the repairs. This section will guide you through the process of diagnosing and fixing the most common headlight issues. This will involve the use of basic tools, such as a multimeter and a set of wrenches. You’ll learn how to approach the repair, which is often simple and straightforward. Proper diagnosis involves methodical investigation, starting with the simplest possible solutions before progressing to more complex ones. The goal is to quickly and safely restore your headlight’s functionality. This will ensure that your ATV is ready for any adventure.
-
Checking Fuses and Bulbs:
Start by checking the fuses and bulbs. This is the first step because it’s the easiest and most common cause of headlight failure. Locate the fuse box on your Can Am Outlander and inspect the headlight fuse.
-
Inspecting Wiring and Connectors:
Next, carefully inspect the wiring and connectors in the headlight system. Look for any signs of damage, such as frayed wires, loose connections, or corrosion. Disconnect each connector and inspect the contacts for rust or dirt. If you find any corrosion, clean the connectors with electrical contact cleaner and a small brush. Ensure all connectors are securely connected and that wires are properly routed and protected.
-
Testing with a Multimeter:
If the problem persists after checking the fuses, bulbs, and wiring, use a multimeter to diagnose the issue further. This is important to determine if electricity is flowing correctly through the system. Set the multimeter to measure voltage. Test the voltage at the headlight connectors to see if power is reaching the bulbs. If there is no voltage, trace the wires back to the power source, checking for breaks or shorts. If power is present but the lights still don’t work, there may be a problem with the ground connection. Check the ground connections for corrosion or a loose fit. Test for continuity in the wiring to identify any breaks. Using a multimeter can help you pinpoint the exact location of the electrical problem.
-
Replacing Components:
If you’ve identified a faulty component, the next step is to
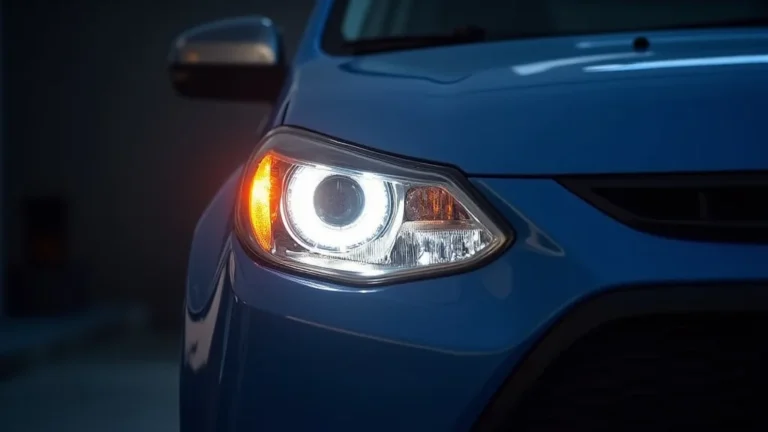
Upgrading Your Can Am Outlander Headlights
Once you’ve addressed any existing issues, you might want to improve your ATV’s lighting system. Headlight upgrades can significantly improve visibility and safety during nighttime riding. You can
Choosing the Right Upgrades
When selecting headlight upgrades for your Can Am Outlander, take your riding style and needs into consideration. Your choice will be based on the type of riding you do, where you ride, and your budget. Consider these factors when choosing the best upgrade. Your goal should be to enhance visibility and safety, so choose products known for quality and performance. By taking the time to research and understand what’s available, you can select the perfect upgrade for your needs. This allows you to explore the trails with enhanced visibility and peace of mind.
-
LED Light Bars:
LED light bars are popular for off-road vehicles because they provide a significant amount of light in a compact package. These bars mount to the front of your ATV, either on the handlebars, the front rack, or the bumper, and project a wide, powerful beam of light. LED light bars are available in various lengths and configurations, from small auxiliary lights to large bars. Choosing the correct size and beam pattern depends on your riding style and the terrain you typically ride on. They are highly efficient, using less power than traditional lights. Properly installed LED light bars can vastly improve your visibility on dark trails, making them a great choice for night riding.
-
Upgraded LED Bulbs:
Replacing your stock halogen bulbs with upgraded LED bulbs is a straightforward upgrade that significantly boosts your headlight’s brightness. LED bulbs offer higher light output and a longer lifespan. This also provides improved visibility and reduced power consumption. Ensure that the LED bulbs are designed to fit your Can Am Outlander’s headlight housing. Many LED bulbs are designed as direct replacements for halogen bulbs, making the installation process simple. Choose bulbs that emit a bright, focused beam to improve your ability to see and be seen. This upgrade is usually affordable and highly effective at enhancing visibility.
-
Auxiliary Lights:
Auxiliary lights add extra lighting capacity to your ATV. These lights can be mounted on the front or rear of your machine. This provides additional illumination in the direction you need it most. They can be used to complement your main headlights, providing a broader field of view or focusing on specific areas. Auxiliary lights come in various forms, including spot lights, flood lights, and combination lights. The choice will depend on your riding style and the specific lighting needs. Consider adding lights for increased visibility in dusty conditions. Auxiliary lights are especially valuable when riding in areas with dense vegetation or uneven terrain.
-
Headlight Housing Upgrades:
In addition to bulbs and light bars, consider upgrading your headlight housings. New housings often include reflectors and lenses designed to optimize light output and beam patterns. A good-quality housing provides improved light projection and distribution, enhancing visibility. Upgrade housings can be a good option if your original housings are damaged or deteriorated. Choose housings that are specifically designed for your Can Am Outlander model. They can withstand the rigors of off-road riding. These upgrades can improve the overall aesthetics of your ATV while enhancing the performance of your lighting system.
Installation and Maintenance
Proper installation and maintenance are key to ensuring that your headlight upgrades perform at their best and last a long time. These steps ensure that the upgrades are correctly installed and that the system is properly maintained. These steps include the installation process, the necessary tools, and periodic checks and adjustments. Following these steps helps you enjoy the full benefits of your upgraded lighting system. These steps enhance safety and increase the lifespan of your upgraded lights. This ensures your lights function properly and contribute to a safer and more enjoyable riding experience.
-
Installation Process:
The installation process varies depending on the type of upgrade you choose, but these general steps apply. Start by disconnecting the ATV’s battery to prevent electrical shorts. Remove the existing headlights or housings.
-
Necessary Tools:
You’ll need a range of tools to install headlight upgrades. Basic tools usually include screwdrivers, wrenches, wire strippers, and crimpers. A multimeter is essential for checking the wiring and ensuring proper electrical connections. You might need a drill for mounting light bars or auxiliary lights, depending on the mounting hardware. Electrical tape and heat shrink tubing will be helpful for insulating the wiring. Safety glasses and gloves will help you protect yourself from potential hazards. Having the right tools makes the installation process easier. It ensures the upgrades are properly installed and the lights perform as intended. Having a comprehensive tool kit allows you to maintain and repair your lights when needed.
-
Periodic Checks and Adjustments:
Regular maintenance is essential to keep your upgraded headlights functioning properly. After installing new headlights, perform a quick visual inspection to check for loose connections, damage, or wear. Check the alignment of your headlights to ensure the beams are correctly directed. Also, check the wiring for any signs of damage or wear. Inspect the lenses for any dirt, debris, or damage. Clean the lenses regularly to keep the visibility high. Periodically check the light output and make adjustments as needed. Replacing worn components promptly will ensure that your upgraded lights continue to perform optimally and provide you with enhanced visibility on the trail.
-
Legal Considerations:
Before upgrading your headlights, ensure that the upgrades comply with the local regulations. Know the regulations regarding headlight brightness, beam patterns, and the color of the lights. Some areas may have restrictions on the type of lights you can use, so confirm that your upgrades are legal. If you are riding on public roads or trails, ensure your ATV is equipped with the necessary lighting. Check that your lights are correctly aimed. Improperly aimed lights may not provide adequate visibility. They may also be a safety hazard for other riders and drivers. Keeping your lights within legal limits will help ensure your safety.
Here’s a statistic: According to the National Highway Traffic Safety Administration (NHTSA), approximately 48% of traffic fatalities happen at night. Adequate headlights on your ATV are important for helping you avoid accidents.
Frequently Asked Questions
Question: How do I change a headlight bulb on my Can Am Outlander?
Answer: First, disconnect the battery. Locate the headlight assembly and remove the necessary screws or clips to access the bulb. Disconnect the electrical connector from the bulb. Remove the old bulb and install the new one. Reconnect the electrical connector and secure the headlight assembly. Reconnect the battery and test the lights.
Question: What’s the difference between halogen and LED headlights?
Answer: Halogen lights use a heated filament inside a glass bulb, while LEDs use light-emitting diodes. LEDs are typically brighter, more efficient, and last longer than halogen bulbs. Halogen is generally cheaper up front, and LED costs more.
Question: Why are my headlights flickering?
Answer: Flickering headlights can result from loose connections, a failing bulb, or problems with the wiring harness. Inspect the wiring and connections. Replace the bulb if needed. If the problem continues, consider a professional electrical check.
Question: Can I use any type of LED bulb in my Can Am Outlander?
Answer: You should use LED bulbs that are specifically designed to fit your Can Am Outlander’s headlight housing. Make sure the new bulb has the correct size, base type, and wattage.
Question: How do I aim my headlights?
Answer: Park your ATV on a level surface facing a wall. Turn on your headlights and look at the beam pattern on the wall. Adjust the headlight housing or aim screws to properly position the beam. The goal is to illuminate the road without dazzling oncoming drivers or riders.
Final Thoughts
Properly functioning can am outlander headlights are essential for safety and enjoyment. We have covered the essentials of your ATV’s lighting system, from understanding the different headlight types and how they work, to troubleshooting the most common issues and making upgrades. Knowing how to maintain, diagnose, and upgrade your headlights equips you to handle any situation on the trail. By applying what you’ve learned, you’ll be well-prepared to keep your lights shining bright. So, grab your tools, explore your lighting system, and prepare to ride with confidence. Your ability to see and be seen will keep you safe. Hit the trails with confidence knowing your lighting system is optimized. Happy riding!