Interior LED Dome Light Kit Compatibility Explained
Getting your car’s new lights working can be tricky, especially when facing the interior led dome light kit compatibility issue. Lots of people run into problems when they try to install these lights. The good news is, it’s usually not too hard to fix. We’ll explore why these problems pop up and what you can do to get everything working. Next, we’ll break down the most common issues and show you step-by-step how to solve them.
Understanding Interior LED Dome Light Systems
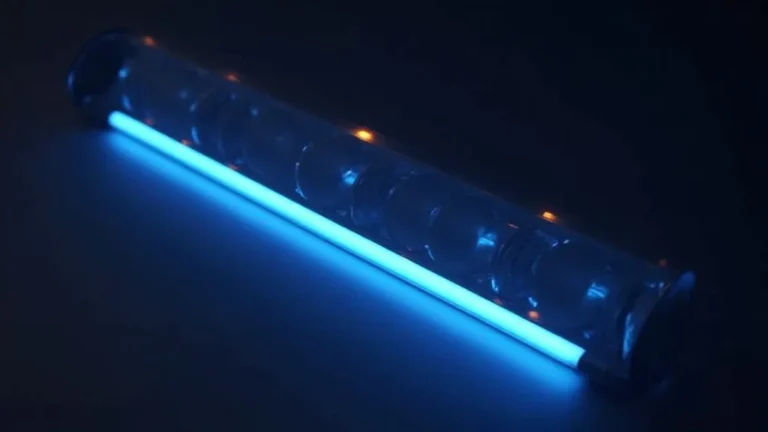
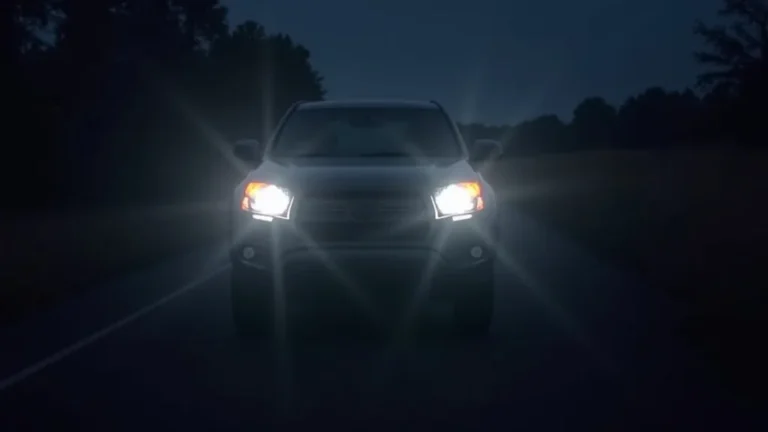
Before jumping in, it’s helpful to know how these systems work. Interior LED dome lights are a popular upgrade, offering brighter and more energy-efficient lighting compared to older bulbs. They often use a simpler design compared to traditional incandescent bulbs. However, this simplicity can sometimes lead to issues. For example, some LEDs require specific voltage or have different polarity requirements, which might not match the car’s existing electrical system. It’s crucial to examine how your car’s wiring is set up. This will help you understand and avoid potential compatibility conflicts. LED lights are designed to last a long time, but their lifespan is significantly influenced by how well they match the vehicle’s electrical system.
LED Technology Basics
LEDs, or Light Emitting Diodes, are the heart of these dome light kits. Unlike older incandescent bulbs, LEDs convert electricity directly into light, making them far more efficient. This efficiency leads to less heat and longer lifespans. LEDs also come in different colors, allowing you to customize your car’s interior lighting. To properly install an LED kit, you must carefully study how the diodes work, and how they convert electrical energy into photons.
- Efficiency: LEDs are significantly more efficient than incandescent bulbs, converting a larger portion of electrical energy into light. Incandescent bulbs, in contrast, convert most of the energy into heat.
- Lifespan: LEDs last much longer than traditional bulbs. You will see reduced maintenance costs with LED lights.
- Brightness: LEDs can produce brighter light with less power consumption. This also makes them a better option.
- Color Options: LEDs provide a wide range of colors, which is not an option with traditional bulbs.
Consider the color temperature of your LEDs. Color temperature is measured in Kelvin (K). The lower the Kelvin number, the warmer the color (more yellow). Higher numbers indicate a cooler color (more blue). You can consider which color temperature to use based on your preferences. Choose a color temperature that aligns with your car’s interior design and your personal preferences.
Voltage and Polarity Considerations
Cars use a 12-volt electrical system. But, the interior led dome light kit compatibility issue can arise because LEDs have specific voltage requirements. Many LED kits are designed to work within a specific voltage range. If the voltage is too high, it will damage the LED. Polarity matters too. LED bulbs have positive and negative terminals, just like batteries. If you connect them backward, they will not light up. The car’s existing wiring determines polarity. If you get the polarity wrong, the LEDs will not work.
- Voltage: Always check the voltage requirements of your LED kit against your car’s electrical system.
- Polarity: Make sure you know the correct polarity of the LED bulb and match it to your car’s wiring.
- Resistors: Some LED kits might need resistors to manage voltage fluctuations and prevent damage.
- Canbus Systems: Modern cars use Canbus systems. These systems monitor the car’s electrical components. Some LED kits may not be compatible with Canbus systems, leading to errors or issues.
If you’re unsure about voltage or polarity, you might want to consider using a multimeter. A multimeter is a device that can measure voltage, current, and resistance. It’s a great tool to help troubleshoot electrical issues, which can save you time and money. Before you start, turn off the power. Connect the multimeter to the terminals. The display will show the voltage reading. If the reading is within the LED’s specified range, you are safe. If it exceeds the limit, you need a different bulb or a voltage regulator. By using a multimeter, you can also avoid shorts or fires.
Wiring and Connections
Proper wiring and connections are critical for the correct operation of your new lights. This step is about making sure the electrical flow is correct. You will connect the LED dome lights to your car’s existing wiring. This might require some splicing or using adapters. The goal is to establish a secure and reliable electrical connection. You will use the right connectors and ensure all wires are firmly attached to avoid loose connections, which can lead to problems. Poor connections can make your lights flicker or fail to light up. Make sure your wire gauge is correct for the amount of electricity flowing through. Using the wrong gauge can create a fire hazard.
- Wire Gauge: Choose the correct wire gauge for the current.
- Connectors: Use appropriate connectors, such as crimp connectors or solder joints.
- Insulation: Make sure all connections are properly insulated to prevent shorts.
- Circuit Protection: Consider adding a fuse or circuit breaker to protect the LED kit.
Wiring can be easy if you take your time and follow a simple plan. First, you need to turn off the car’s power and disconnect the battery. Then, find the old dome light. Carefully remove it to expose the wiring. Now, it’s time to connect the new LED lights. You can use the old connectors or connect directly to the existing wiring. It is best practice to test the lights before permanently fixing them in place. This will allow you to quickly change any wiring mistakes before they create a more significant issue.
Common Interior LED Dome Light Issues
Several problems can happen during installation, so it is important to be prepared. These issues are frustrating, but most are easily fixed. It’s often due to compatibility problems between the LED lights and your car’s electrical system. Taking the time to understand these issues and how to resolve them will make the process easier.
Flickering or Dim Lights
Flickering or dim LED lights can be frustrating. This can happen because of different factors. In some cases, it means the LED is not getting enough power. The car’s voltage may also fluctuate. Another cause can be a bad connection, where a wire is loose or not fully connected. Older cars can have different electrical systems than new cars. You can examine the wiring to see if you can see any issues. It’s also possible that the LEDs are incompatible with the car’s existing electrical system.
- Voltage Fluctuations: If the voltage fluctuates, the lights can flicker.
- Loose Connections: Loose wires can interrupt the electrical flow.
- Canbus Issues: Some Canbus systems may cause flickering because they require specific resistors.
- Faulty LEDs: Sometimes, the LED bulb itself can be faulty.
If you have flickering lights, you should check your car battery. A low battery will cause the lights to have insufficient power. Check the voltage output with a multimeter. Also, check the car’s charging system. You may need to
Lights Not Turning On
There are several reasons why your new lights may not turn on. First, it could be a simple issue, such as the bulb is not properly seated in the socket. It is also possible that you have the polarity reversed. Another possible cause is that the LED kit is not compatible with the car’s system. Additionally, there could be a blown fuse. You may have damaged the lights or wiring during the installation process. By systematically checking these things, you will locate the issue.
- Incorrect Polarity: LEDs will not work if the polarity is reversed.
- Blown Fuse: A blown fuse will cut off power to the light.
- Bad Connections: The lights may not turn on if the wires are not connected correctly.
- Faulty LED: Sometimes, the LED itself may be faulty.
If your lights are not turning on, start with the basics. Check the bulb and socket. Make sure the bulb is seated correctly. Check the fuse box and see if the fuse is blown. Also, verify that the LED is receiving the right voltage. Use a multimeter to measure the voltage at the connector. If there’s no voltage, look for a break in the wiring. If you’re confident with electrical work, trace the wires. If this feels too complex, it’s better to consult an expert to prevent further issues.
Canbus Error Messages
Modern cars often have a Canbus system, which monitors the electrical components and detects problems. If your car has a Canbus system, you might see error messages after installing the LED kit. This can happen because the LED bulbs don’t draw the same amount of power as the original bulbs. The car’s computer senses this difference and can trigger an error. Also, sometimes, the LED kits are just not designed to work with the car’s Canbus system.
- Power Draw: LEDs use less power, which can trigger error messages.
- Compatibility: Not all LED kits are compatible with Canbus systems.
- Error Messages: You might see a warning light or message on the dashboard.
- Resistance: You might need to add resistors to the system to simulate the load of the original bulbs.
Adding resistors can solve most Canbus-related issues. Resistors create additional resistance, tricking the car’s computer into thinking that it’s still using the original bulbs. This helps eliminate error messages. You can use a multimeter to determine how much resistance you need. However, improper use of resistors can cause overheating or electrical fires. It is better to seek expert advice if you’re not confident. If your car has a Canbus system, you need to buy LED kits designed to work with Canbus systems. These kits usually have built-in resistors or specific circuitry to prevent errors.
Solving Interior LED Dome Light Problems
You can quickly fix common problems, and there are many steps you can take to make the process easier. Troubleshooting helps you identify the issue and take the necessary steps. This is about being careful and paying attention to detail. This can help you avoid potential issues. By following these steps, you’ll ensure your LED lights work and your car’s electrical system stays safe.
Troubleshooting Step-by-Step
When solving an interior led dome light kit compatibility issue, it’s best to follow a systematic process. Begin by inspecting the installation. Start by double-checking all connections. Then, examine the wiring to ensure there are no loose wires. Next, examine the LED bulbs. If all the bulbs are not working, then you should also check the fuse. This can easily be overlooked. Always disconnect the negative battery cable before starting work. You should test the lights after each change.
- Check Connections: Inspect all wire connections and ensure they’re secure.
- Verify Polarity: Make sure the positive and negative terminals are connected correctly.
- Check the Fuse: If the lights don’t turn on, see if the fuse has blown.
- Inspect the Bulbs: Test the LED bulbs individually.
- Test the Voltage: Use a multimeter to confirm the correct voltage.
Here’s how to check the polarity. Most LED kits have a clearly marked positive (+) and negative (-) terminal. You should connect the LED bulb to your car’s wiring. If the LED doesn’t light up, the polarity is likely wrong. Switch the wires to the opposite positions. If you are still having problems, you can use a multimeter. Check the voltage and match the results with the specifications for your LED bulbs. If you can’t read the voltage, you might have the wrong wiring. If you’re using resistors, make sure they are installed correctly.
Using a Multimeter
A multimeter is a valuable tool for electrical work. It can help you find issues related to the interior led dome light kit compatibility issue. With a multimeter, you can measure voltage, current, and resistance. You will test the LED bulb and your car’s wiring to diagnose the problem. The multimeter helps you confirm that the power supply to the LED bulb is correct. It helps you see if there’s any voltage drop and if any wires are damaged. Always use the multimeter safely. Ensure that the multimeter is set to the correct setting. Before testing, disconnect the negative battery cable. Then, place the probes of the multimeter on the terminals of the bulb socket.
- Voltage Measurement: Set the multimeter to DC voltage.
- Continuity Test: Check for any breaks in the wiring using the continuity test.
- Resistance Measurement: Measure the resistance of the LED bulbs.
- Safety First: Make sure to disconnect the battery and observe the safety procedures.
Testing the voltage is simple. Set the multimeter to measure DC voltage. Touch the probes to the terminals of the bulb socket. You should verify the results against the LED kit specifications. If the voltage is too low, then the lights won’t work. The correct voltage will tell you if the problem is with the wiring or the LED. You can also use a continuity test to examine the wiring. This test will help you find broken wires. This will involve setting the multimeter to continuity mode. Touch the probes to the ends of the wires. You should hear a beep if the circuit is complete. If you don’t hear a beep, then you need to examine the wire. A multimeter will help you troubleshoot most issues.
Choosing the Right LED Kit
Selecting the right LED kit is a must to prevent compatibility problems. This is about making sure that the LED kit matches your car’s specifications. You will make sure that it’s the right size and type. You should also consider the color and brightness. Then, review the kit’s features, like Canbus compatibility and any special adapters. Also, before buying a kit, you should read reviews. This is how you will gain valuable insights from other users. You can also ask for recommendations.
- Car Model: Make sure the kit is designed for your car’s make and model.
- Bulb Type: Identify the correct bulb type for your dome lights.
- Color and Brightness: Choose the color and brightness that you like.
- Canbus Compatibility: If your car has a Canbus system, choose a kit that works with it.
Start by finding the correct bulb size for your car. This information is in your car’s owner’s manual. You can also search online. Also, consider the color temperature. It is measured in Kelvin (K). If you want warm light, go for a lower Kelvin number. Then, verify the brightness. This will be measured in lumens. Make sure you get the right brightness for your needs. If your car has a Canbus system, make sure the kit is compatible. Also, read reviews and look for kits that have a good reputation for quality and ease of installation. Then, you can compare different kits. Compare prices, features, and user reviews. You should be able to get a great kit for your car.
Installation Best Practices
Doing a great job with installation makes all the difference when it comes to the interior led dome light kit compatibility issue. Proper installation will help you prevent problems. You will begin by turning off the car. Then, disconnect the negative battery cable to prevent short circuits. Next, you can remove the old dome lights. Then, compare the new LEDs and the old ones. Before you start, read the instructions carefully. Then, check the polarity of the LED bulbs. Make sure that they’re oriented the right way. Keep your workspace clean. By following these steps, you will make the process easier.
- Disconnect the Battery: Prevent short circuits by disconnecting the negative battery cable.
- Read Instructions: Review the installation instructions before beginning.
- Check Polarity: Make sure the LED bulbs are connected with the right polarity.
- Secure Connections: Ensure all wire connections are tight and secure.
Before you begin, gather all the tools and parts you need. This includes screwdrivers, pliers, and wire strippers. Now, remove the old dome light. Then, compare the new LED bulbs with the old ones. You should compare the size and the polarity. If needed, you might need to use wire connectors to attach the new LEDs to the existing wiring. It’s a great idea to test the lights before you put them back in place. Use electrical tape to secure any exposed wiring. If you’re not comfortable working with wiring, you can ask for help from a professional.
Real-Life Examples and Case Studies
These real-life cases help show you how others have fixed the interior led dome light kit compatibility issue. Examining these cases helps explain problems and steps to fix them. You’ll understand how to deal with problems and discover techniques for success.
- Case Study 1: The Flickering Fix. A person was trying to upgrade their car. They had issues with the new LED dome lights flickering. First, they checked all the connections. Then, they examined the voltage with a multimeter. They found that the voltage to the lights was not stable. The solution was adding a voltage regulator. After adding the regulator, the flickering stopped.
- Case Study 2: Polarity Puzzle. A customer had trouble getting their new LED dome lights to work. They had reversed the polarity. This made the lights not turn on. After reversing the wiring, the lights began to work. This shows the importance of matching the polarity of the LEDs to the car’s wiring.
- Case Study 3: Canbus Conflict. A car owner installed new LED dome lights, but got an error message. Their car had a Canbus system. After installing a Canbus decoder, the error message disappeared. This case shows how important it is to make sure your LED kit is compatible with the Canbus system of your car.
In case study 1, the voltage regulator worked. The voltage fluctuations were fixed. This led to brighter and stable lights. This case study demonstrates how simple solutions can fix complex problems. In case study 2, the polarity was reversed. This simple mistake made the lights non-functional. By connecting the wires correctly, the owner solved the issue. This case illustrates the importance of taking your time to verify connections. Finally, the third case study is about Canbus systems. The LED lights weren’t working with the car’s electrical system. This case shows that you need to make sure the LED lights you buy are compatible with your car’s electrical system. These examples provide practical advice.
| Problem | Cause | Solution |
|---|---|---|
| Flickering Lights | Voltage Fluctuations | Install a voltage regulator. |
| Lights Not Turning On | Incorrect Polarity | Reverse the polarity of the wiring. |
| Canbus Error Messages | Incompatible LED Kit | Install a Canbus decoder or use Canbus-compatible LEDs. |
Frequently Asked Questions
Question: Why are my LED dome lights flickering?
Answer: Flickering can be caused by various issues, including voltage fluctuations, loose connections, or incompatibility with your car’s electrical system. First, examine the wiring. You can use a multimeter to check the voltage. If the voltage is unstable, you can use a voltage regulator.
Question: What happens if I connect an LED bulb with the wrong polarity?
Answer: Connecting an LED bulb with the wrong polarity will prevent it from turning on. LEDs only work when they’re connected with the correct positive (+) and negative (-) terminals. Verify your car’s wiring. Also, you should examine the labels on the LEDs.
Question: How can I tell if my car has a Canbus system?
Answer: Many newer cars have Canbus systems. If you’re unsure, you can check your car’s manual or search online. You might get error messages or warning lights on the dashboard. Canbus systems control various functions, including the lights.
Question: What do I need to do to install the LED dome lights?
Answer: You should begin by disconnecting the negative terminal of your car battery. Next, remove the old dome lights and compare the new LEDs with the old ones. Use wire connectors, and always read the instructions before starting.
Question: What is a Canbus decoder, and why do I need one?
Answer: A Canbus decoder helps your car’s computer understand the lower power draw of LED bulbs. This will stop the dashboard error messages. It is important to know if your car has a Canbus system before buying LED lights.
Final Thoughts
The interior led dome light kit compatibility issue often comes down to matching the electrical needs of the LEDs with your car’s system. Knowing how LEDs work and understanding your car’s wiring is half the battle. You will often run into issues like flickering or lights not turning on, but troubleshooting steps will help resolve these problems. Polarity, voltage, and Canbus compatibility are all critical factors. By using a multimeter and choosing the correct LED kit, you can fix most issues. It can also be very helpful to find a kit that matches your car’s model. Remember, take your time, review your steps, and don’t hesitate to ask for help if you need it. Installing new interior lights can be a great improvement for your car. With the right approach, you will be able to make your vehicle better than before.