Interior LED Dome Light Dimming Guide for Beginners
Getting your interior led dome light dim is a common issue for many people just starting with car electrical work. It can be tricky because there are different parts and a little wiring involved. Don’t worry, it’s not as hard as it sounds! This guide will show you how to do it step-by-step. You’ll learn the key things you need, how to connect everything, and some things to watch out for. Let’s get started!
Choosing the Right LED Lights
Picking the right LED lights for your car is the first step. Different types of LEDs have different brightness levels, power needs, and lifespans. It’s important to choose ones that fit your car’s electrical system and the look you want. Consider the size, color, and how much power they use.
Understanding LED Basics
LEDs, or Light Emitting Diodes, are tiny light sources that use a semiconductor to produce light. They are very different from old-fashioned incandescent bulbs. LEDs use much less energy and last a lot longer. This is because they don’t produce heat in the same way. The color of light emitted depends on the material used in the semiconductor. White LEDs are common for interior car lights, but you can also find other colors like blue, red, or green. When choosing LEDs, check the specifications to make sure they match your car’s voltage (usually 12 volts). Also, consider the light output, measured in lumens, which tells you how bright the light will be.
- Brightness: Measured in lumens. Higher lumens mean brighter light. You will need to determine how much light you need for your interior. Too much light can be blinding at night, while too little will not provide adequate visibility.
- Color Temperature: Measured in Kelvin (K). Lower Kelvin numbers are warmer (yellowish) light, and higher numbers are cooler (bluish) light. Most car interior lights use a neutral white color temperature.
- Voltage Compatibility: Make sure the LEDs are compatible with your car’s 12V electrical system.
- Lifespan: LEDs last for thousands of hours, much longer than traditional bulbs. Look for LEDs with long lifespans.
LED Types and Sizes
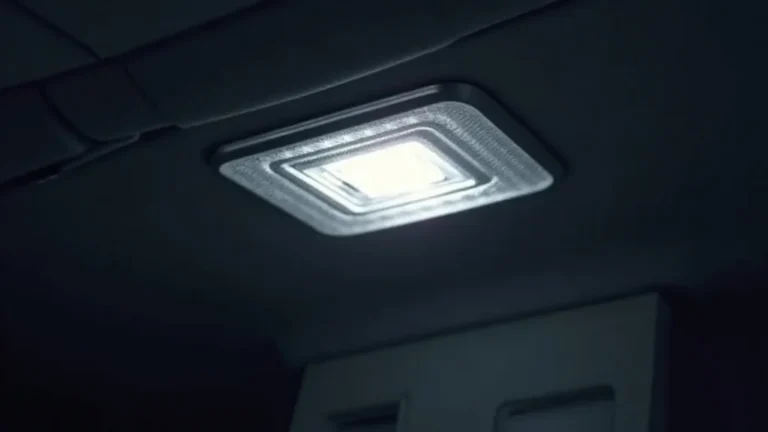
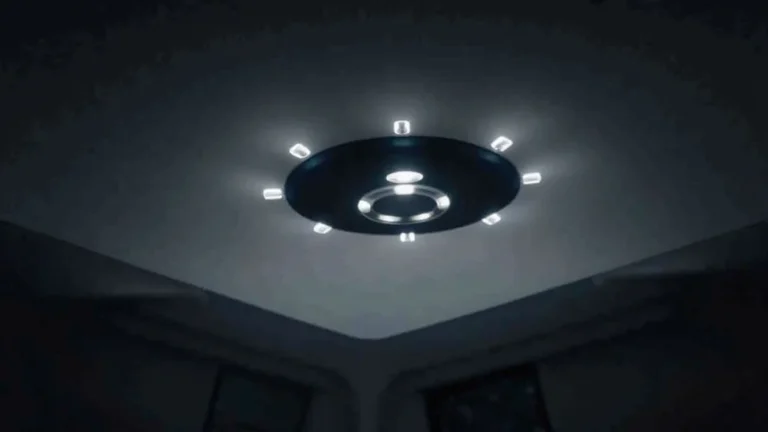
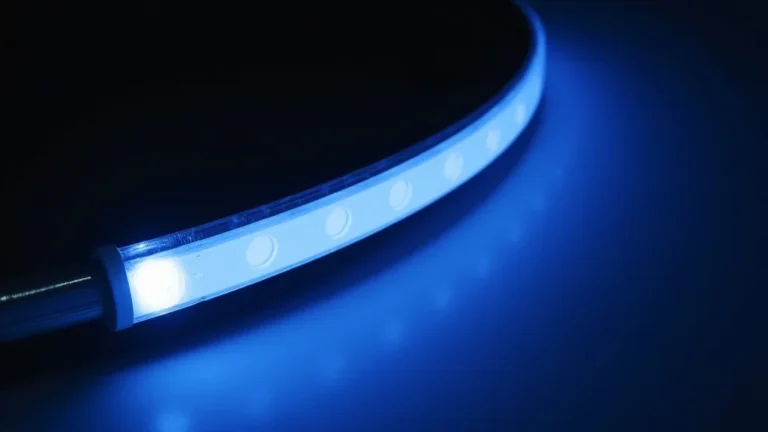
There are different types of LEDs. Some common ones include wedge-based bulbs, festoon bulbs, and panel lights. Wedge-based bulbs fit into sockets with two prongs, while festoon bulbs have a cylindrical shape with contacts at each end. Panel lights are flat boards with multiple LEDs on them. The size of the LED is very important because you must ensure that it can physically fit into your vehicle’s dome light housing. Measure your existing bulbs to make sure the LED replacements will fit. You will also need to consider how the LED will be installed, whether you will be replacing the entire light fixture or just the bulb.
Consider the dimensions of the interior light housing, and the available space. Measure the size of your current bulbs and compare this with the dimensions of the LED
- Wedge Bulbs: These have a wedge-shaped base. They’re common for dome lights.
- Festoon Bulbs: These are tube-shaped, often used for map lights.
- Panel Lights: These are flat panels with multiple LEDs. They can offer even light distribution.
- Consider the Base Type: Match the base type of the LED to your car’s light socket.
Color Options
LEDs come in many colors. White is standard for interior lighting, but you might find different color options for customization. You can customize the look of your car’s interior with different LED colors. Consider your driving conditions. White lights are suitable for general use, while other colors may suit mood lighting or specific situations. Check local laws, which might restrict certain colors of lights on your vehicle, especially when in motion. Choose colors that complement your car’s interior. You might select warmer tones or brighter, cooler options.
If you prefer a softer glow, select LEDs with a warmer color temperature. For brighter interior lighting, go for the cooler temperatures. The choice is up to your preferences. Select LEDs that match your car’s existing style. Match the LED lights with the color scheme or interior design to make sure that the LEDs enhance the overall look. Some of the LED lights have adjustable color settings that let you change the color of the light. For example, some lights have options for white, blue, red, and green.
- White: Standard and provides good visibility.
- Warm White: Offers a softer, more inviting glow.
- Colored LEDs: Can be used for accent lighting (check local laws).
- Color Temperature: Measured in Kelvin (K); lower numbers are warmer, higher are cooler.
Getting Ready to Wire the Lights
Before you start, gather all the tools and parts you need. It’s also important to understand your car’s wiring system to do the work safely. This preparation step makes the process a lot easier and makes sure everything goes smoothly. Proper preparation is essential to making sure you do the work safely and correctly.
Essential Tools and Supplies
You will need a few key tools and supplies. These items will make the job much easier and make sure you do it safely. You should have wire strippers/crimpers, a multimeter, electrical tape, and a screwdriver set. Wire strippers and crimpers will help you prepare and connect the wires. A multimeter is a useful tool for testing for voltage and continuity. Electrical tape protects the wires. A screwdriver set is for removing and replacing the light fixture and trim. Safety glasses are crucial to protect your eyes.
- Wire Strippers/Crimpers: For preparing and connecting wires.
- Multimeter: To test for voltage and continuity.
- Electrical Tape: For insulating and securing connections.
- Screwdriver Set: For removing and replacing the light fixture.
- Safety Glasses: To protect your eyes.
Car Wiring Basics
Your car’s electrical system has a battery, fuses, and wires. Wires carry electricity from the battery to the lights, and fuses protect the system from overloads. You should learn the basics before starting your project. The positive wire is usually red or has a positive symbol (+), and the negative wire is black or has a negative symbol (-). Make sure you disconnect the car battery’s negative terminal before starting any electrical work. This prevents shorts and protects you from electric shock. Know where the fuses for your interior lights are located in your car’s fuse box. If you accidentally short circuit a wire, the fuse will blow, protecting the circuit. Always refer to your car’s service manual for specific wiring diagrams. It provides detailed information on your car’s electrical system, including wiring colors and component locations.
- Disconnect the Battery: Always disconnect the negative terminal of the car battery to prevent electrical shorts.
- Identify Wires: Learn the function of each wire. Use your car’s service manual if needed.
- Check for Fuses: Locate the fuse box and identify the fuse for the interior lights.
- Wiring Diagrams: Study the diagrams to know what wires connect where.
Safety Procedures
Working with car electrical systems can be dangerous if you do not take precautions. Always disconnect the car battery’s negative terminal before you begin any wiring. This prevents electric shock and protects the car’s electrical components from damage. If you do not disconnect the battery, you can get shocked or cause a short circuit. Do not work on electrical components when wet. Make sure your hands and tools are completely dry. Keep away from flammable materials such as gasoline. Always use insulated tools, especially when working in tight spaces where you could accidentally touch other wires or metal parts. If you are not sure about something, seek help from a professional. Safety first!
- Disconnect the Battery: Before starting, disconnect the negative terminal.
- Work in a Well-Lit Area: Ensure good lighting to see wires and connections clearly.
- Avoid Wet Conditions: Do not work in damp or wet environments.
- Use Insulated Tools: Protect yourself from electrical shock.
The Wiring Process
Now, let’s wire the LED lights to control the dimming features. The process can seem complicated, but each step is straightforward. Follow the instructions and take your time. Here’s how to wire your interior led dome light dim.
Connecting the Lights
Connect the LED lights correctly, so they work properly. You need to connect the positive (+) and negative (-) wires of the LED lights to the car’s electrical system. Locate the wires from the light fixture. The positive wire from the LED should go to the positive wire in the car’s circuit. The negative wire from the LED should go to the negative wire in the car’s circuit. You can use wire connectors, crimp connectors, or solder the connections. Wire connectors allow you to attach the wires easily. Crimping uses a crimping tool to connect the wires. Soldering offers a strong connection. After making the connections, test the lights to ensure they work. Make sure the lights turn on and off.
- Identify the Wires: Know which wires are positive (+) and negative (-).
- Make Connections: Use wire connectors, crimp connectors, or solder.
- Secure Connections: Use electrical tape or heat shrink tubing for insulation.
- Test the Lights: Turn on the lights to make sure they work.
Installing a Dimming Module
To dim your interior LED lights, you need a dimming module. This module controls the brightness of the lights. The dimming module sits between the power source and the LED lights. It allows you to adjust the brightness level. There are several different dimming module options. Some modules have a rotary knob, and others have buttons or a remote control. To install the dimming module, connect the power input to the car’s power source, and then connect the output to the LED lights. After the installation, adjust the dimming control to test different brightness levels. The module can usually control the level of light emitted from the dome light. Many dimming modules are easy to install, but make sure to carefully follow the instructions included with the module. You may need to remove the current light, connect the dimming module to the power source, and then connect the light fixture to the dimming module.
A dimming module usually connects directly to your car’s existing wiring. This can be done by using connectors or wire taps to connect into the power wires of your interior lights. Install the dimming module in a place where you can easily reach it, such as under the dashboard, so you can make brightness adjustments. Many dimming modules have a simple control interface. Others may have more complicated settings to customize the light’s behavior. A dimmer provides the flexibility to adjust the light according to your needs. This lets you make the dome light very bright or soft. Dimming modules come with instructions. They also provide recommendations to avoid electrical issues.
- Choose a Module: Pick a module that matches your needs and car.
- Wiring: Connect the module to the power and LED lights.
- Mounting: Secure the module in an accessible location.
- Testing: Adjust the dimming control to test different brightness levels.
Wiring with a PWM Dimmer
PWM, or Pulse Width Modulation, dimmers are a common way to dim LED lights. PWM dimmers work by rapidly turning the LED lights on and off. They change the amount of time the lights are on to control brightness. The more time the lights are on, the brighter they are. To wire a PWM dimmer, you usually connect it between the power source and the LED lights. The PWM dimmer is wired into the positive wire of the dome light. Make sure to consult the PWM dimmer’s instructions to ensure you wire the connections correctly. The output wire from the dimmer is connected to the positive (+) wire on your LED lights. The negative (-) wire from the LED lights is connected directly to the ground. After the connections, test the dimmer by turning it on and adjusting the brightness control. You can adjust the PWM frequency to suit the LED lights. Lower frequencies can result in noticeable flickering. Higher frequencies can cause the dimming to be smoother. PWM dimmers are energy-efficient and offer a wide range of dimming capabilities.
A PWM (Pulse Width Modulation) dimmer is connected to the vehicle’s electrical system, using the car’s wiring. This involves identifying the power source for your interior lights. Then, the positive (+) and negative (-) wires from your car’s lights are connected to the dimmer module. Ensure the positive wire from the power source is connected to the PWM dimmer’s input. Connect the positive wire from the LED lights to the PWM dimmer’s output. The negative (-) wire from the lights must connect to the vehicle’s ground. After wiring the system, test the setup. Turn on the lights and adjust the dimmer. Check to see if the lights dim and brighten as expected. You may need a multimeter to ensure that the voltage is consistent. If you observe flickering, adjust the PWM frequency. This might require additional tools and adjustments.
- Understand PWM: Learn how PWM controls LED brightness.
- Wiring: Connect the PWM dimmer between the power and LEDs.
- Adjust Frequency: Tune the PWM frequency to reduce flickering.
- Test and Adjust: Make sure the dimming is working as expected.
Troubleshooting Common Issues
Sometimes things do not go as planned. Here are some of the common problems people have with their interior led dome light dim project, and how to fix them.
Lights Not Working
If your LED lights do not work, it can be frustrating, but many times it is something simple. First, check your connections. Double-check all of your wiring connections to make sure that everything is secure. Make sure the wires are firmly connected. Look for loose wires. Next, check the power source. Use a multimeter to see if there is power coming from the fuse panel. Make sure the fuse is not blown. Another simple fix is to
- Check Connections: Double-check all wiring connections for security.
- Verify Power: Ensure the fuse is not blown and power is reaching the lights.
- Check Polarity: Make sure you connected the positive and negative terminals correctly.
- Test the Lights: Test the lights after troubleshooting each step.
Flickering Lights
Flickering lights can be a sign of a bad connection or other electrical issues. Start by checking the connections. Tighten any loose wires and ensure all connections are secure. A loose connection can cause the lights to flicker or even turn off. Check the dimming module. The problem could be with the dimming module if you are using one. Make sure it is properly connected and functioning. Some dimming modules are sensitive to voltage fluctuations, which can cause flickering. Replace the module if it seems to be faulty. Check the PWM frequency. If you are using a PWM dimmer, the frequency setting may be incorrect. Adjust the PWM frequency on the dimmer to reduce flickering. The correct frequency will depend on the LEDs. LEDs can flicker due to a low-quality LED. Try replacing them to see if it fixes the problem.
- Check Connections: Make sure all wires are securely connected.
- Inspect the Dimming Module: Ensure the module is properly connected and working.
- Adjust PWM Frequency: If applicable, adjust the PWM frequency to reduce flickering.
- Test LEDs: Replace the LEDs if they are causing the issue.
Dimming Issues
If you’re having trouble with the dimming feature, here are some things to try. Check the dimming module’s settings. Make sure that the settings are adjusted properly for the type of LEDs. Different LEDs might require different settings. Test the dimming range, making sure that it can dim the lights. The dimming control might have a limited range. Test the dimmer to make sure it is working. Make sure it is compatible with the LED lights you have installed. Some dimmers are not designed to work with all LED lights. Check the wiring to make sure that the dimming module is wired correctly. Bad wiring can cause dimming problems. If you have done all these things and you are still having issues, it might be the dimming module. It might be defective and need to be replaced. Contact the manufacturer or purchase a replacement.
- Check Module Settings: Ensure the settings are correct for your LEDs.
- Test the Dimming Range: Verify that the full range of dimming is functional.
- Check Wiring: Make sure the module is correctly wired.
- Replace the Module: If the module is faulty, replace it.
Frequently Asked Questions
Question: Can I install these lights myself?
Answer: Yes, with the right tools and steps, it is possible to install LED lights. Safety first! Make sure to disconnect the car battery before starting. If you are not comfortable with wiring, it’s best to seek help from a professional.
Question: What do I do if my lights flicker?
Answer: Check your connections. Tighten any loose wires. If you’re using a dimmer, adjust the PWM frequency. Sometimes, it’s the LED bulbs themselves. Replacing the bulbs can resolve the issue.
Question: Do I need a special dimmer for LEDs?
Answer: Yes, you typically need an LED-compatible dimmer. Standard dimmers often don’t work well with LEDs and can cause issues like flickering. Make sure the dimmer is compatible with the voltage of your car’s electrical system.
Question: How do I choose the right size LED bulb?
Answer: Look at the current bulbs. Check the size and the base type. Refer to your car’s manual for bulb specifications. Match the new LED bulb to the old one.
Question: Where can I get help if I get stuck?
Answer: If you get stuck, look online for helpful videos and guides. There are also many forums where people discuss car electrical projects. Local auto parts stores can offer guidance. Contact a professional if you’re uncertain.
Final Thoughts
Now you have a much better idea of how to get your interior led dome light dim working. You explored LEDs and got ready to wire them. You also learned the key steps, from selecting the right lights to installing a dimming module. Remember to double-check everything as you go and put safety first. Don’t worry if you run into any trouble; most issues have simple fixes. With the steps in this guide, you can improve your car’s interior. So, take your time, follow the steps, and enjoy the result. Have fun with your car project and give your vehicle a fresh look!